Beginner Smokey Eye | Step by Step
Alyssia Chang
- Published

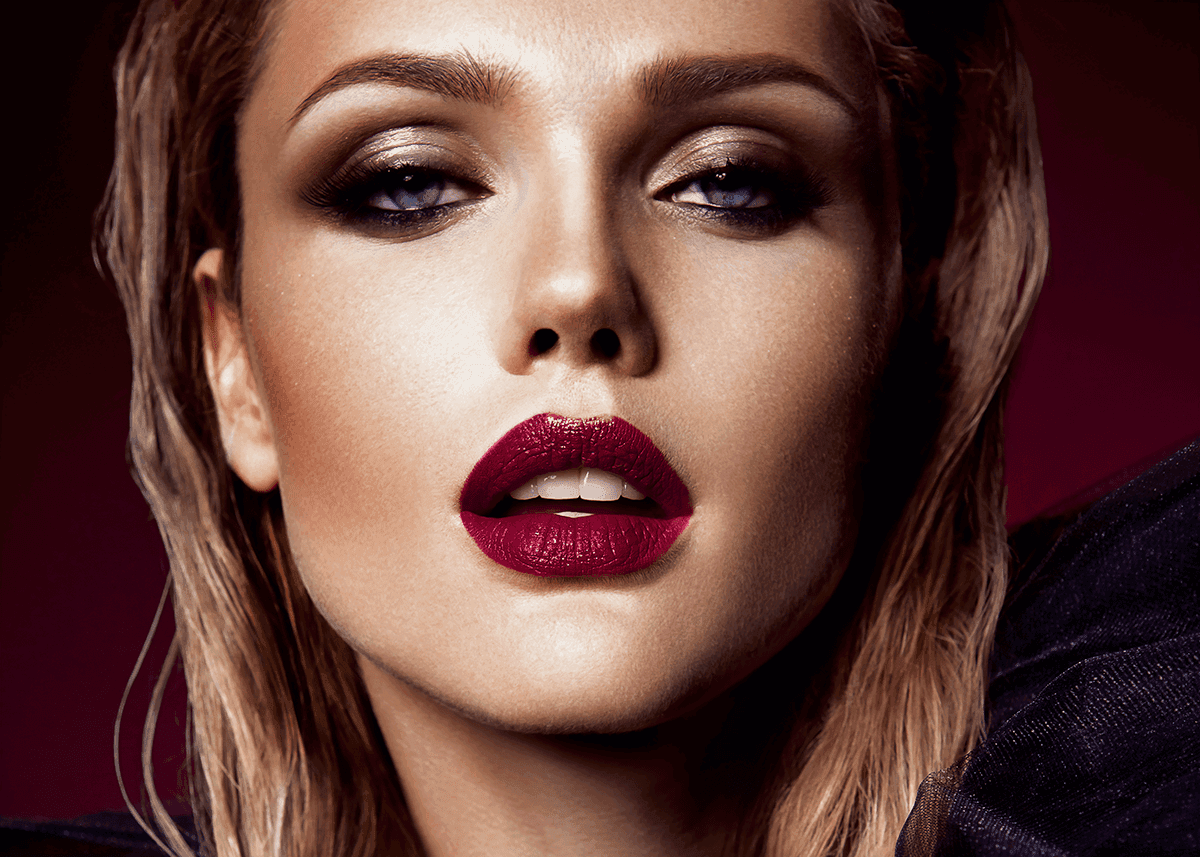
It’s official: the smokey eye look never goes out of style. Pairing perfectly with a dramatic face or just as happy on its own with a more natural lip, smokey eye makeup looks good with just about anything.
But as one of the seemingly more challenging looks to pull off, it takes a little patience and the right products to nail. The good news is, that this dark eye makeup look is worth the effort.
If you’ve always wanted to try a glamour eye look, let us guide the way. We show you how to do a beginner smokey eye, step by step, that’s Insta-worthy, show-stopping and simpler than you think.
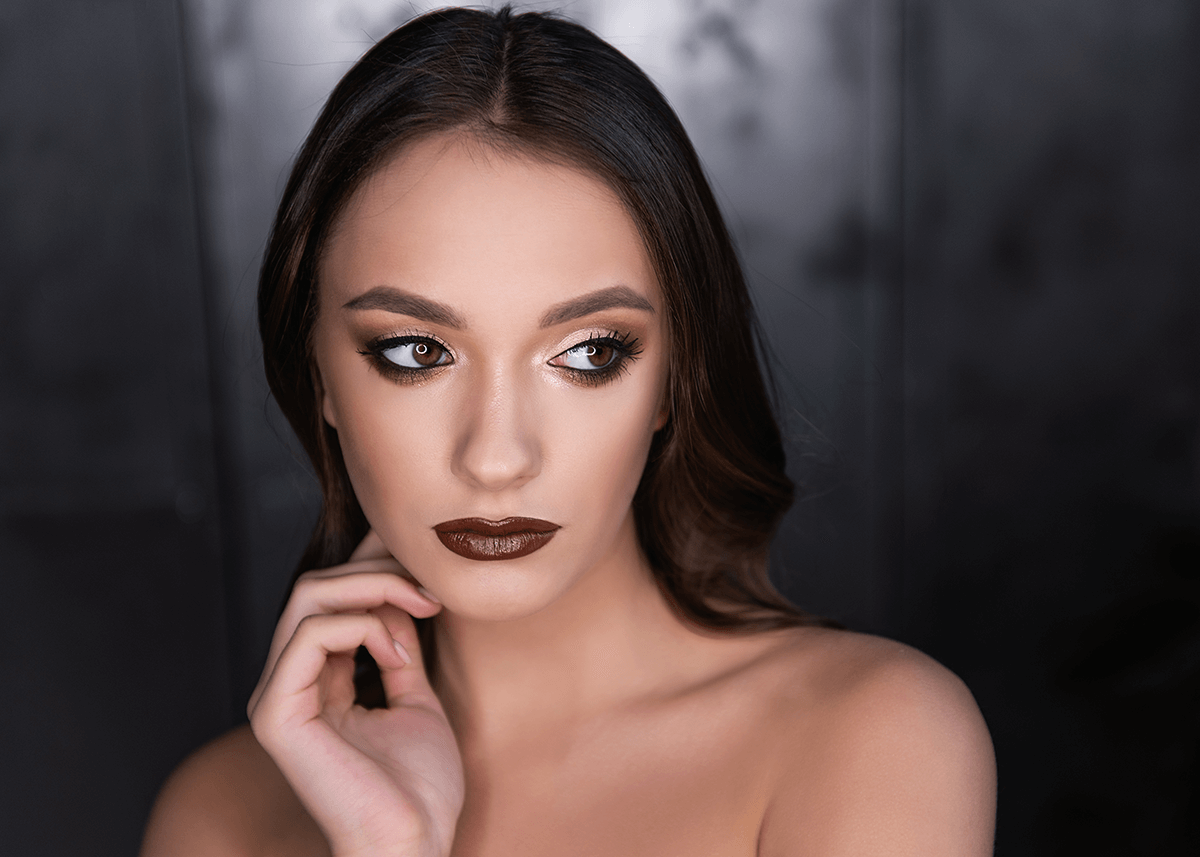
How To Do a Beginner Smokey Eye: Step By Step
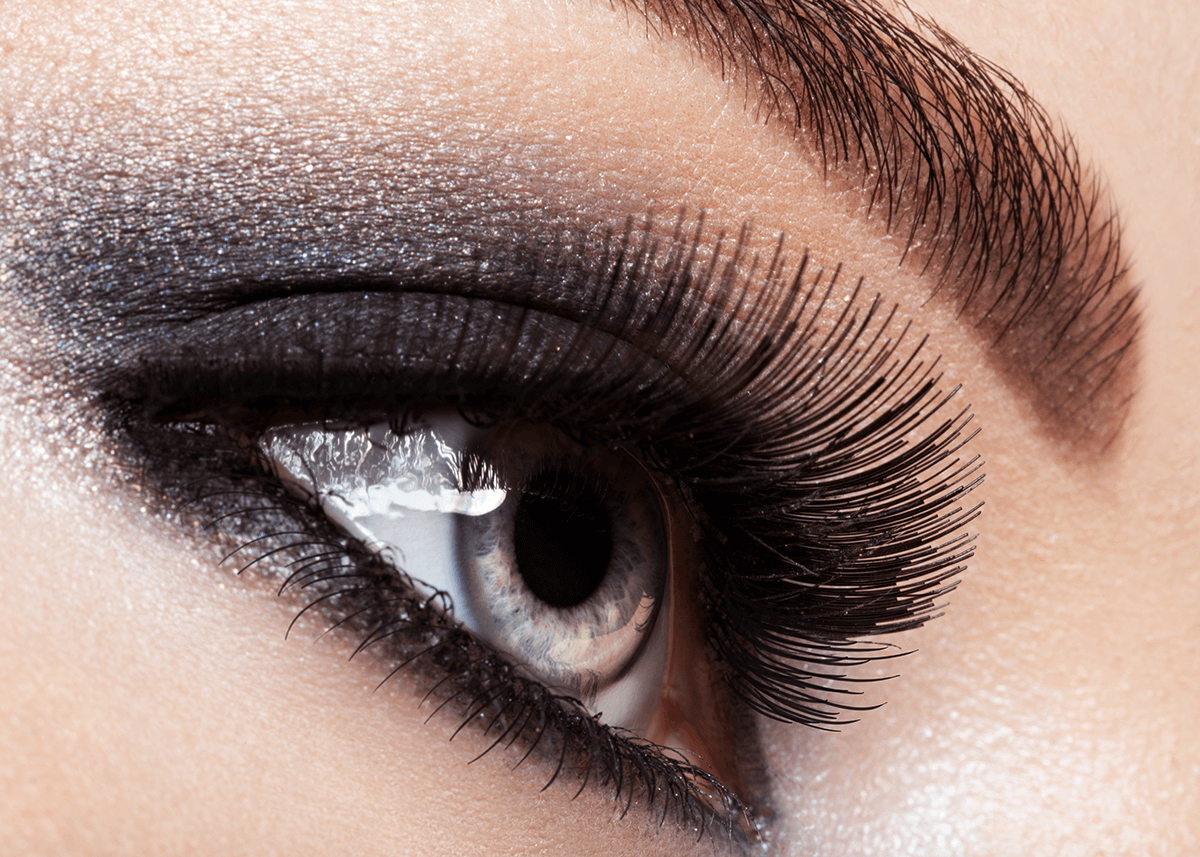
The basic premise of a classic smokey eye is that it starts lighter in the inner eyelid and gradually turns darker as it makes its way to the outer eyelid. Finally, it’s dramatically finished with a flick of eyeliner and bold eyelashes, adding the cherry on top to an already glamorous look.
As a staple makeup look, the smokey eye is worth adding to your repertoire. And as you’ll see, it’s not as hard as you thought to pull off (with some know-how and the right products).
Step #1: Clean & Prime Your Skin
All good makeup looks start with cleaned and primed skin, and the eyes are no exception. Use an oil-free cleanser to clean your face and around the eyes (being careful not to get any product in them).
Once dried, follow up with an eye primer. We’re in love with Urban Decay’s Anti-Ageing Eyeshadow Primer Potion. It gives you an even, smooth surface to work on, reduces the signs of ageing, and helps the eye makeup stay in place. Magic!
Step #2: Conceal, Conceal, Conceal
Concealer isn’t just for covering up those zits; it’s also a must when doing a black smokey eye. A good concealer will hide dark circles and spots, so your hard work creating the eyeshadow look pays off.
Pro tip: Dab the concealer gently around the eyes and set it with a skin toned eyeshadow so it doesn’t get stuck in the wrinkles and make a crease.
Step #3: Choose Your Palette
The best smokey eyes are created with two colours – minimum. So, choose a palette that suits your skin tone and taste. We recommend a basic palette with a brown, black, and highlighting shade, like the Dose of Colors Smokey Soiree Eyeshadow Palette. This baby was practically designed with smokey eyes in mind, and it features five shades of shimmer and matte perfection.
Step #4: Assemble Your Brushes
You’ll need three essential brushes to achieve the perfect smokey eyeshadow: a blending brush, a tapered eyeshadow brush, and a small-tipped brush to get in close.
Depending on your preferences, you can shop for each brush on its own or choose a set that has them all. The Luxie Smokey Eye 4-Piece Brush Set is a smart pick for beginners as it lets you play around with what each brush can do.
Step #5: Apply the Eyeshadows
Now for the fun stuff. Apply a natural base colour, then a mid-toned nude or brown shade to the entire eyelid using your eyeshadow brush. Then, use the same brush to apply a darker eyeshadow shade to the upper lid’s outer corner. Smooth it using your blending brush to create a gradient effect, gradually turning it into this darker colour.
Step #6: Highlight the Right Points
Next, we want to brighten up around the eyes so that the darker eyeshadows can pop. Use the highlighter shade in your palette and apply it with a blending brush around the eyes. Plus, a small amount on the inside of each eye (on the inner bridge of your nose). Blend the highlight in with the eyeshadows and your skin for a seamless transition.
Step #7: Max Out Your Lashes
Your lashline will do all the work here, helping your eyes look mysterious and shading the eye makeup you’ve applied. Using an eyeliner pencil, draw a line along the upper lids. Then, smudge it gently so it blends with the eyeshadow.
Take your small, tipped brush and use some of the darker eyeshadow in your palette to colour around the lower lash line. Smudge this out slightly and blend as much as you can, too. This will add a hint of definition and to bring the smokiness of the eye look together!
Step #8: Create a Winged Eyeliner
As the pièce de resistance, we want a winged eyeliner to seal the deal (think e-girl eyeliner or something just as dramatic). The secret is drawing a wing that only covers the smokey eyeshadow without extending too far.
For beginners, using an eyeliner pen can be a little more forgiving. Our favourite is the Roller Liner Mini from Benefit Cosmetics. It offers a super smooth application with no jagged lines – perfection for a smokey eye look.
Finally, apply black or dark brown mascara to suit your eyeshadow. Bobbi Brown’s Smokey Eye Mascara is a super-saturated, voluminous mascara that fits the smokey look to a tee.
Tips, Tricks & Troubleshooting
As a popular makeup look, smokey eye makeup takes practice to perfect. But with these tips, tricks, and troubleshooting, getting that MUA effect with a beginner’s skillset is a whole lot easier.
- Start small with just two colours. You can add even more shades to get a more dramatic gradient as your skills develop.
- Matte eyeshadows are best for beginners on the base and outer edge shades. Experiment with shimmers once you get the technique down.
- A smidge of highlighter or glitter in the centre of your eyelid can make the whole look pop. Our favorite eyelid topper is the Hourglass Scattered Light Glitter Eyeshadow in Blaze.
- Use a winged eyeliner stamp if you struggle to get the lines straight. They give you something simple to work with until you feel confident drawing it yourself.
- Don’t be afraid to mess up, start with the eyes first! Nobody’s ever perfected smokey eyes on their first attempt. Eye makeup removers and wipes will be your new best friend.
Steal the SHow with a Smokey Eye
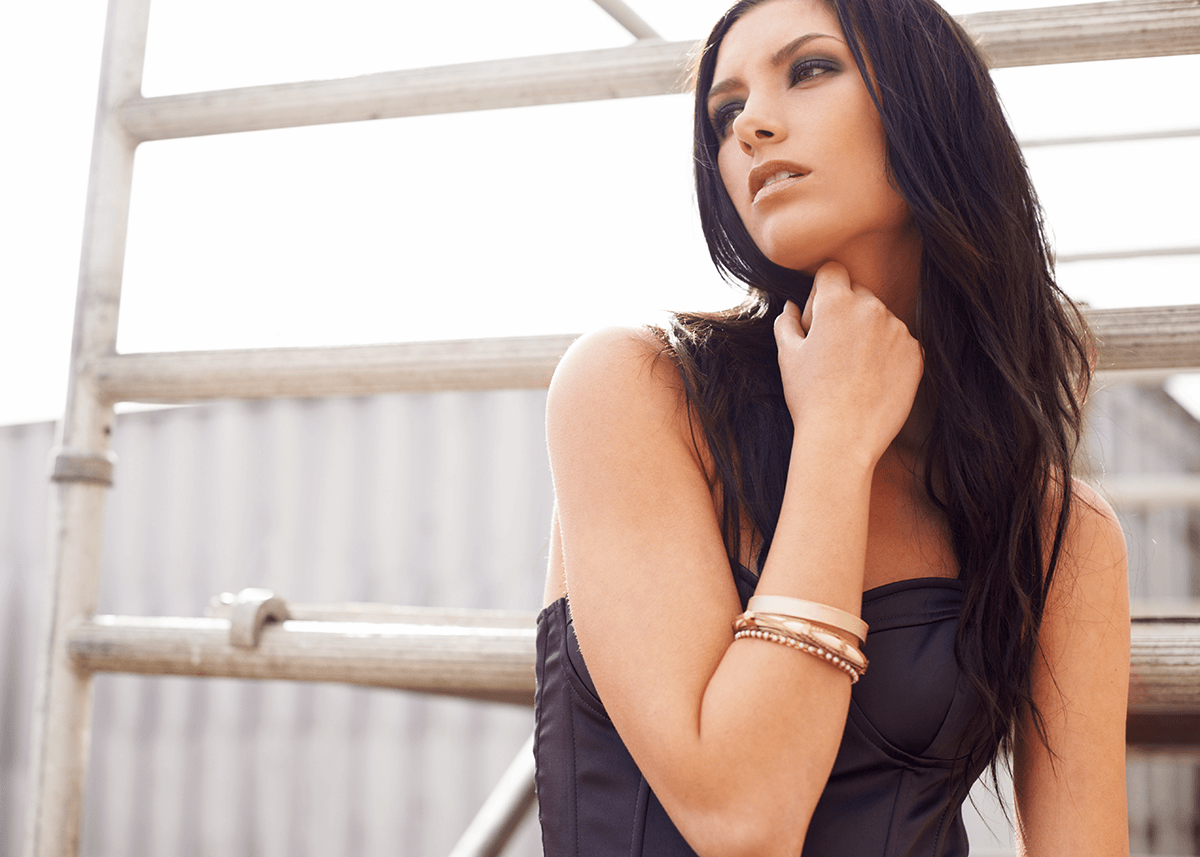
There’s a good reason why the smokey eye has solidified itself as one of the world’s most recognisable makeup techniques. This show-stopping eye makeup works with high-glam and toned-down looks, so take some time experimenting with what’s possible.
With our beginner smokey eye step by step guide and the must-have products to create it, you’re on your way to red carpet realness.
FAQs
How do you do an easy smokey eye?
A cream eyeshadow and gel eyeliner are the best tools for an easy smokey eye look. The goal is to create a gradient that goes from light to dark on the outer edge of the eyelid, so it can be achieve quickly with the right products.
What are the rules for smokey eye?
There are no hard and fast rules for a smokey eye, except that it usually consists of a lighter inner eyelid that turns darker towards the other edge. The makeup look is created with eyeshadow, mascara, and eyeliner.
Does smokey eyes look good on everyone?
Yes, when done correctly, smokey eye makeup works on all skin types and tones. In addition, wearers can adjust the intensity and shade of the makeup so they feel comfortable with it.
Are smokey eyes still in style?
Smokey eyes are a popular makeup style that can complement many other looks. The darker eyeshadow look remains in style but constantly evolves to suit whatever is trending.