Mastering Blush Placement: 10 Blush Looks You Need to Try!
Alyssia Chang
- Published

Ever get overwhelmed with all the latest blush trends and face charts of where to place your blush?
Ya, we do too.
So here is our solution for you – we wrote the perfect article that answers all of your questions! From inspo looks to change up your blush routine, to where to place your blush to get your favorite I.G influencers face, or just how to work with the blush makeup products you already own!
Let’s unveil the secrets of blush to make you look (and feel) like a makeup pro!
Key Takeaways
Tailoring blush placement to your face shape (heart, round, oval, etc.) to accentuate natural features, sculpts facial structure, and enhances beauty with modern techniques.
Blush isn’t just for the apples of your cheeks; explore creative applications like the ‘draping,’ ‘sun-kissed,’ and ‘blush bomb’ techniques to elevate your makeup style, as shown by the diverse methods preferred by makeup artists and enthusiasts.
Different blush textures (cream, powder, liquid) serve unique purposes and skin types, with specific tools suggested for each to achieve the ideal blend and finish – fingers for cream blush, brushes for powder, and sponges or stippling brushes for liquids.
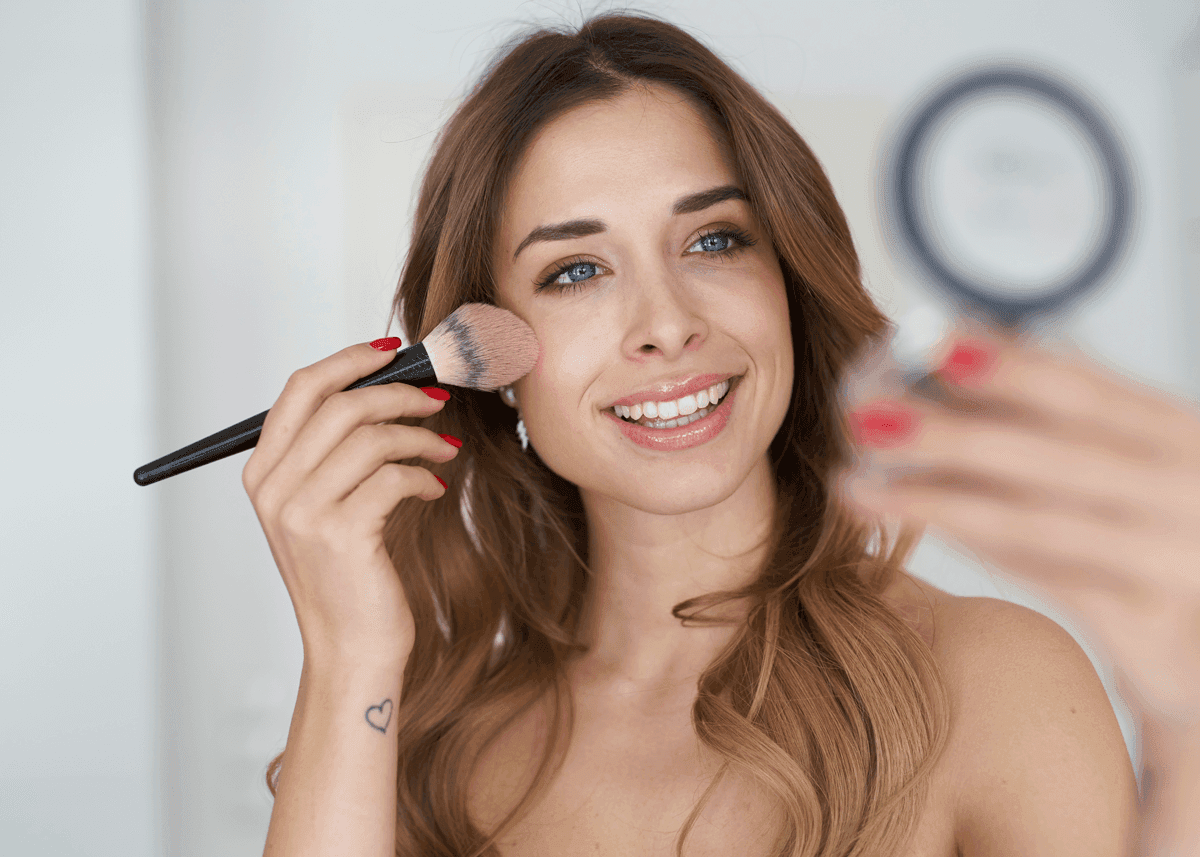
Flattering your Cheeks with Color
Blush is more then color or rouge to the cheeks!
It’s a powerful tool that can lift your face upwards, make your skin look more natural, and enhance your stunning facial features.
Recognizing your face shape, such as a diamond face shape, is the initial stride towards flawless blush application. Once you’ve identified whether you have a diamond, heart, round, or square-shaped face, the magic begins!
You could be wondering if face shape truly makes a difference in blush application. The answer is a resounding yes! The application of blush based on face shape ensures a natural-looking flush, enhancing the features appropriately.
There are no strict ‘rules’ in beauty, especially when it comes to applying blush. This allows for creativity and adaptation to different styles and face shapes, including all face shapes such as square-shaped faces.
Draping for Everyone + Heart Shaped Faces
If you have a heart-shaped face or any face shape, the draping blush technique is your best friend! This technique beautifully accentuates your naturally high cheekbones, minimizes the width of your forehead, and adds volume to your chin, enhancing your overall beauty. The trick is to focus on the outer corners of your face.
Apply bronzer and/or contour just below your cheekbones and along the high points of your face.
Blend it upwards to the hairline.
Draw a line from the top of your cheekbone near the ear towards your lips, stopping below your cheekbone.
Sweep blush in a soft ‘C’ shape from your temple down to your cheekbone.
Apply highlighter along your nose, cheeks, and upper jawline.
The Timeless “Egg” Blush Technique for Round, Square, Long, Triangle, or Round Face Shapes
If you have any of these face shapes, celebrate! This very popular blush technique is one of makeup artists favorite placements for a reason.
This easy blush method requires your to place your blush somewhat higher on your cheek bones and bring it downwards towards the bridge of your nose, like an egg-like shape. This creates the illusion of higher cheekbones and a more elongated face shape. Additionally, placing blush forward on the apples of your cheeks can help to narrow the face, enhancing your beauty.
The Undereye Side Blush for Oval Faces
For individuals with oval faces, the Undereye Side blush technique should be your pick. This fabulous technique brings subtle definition and dimension, beautifully highlighting the cheekbones and adding a gentle glow.
Start by applying a highlight above the brow and continue to highlight the forehead, chin, and under the eyes.
Contour your face by applying a contour shade right under your cheekbones to define and enhance facial structure.
Blend the contour and highlight thoroughly using a blending brush or sponge for a seamless look.
Finish with your blush applied to the sides of the cheek bones and right underneath the sides of the eyes for a flattering warmth of color.
Top 10 Best Blush Makeup Looks!
Nowadays, it’s all about trends, what looks current, natural, and most importantly, what’s the best reflection of YOU!
Here are 10 reference photos you can use to re-create for blush on your skin.
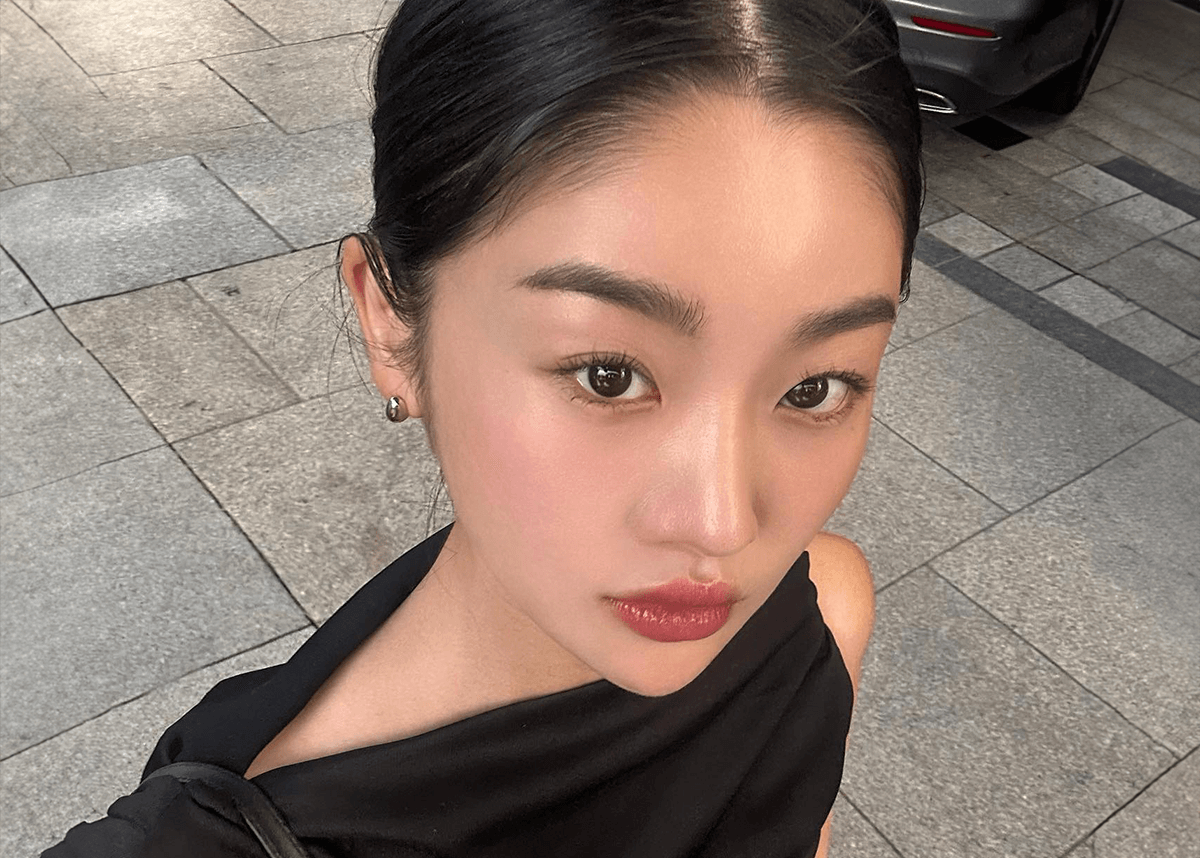
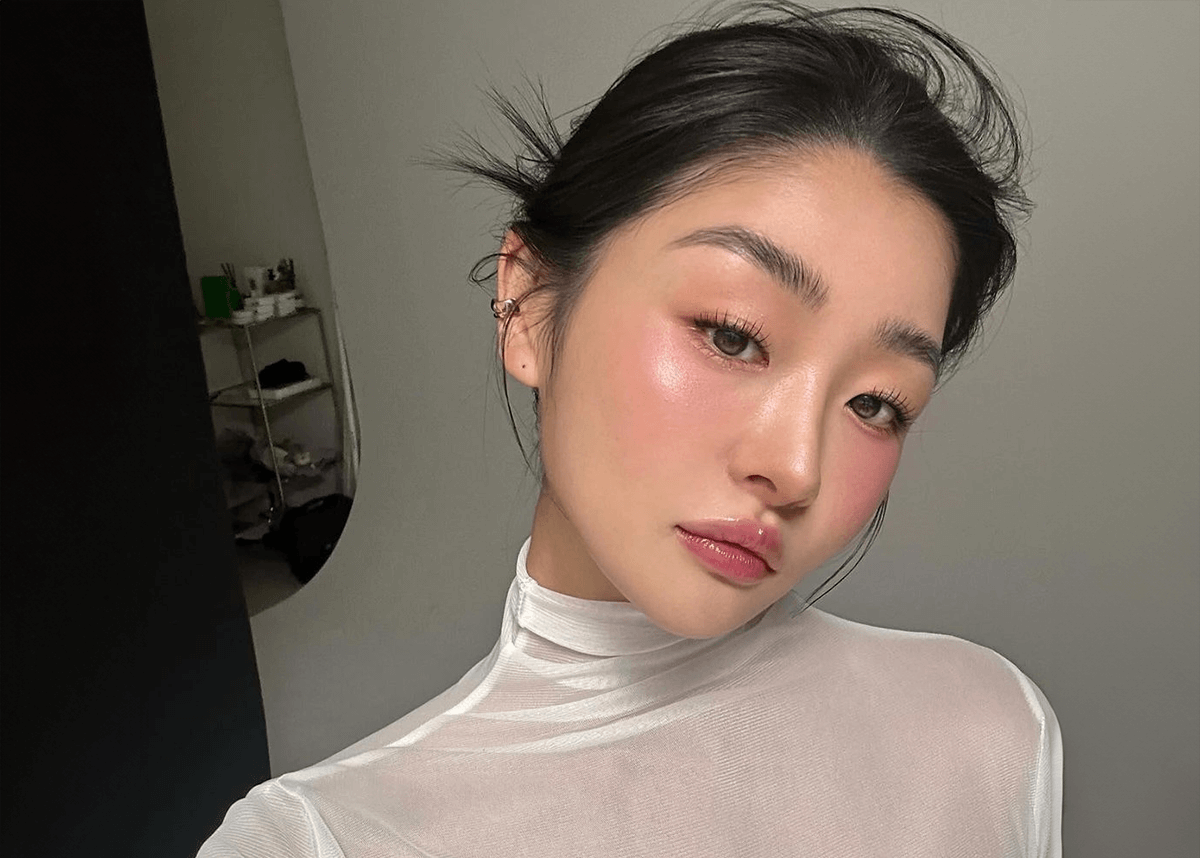
Lifted Soft Blush
Diffusing your blush upwards ending right on the sides of the eyes, while focusing the build of the color right onto the bone of the cheeks is what is going to give you this STUNNING cheek placement.
Start right where you want the brightest amount of color, then blend and smooth out outwards from the hairline by the sides of the eyes.
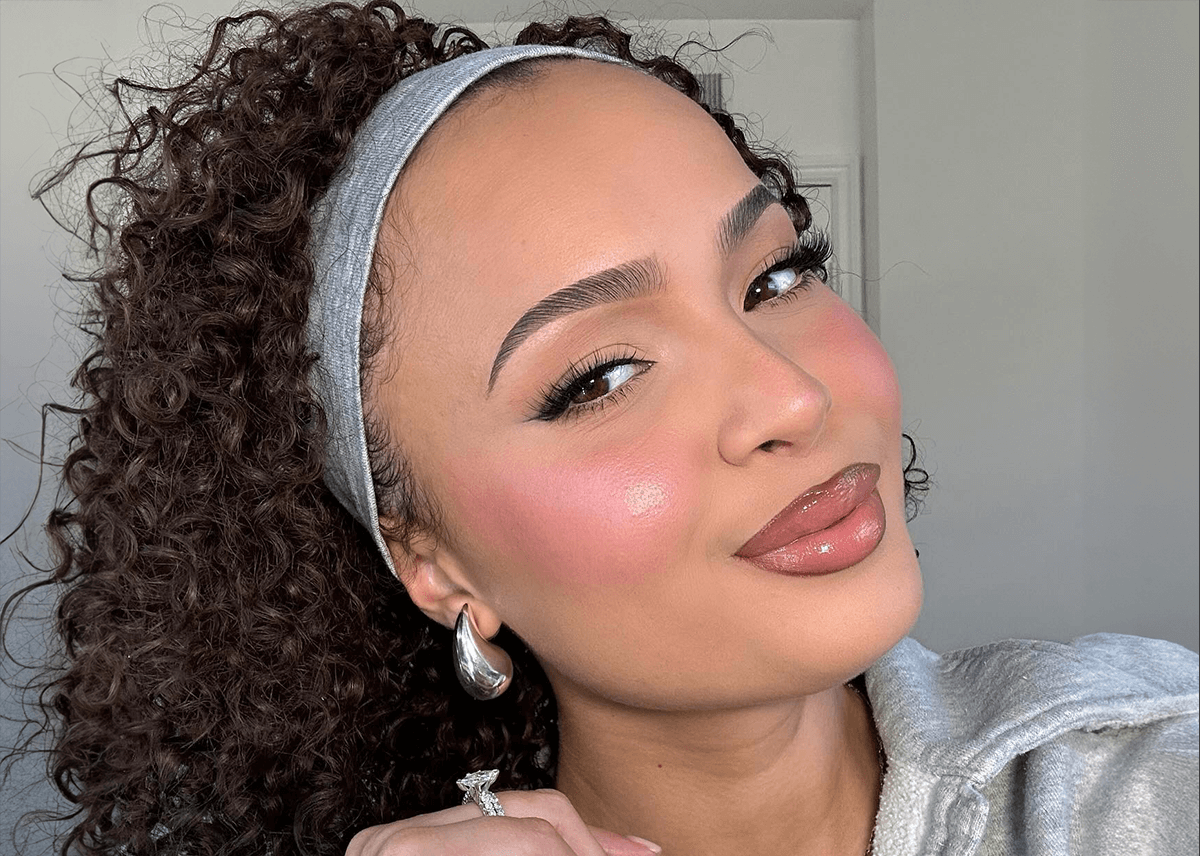
Apple Bottom Cheeks

The outdated blush on the apples have come back with STYLE! We love this modern take where the color on the cheeks is soften, blended, and darn right cute! Make sure to fade the blush slightly upwards from the apple so that it’s not harsh looking.
The Under: Cheeks and Nose
Applying blush in the middle of the cheek bone but under the curve will accentuate the highlighting and baking on the face! Just make sure to apply the same colour under the tip of the nose and use the face highlighter just above to create the perfect shine!
Along the Apples and to the Ears
This bold blush placement is one to try with a natural eye! Go out with style with blended edges and filling out the center of the cheeks with a hint of rouge, just enough to be the focal point of the makeup look.
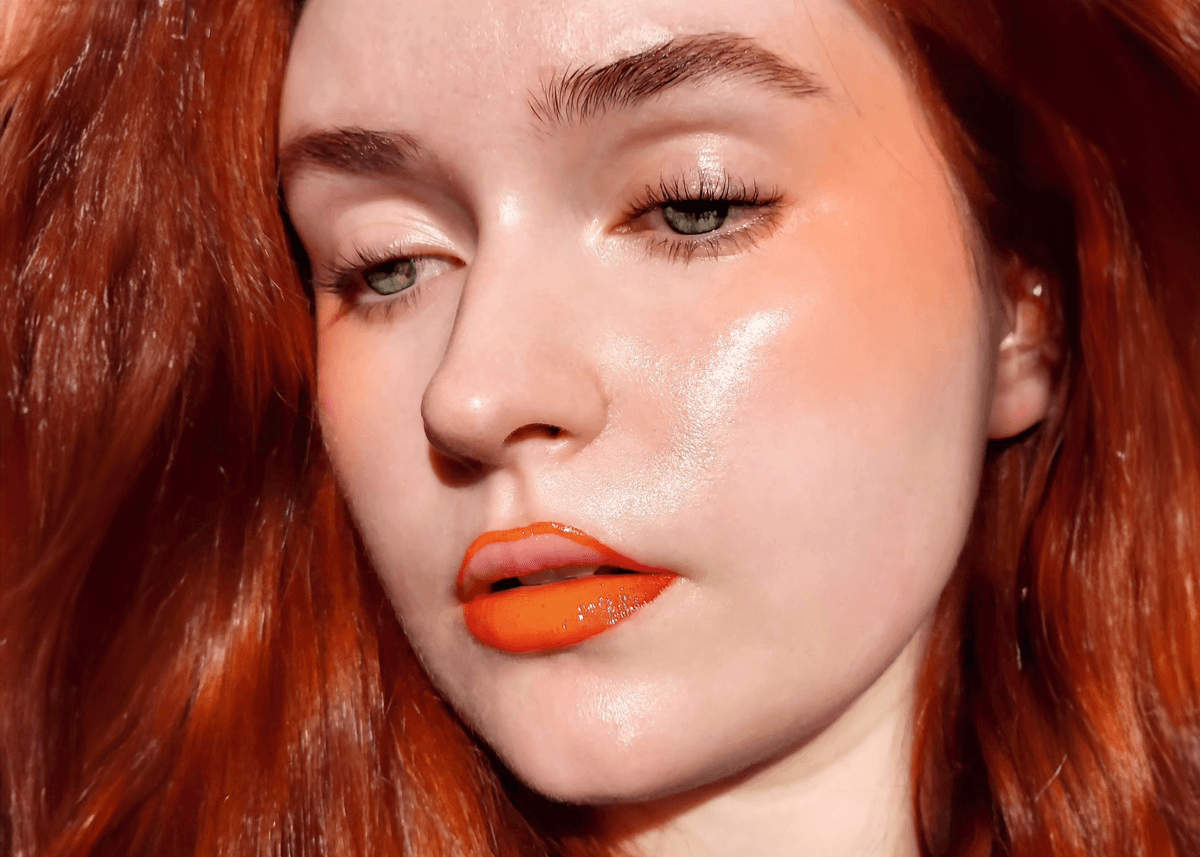
E-Girl Blush Accross the Nose
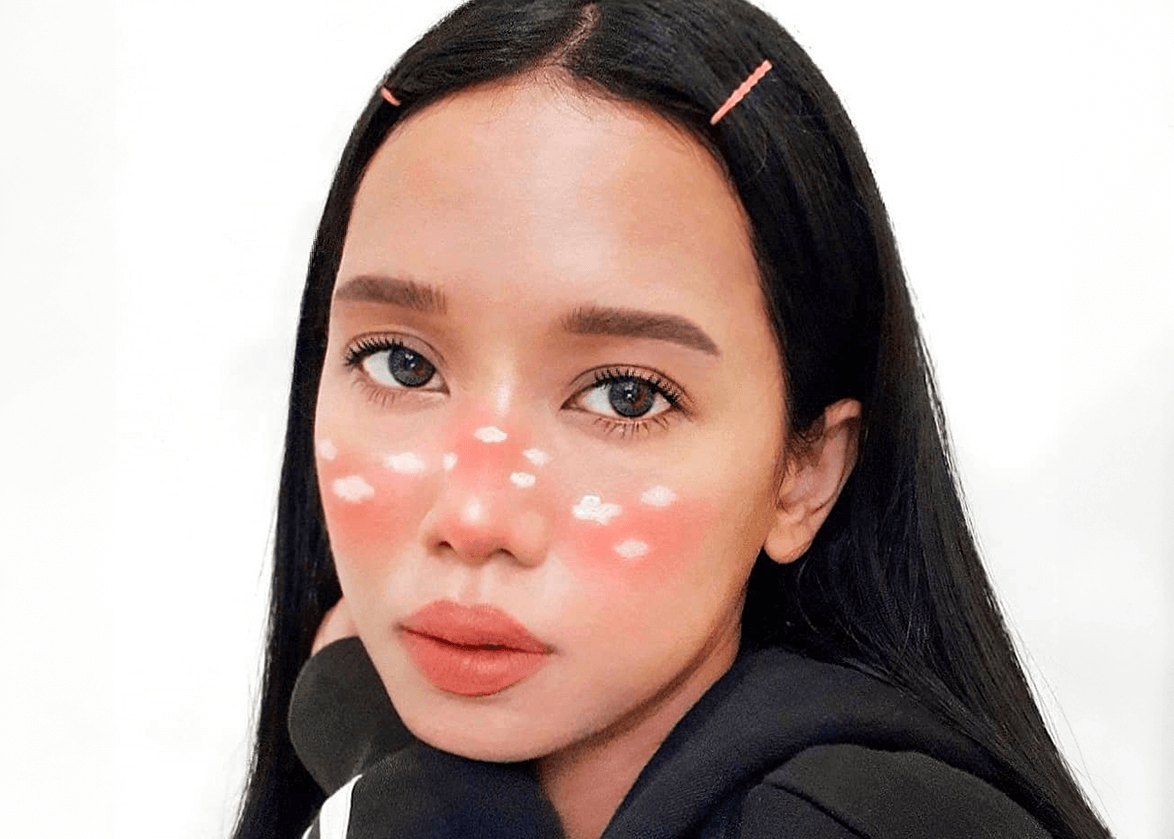
You know we couldn’t have talked blush without bring up the cutest E-girl trend that is still happening today. If clouds aren’t your thing, no worries – because just by you applying the sun-kissed color across the nose, you’ll have the perfect TikTok makeup that flatters ANY face shape.
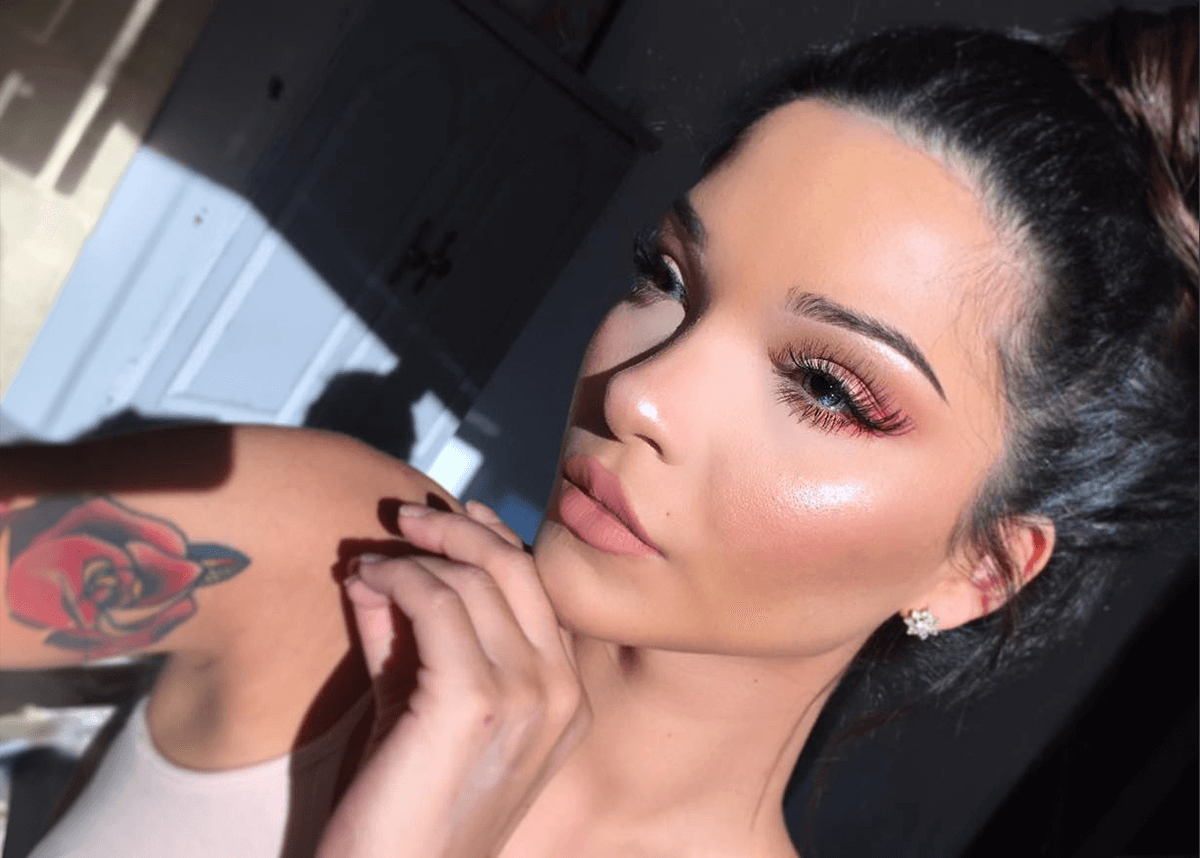
Lifted and Upwards
Concentrating the color on the outer corners of the face is the perfect tactic to lift the cheeks and face upwards, creating perfect symmetry and balance. Keep the shine with using a cream blush formula that will make the skin look healthy and radiant!
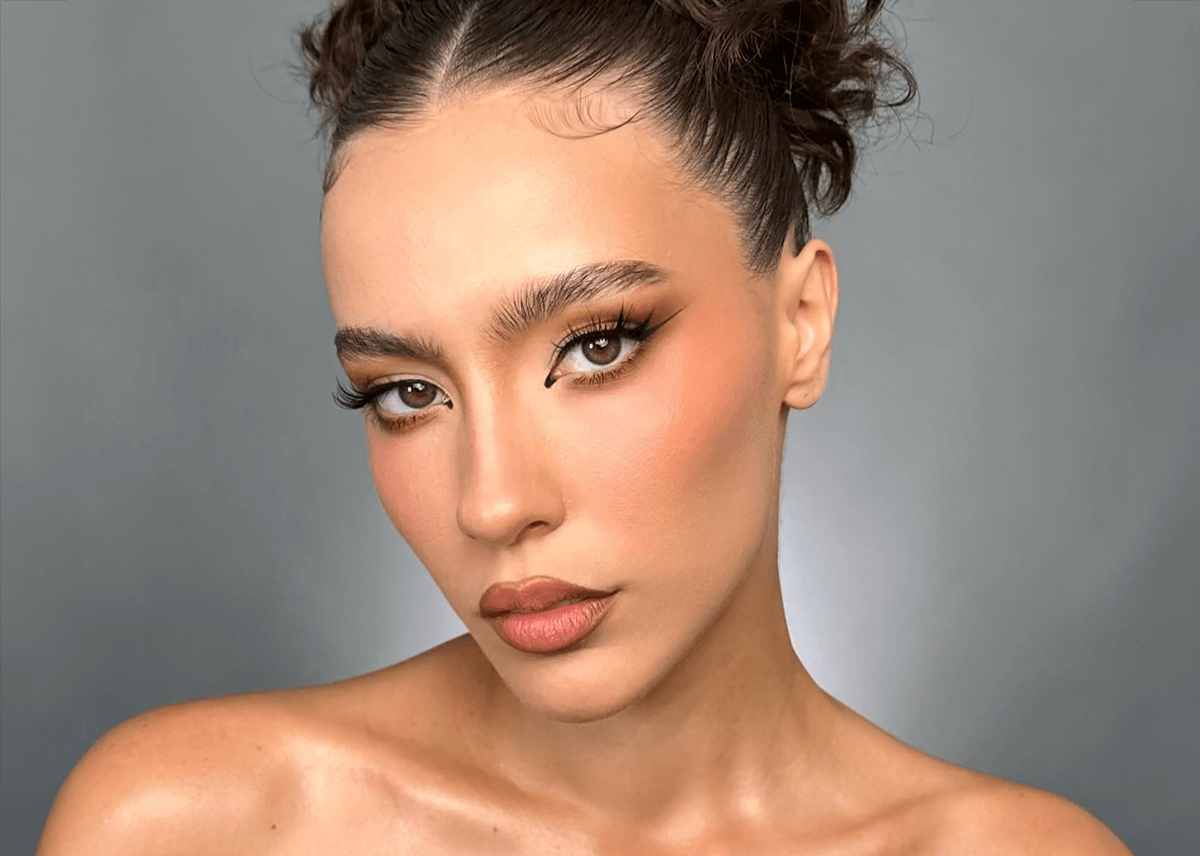
Blurred Warm and Bronzed
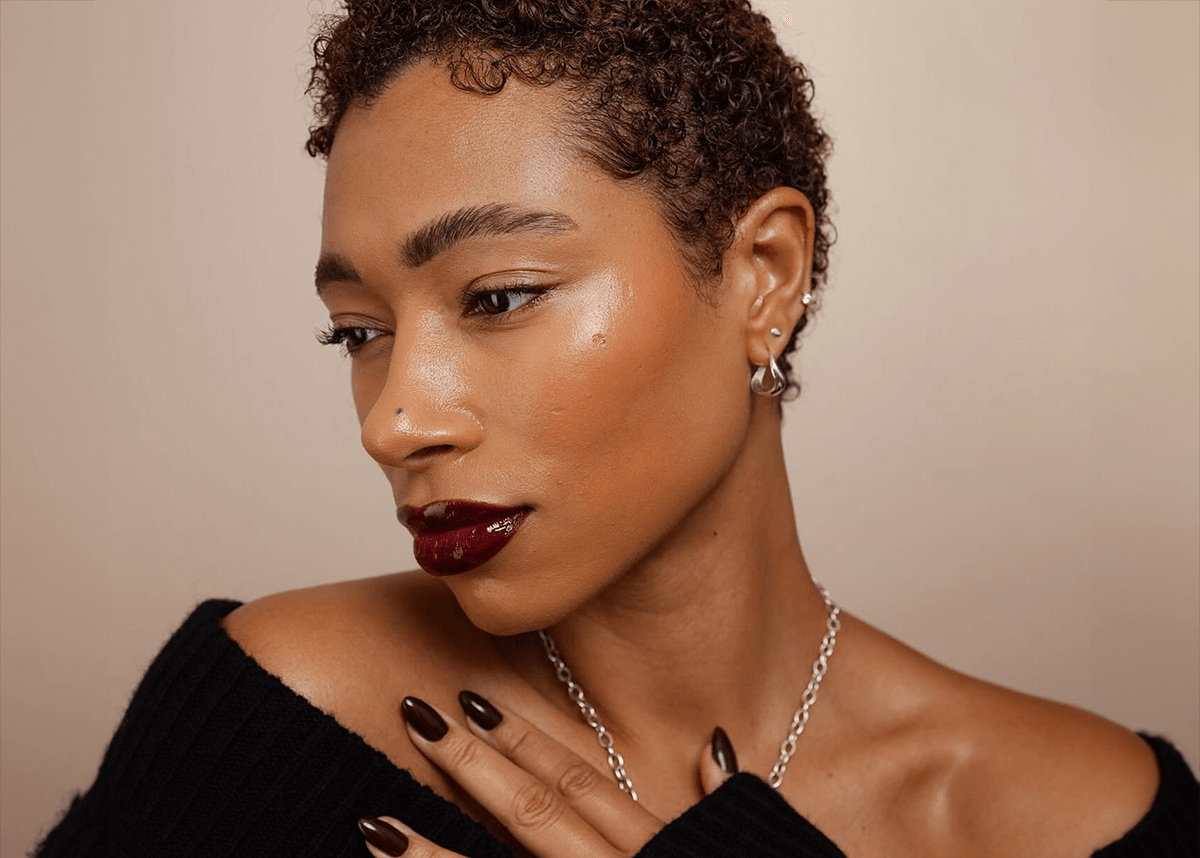
Use a combination of warm skin bronzer and the tiniest hint of deep plum cream blusher to make your skin deliciously irresistible! You can tell that the placement follows the natural curvature of the cheek bone upwards but just stopping in line with the eyes.
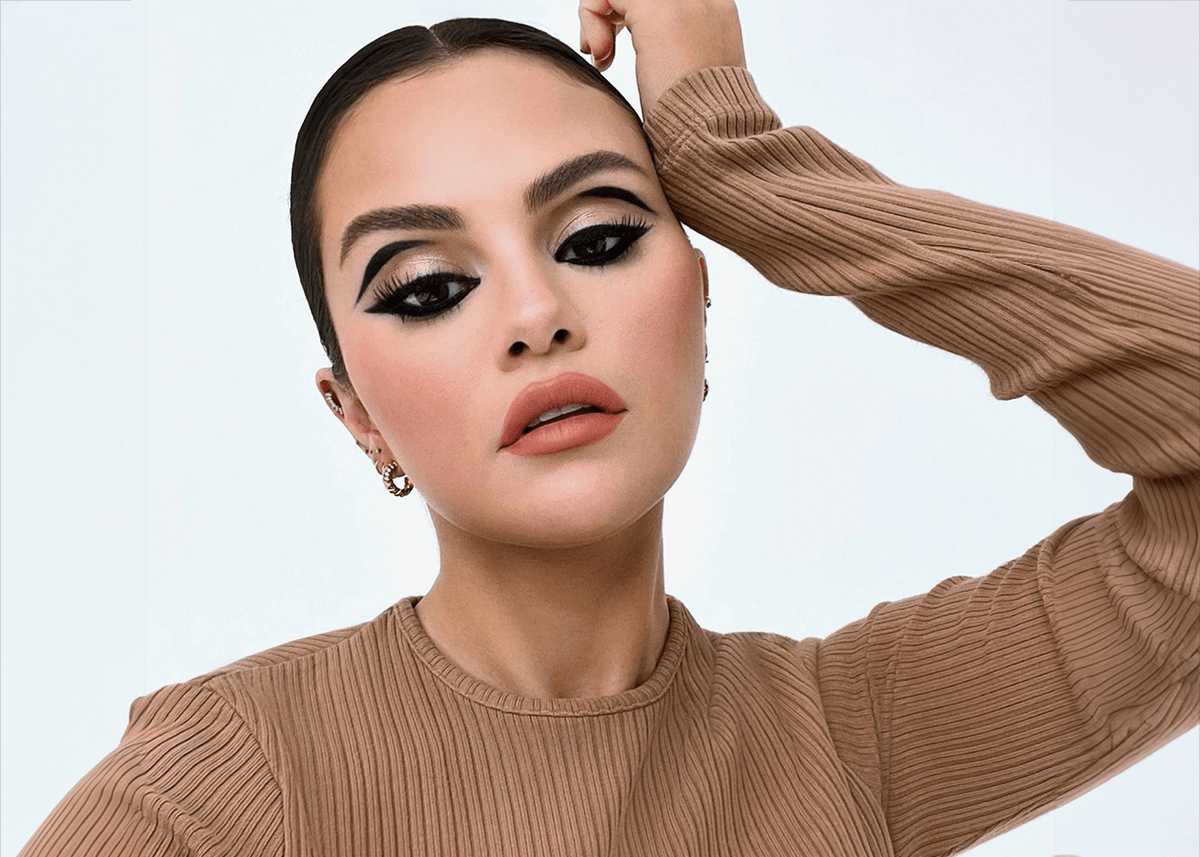
Just a Dab

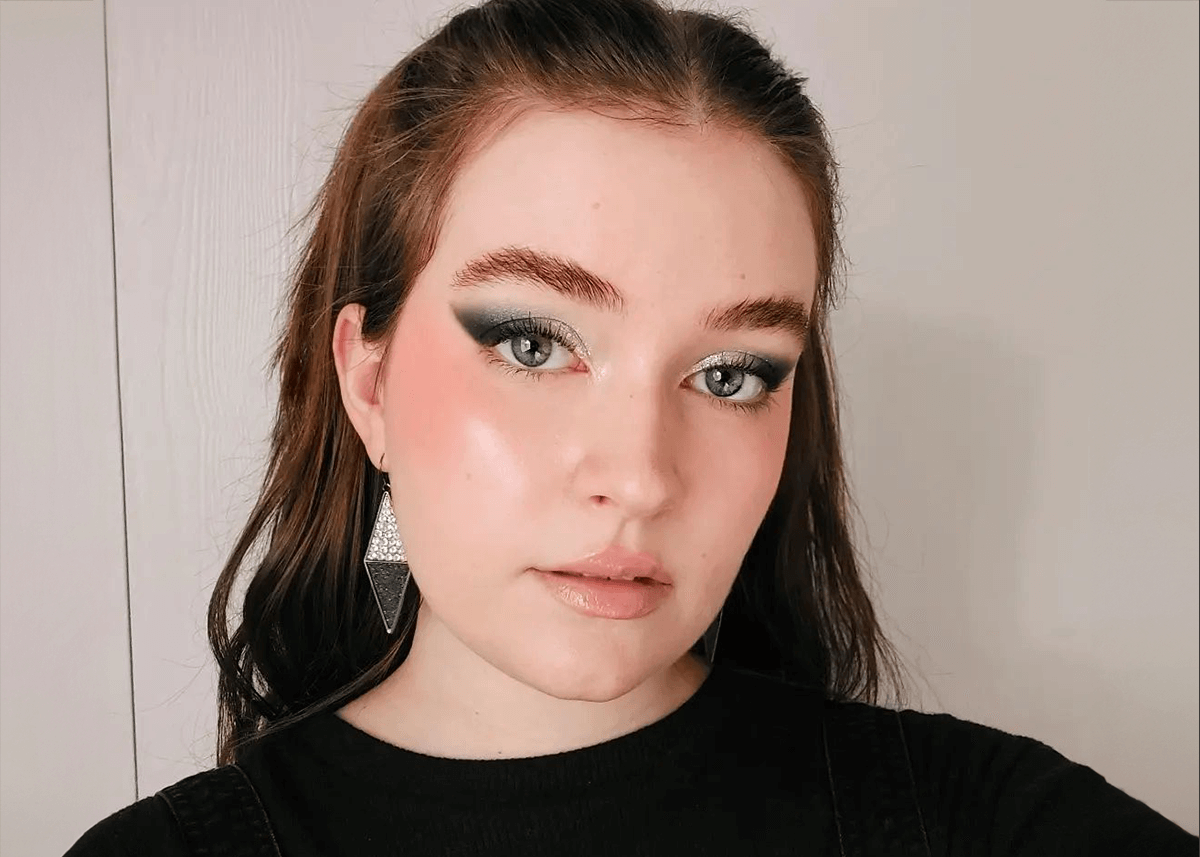
One thing we get asked all the time as makeup artists is where do you place your blush when you wear a smoky, bold eye? Just apply a tad on the bridge of the nose and some on the cheeks, on the off side of the center cheek bone is perfect!
Editorial Blush Placement
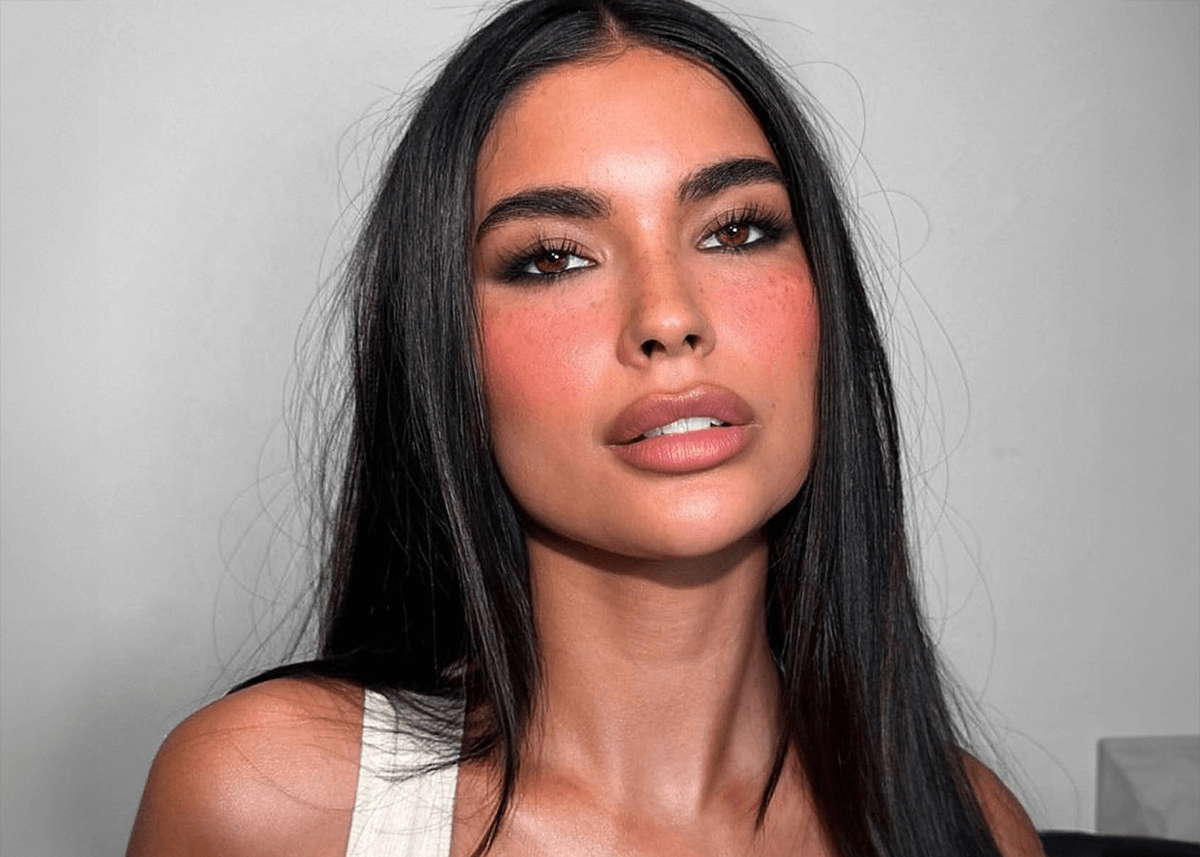
The wonderful Patrick Ta makeup artist is, of course someone we love and respect in the beauty industry! Check out where he places his cream and powder blush duo along the freckled areas of the face, right down to the hollows of the contoured areas. You want to look like a model? This is it!
Under Eye Blush
You know we had to share this very popular K-beauty trend for brighter looking skin! Instead of trying to place your blush on the same stereotypical areas, layer on shades RIGHT under the eyes! This method makes you look younger and tightens up the look of the skin. One word? Brilliant.
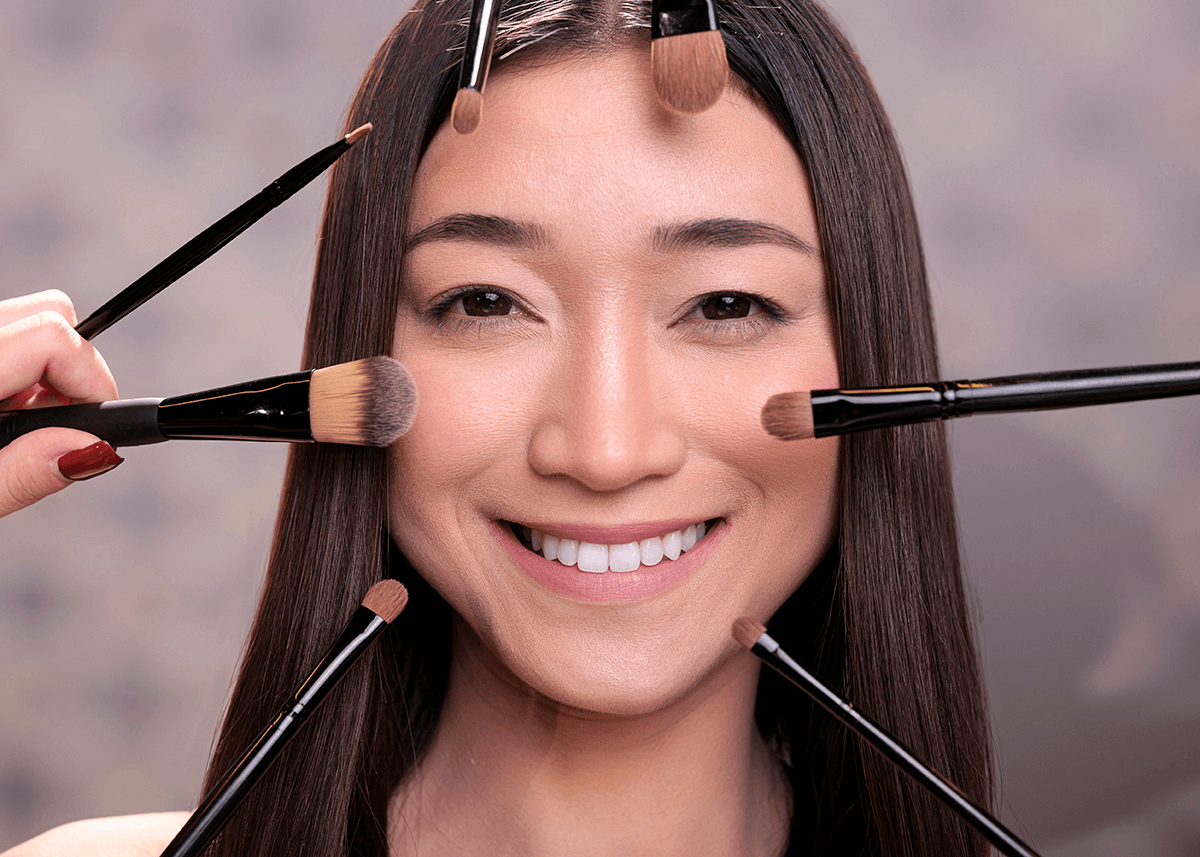
Blush Textures and Tools
Blush is available in various textures, each highlighting it’s own unique features. There are 6 main formulas:
Cream blush: gives a more natural and seamless appearance, adding a youthful warmth and glow to the complexion.
Powder blush: provides a soft-focus finish with intense pigmentation for full-coverage looks. Great for beginners.
Liquid or gel blush: offers a natural and seamless application, providing a lovely flush of color that is easy to blend, making them perfect for drier or older skins.
Stick blush: perfect for traveling and for ultimate color control. You can use your fingers or a cream blush brush to apply the perfect build.
Mousse blush: whipped, creamy, and buildable, this formula is great for daily or dramatic makeup looks. A bit more advanced but easy to pair with powder blushes for creative looks.
Spray blush: not as popular now but still relevant, misting colour onto the cheeks is a great way to get an airbrushed look without the machine.
The right tools can make a world of difference in your blush application. For a cream blush, your fingertips might be your best friend, while for a powder blush, a brush would be the ideal tool. For a liquid blush, you could use a sponge or a stippling brush for precision.
Cream Blush: Your Fingertips’ Best Friend
Cream blush is a wonderful choice for dry, normal, and combination skin types. When applied with the fingertips or a cream blush brush, it can provide a dewy, radiant finish and adds moisture to the skin, reducing the appearance of fine lines and wrinkles for a more youthful appearance.
To use cream blush with your fingertips, follow these steps:
Spot a small quantity onto the back of your hand.
Lightly take a tiny bit onto the middle finger and gently pat the blush onto your cheeks’ under side.
Use your ring and middle finger together to merge and distribute the blush in an upward sweeping motion over the cheek bone.
Continue blending until you achieve the desired intensity and “egg” like shape.
Remember to set it with a setting spray so that it stays on all day!
Powder Blush: The Classic Brush Approach
Powder blush is great for all skin types, especially oily skin types due to its powder absorbing properties. It provides many skin finishes, one for any makeup look need – has buildable pigmentation, and blends well into the skin.
Gently and lightly tap twice the brush into the blush.
Tap on the back of the hand to get rid of the fall out or flick the wand in the air.
Apply the color onto the skin where needed.
Blend outward towards your temples for a smoothed out look.
Remember, the right tool can make a huge difference! Keep your brushes clean and fresh, store it properly away from dust or dander in a brush roll or in your vanity drawer.
For powder blush application, the Bobbi Brown Blush Brush and the EcoTools Precision Blush Brush are excellent options.
Liquid Blush: Precision with Sponge or Stippling Brush
Liquid blush is a wonderful option if you’re aiming for a natural-looking glow. It can be scary as you need VERY little for a buildable look, but it’s perfect for achieving long lasting color, specifically when applied with a stippling brush, sponge, or fingers.
To apply liquid blush, follow these steps:
Stipple the blush onto your cheeks after applying foundation.
Blend it outwards for a smooth finish using your fingers, a brush, or a damp beauty blender.
If you’re using a sponge, dampen with filtered water or a setting spray to gently blend and dab it onto your cheeks.
This method helps to achieve a soft, blended look, leaving you with a beautiful and natural flush of color!
Blush Do’s and Don’ts
Perfect blush application can at times feel intricate, but with these do’s and don’ts, you’ll master it in no time! Here are some pro makeup tips to keep in mind:
Apply the blush when the skin is well hydrated, prepped, and primed for a softer effect.
Use a damp sponge or a stippling brush to blend the blush seamlessly into your face.
Mimic a natural flush by applying it in a C-shape from the temples to the cheeks.
Have in your kit more than one shade and formula for your skin tone and different makeup looks.
When you’re applying blush, consider your face shape and apply the right amount of product. Here are some tips for applying blush:
Gently tap the blush on the back of your hand BEFORE applying onto your cheeks for a controlled finish.
For cream blush, apply it post-foundation, and blend the product in circular motions before tapping it onto your cheeks.
For powder blush, pat it on after foundation and setting powder using a brush to avoid disrupting the base.
For liquid blush, dot it onto your cheeks post-foundation and/or right after foundation. Then blend it out for a smooth finish using your fingers or a brush.
Summary
Even though there are tons of makeup articles saying that you HAVE to place blush on a certain place for your face shape or to flatter the face, really… it all comes down to what makes you happy and LOVE the look that you are wearing.
There’s no right or wrong as long as you feel confident and stunning. Because that it what you truly are, with or without the blush!
Frequently Asked Questions
Where is the proper place to put blush?
The proper place to put blush is towards the top of the ear, in an “egg” like shape, in between the contour and highlight. This will give the most natural and flattering placement for your blush, and is most universal.
What is the two finger blush rule?
To apply blush using your fingers as a ruler, use the two finger rule: place two fingers next to your nose as a guideline and apply blush starting from the outside of your outer finger. This helps create a balanced and sculpted look.
Which way do you apply a blusher?
To apply blush/blusher, use gentle, tapping motions to lay down the product where you want it. Then lightly sweep the product outwards towards the nose for a seamless blend. Remember to apply a bit of color on the tip of the nose to bring it all together and start from the hairline for an airbrushed finish.
How can I identify my face shape for perfect blush application?
To identify your face shape for perfect blush application, examine your forehead, jawline, and the length and width of your face to determine whether you have a heart, round, or square-shaped face. Then, apply the appropriate blush technique for a complimenting facial flush.
What is the Highpoint Sweep technique?
The Highpoint Sweep technique involves applying bronzer below the cheekbones and blending it up to the hairline, which is great for heart-shaped faces as it accentuates high cheekbones and adds volume to the chin. This technique can help you achieve a more balanced and defined look.