Unlocking the Secrets on How to Use a Beauty Blender
Alyssia Chang
- Published

Ever wondered how to get the most out of those famous makeup sponges that beauty influencers use?
We got you covered!
These handy beauty blenders actually do blend out your makeup and more. From finding out what shape or color is right for you, to discovering makeup artist beauty hacks to make this sponge work wonders, you’ll walk away from this article gaining a piece of useful knowledge.
Key Takeaways
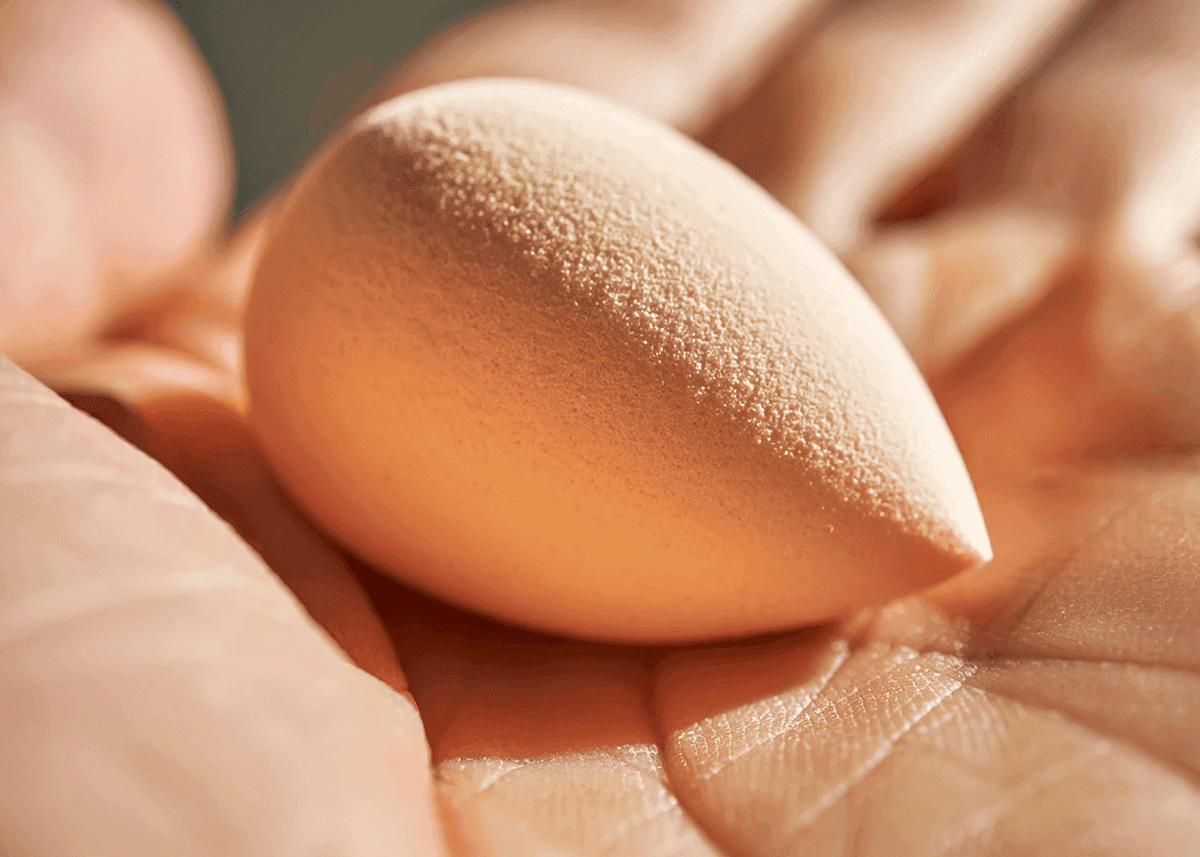
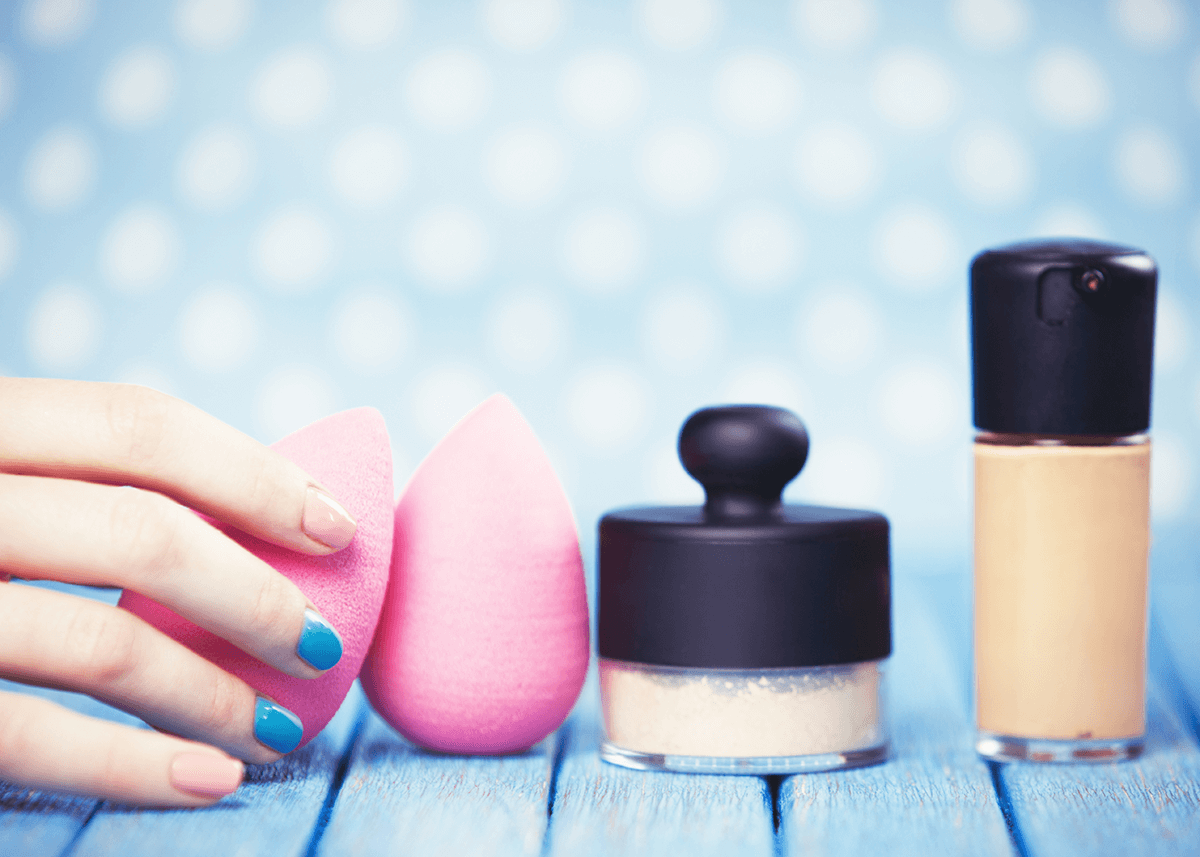
The beauty blender sponge is the perfect multi-functional, essential makeup tool for achieving a seamless blend with foundation, concealer, and even bb cream, thanks to its unique shape designed for precision.
Properly prepping your sponge by dampening it with water or setting spray and squeezing out excess liquid is crucial for a flawless application and maintaining the sponge’s longevity.
For a perfect makeup application, master the technique by using the pointed tip for hard-to-reach areas, the bottom for larger face areas, and the tapping method to avoid streaks and ensure even blending.
Choosing the Right Beauty Blender Sponge
A beauty blender sponge isn’t merely a makeup tool, it’s your secret weapon for elevating your makeup game!
Regardless of whether you’re a seasoned makeup artist or a beginner, a beauty blender sponge should be a staple in your makeup bag. Not only does it blend foundation and concealer seamlessly, but it can also be used to correct makeup mistakes, baking, and to avoid makeup from creasing.
Dark or black colored makeup sponges are the best to use with pigmented makeup products, such as liquid self tanner, cream contour, or brightening highlighters.
Large or the original size is perfect for face application and blending.
The small size beauty blender is best for detailed work, around hard to reach areas, and under the eyes.
The unique shapes of a beauty blender sponge is what makes it so versatile. The soft, pointed blending sponge is designed to reach every nook and cranny of your face, providing precision in makeup application and a detailed finish. Imagine having a personalized tool to fit the needs of your face shape, yup 00n0ow we’re talking!
Prepping Your Makeup Sponge for Use
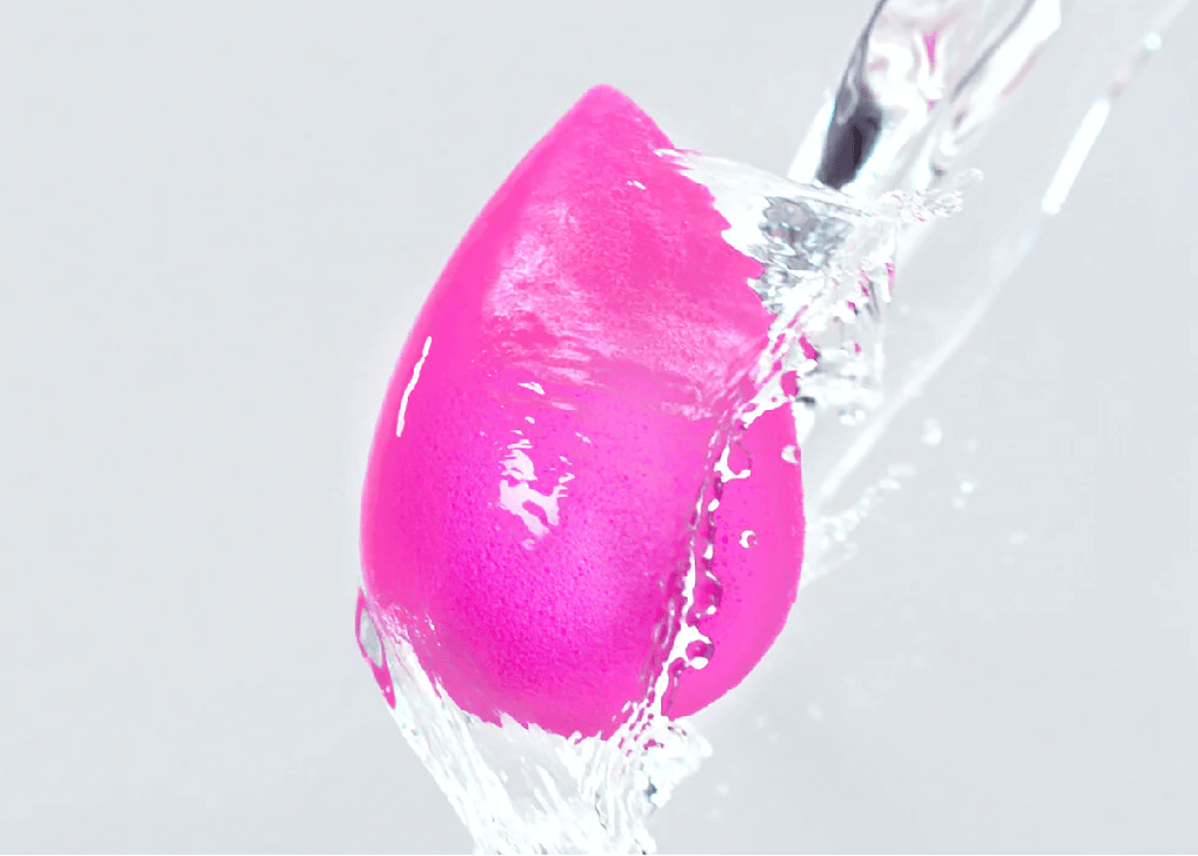
Before explaining the application techniques, it’s worth discussing how to properly prepare your beauty blender.
Like a skilled artist preps their canvas, the right preparation of your sponge is essential for a flawless makeup application. So, what does preparing your beauty blender entail? It involves dampening and squeezing:
Dampen with Water or Sprays
Dampening your beauty blender is the first step in the prep process. You don’t want to use this sponge dry as it will not smooth out the makeup as well, and it’ll just absorb makeup products.
Use water to first dampen the sponge. Many people just use tap water but using filtered water will ensure that your skin is absorbing the best H20 and keeps your skin in it’s healthiest skin state.
Keep a bottle of filtered water by your bathroom sink or vanity so that when you need to dampen your makeup sponge, you’ll be ready! Don’t worry about drippings, you only need to spray enough so that the sponge is damp…not drenched.
Feel free to use various types of setting or hydrating sprays on top of your already water damped sponge to set or re-hydrate specific areas on the face, such as Urban Decay All Nighter Long-Lasting Makeup Setting Spray or MAC Cosmetics Prep + Prime Fix+.
If you live in a hot climate or just want a cooling sensation to relax the skin, store your spray bottle in your fridge or beauty mini fridge so that your beauty blender refreshes the skin!
Squeeze Out Excess Liquid
With your sponge now damp, the next step is to eliminate any excess liquid. This straightforward yet vital step can determine the success of your makeup application.
Once you have dampened the sponge, remember to gently squeeze it multiple times in the sink to remove any excess water, especially if you’re using the tap. This will lead to the best performance during application and prevent water from dripping all over your face.
You can also roll your damp sponge on a clean towel to remove any remaining excess liquid. Properly squeezing out excess liquid not only aids in flawless makeup application but also prolongs the lifespan and durability of your beauty blender. Consider it a way to kill two birds with one stone!
How to Use the Beauty Blender with Makeup
Having prepped our beauty blender, we can now proceed to the thrilling part – getting a handle on the application technique! Knowing how to use your beauty blender correctly can drastically enhance your makeup outcome. Let’s explore how to use different parts of the sponge and the right way to apply makeup.
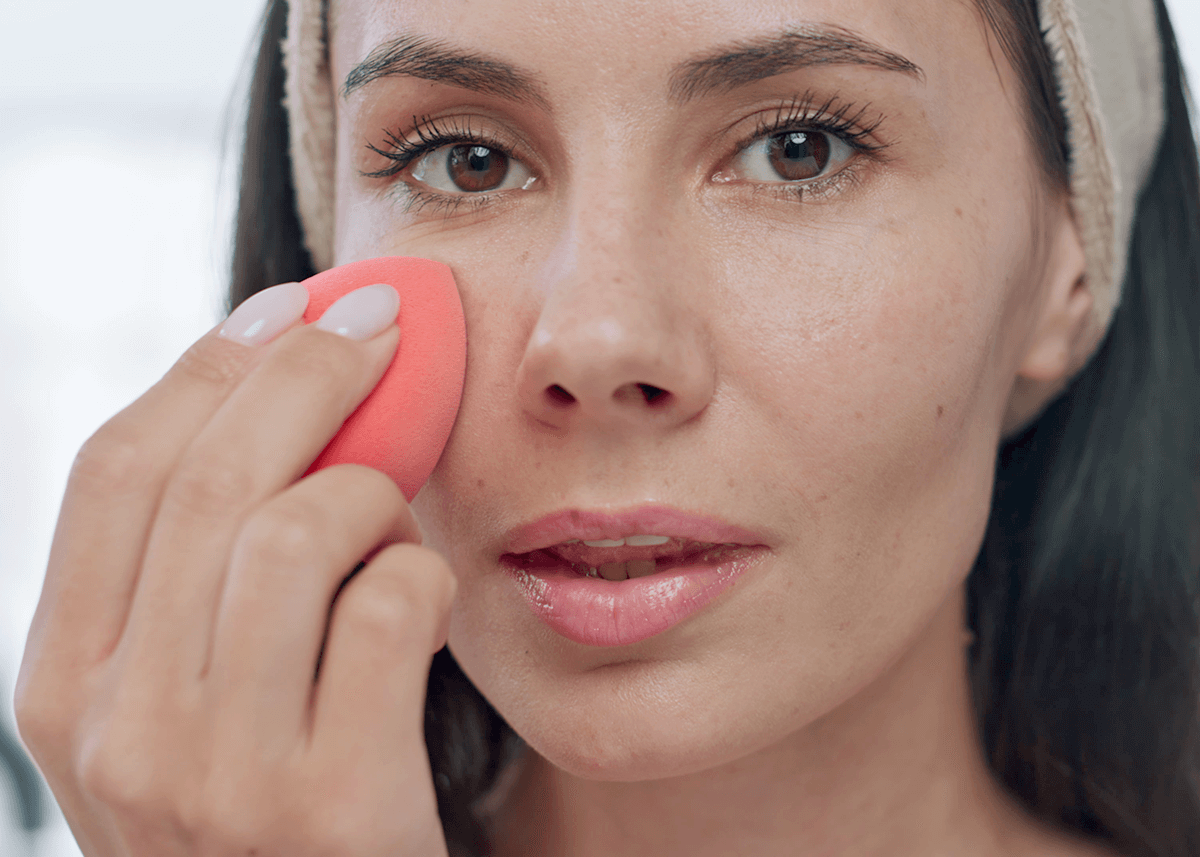
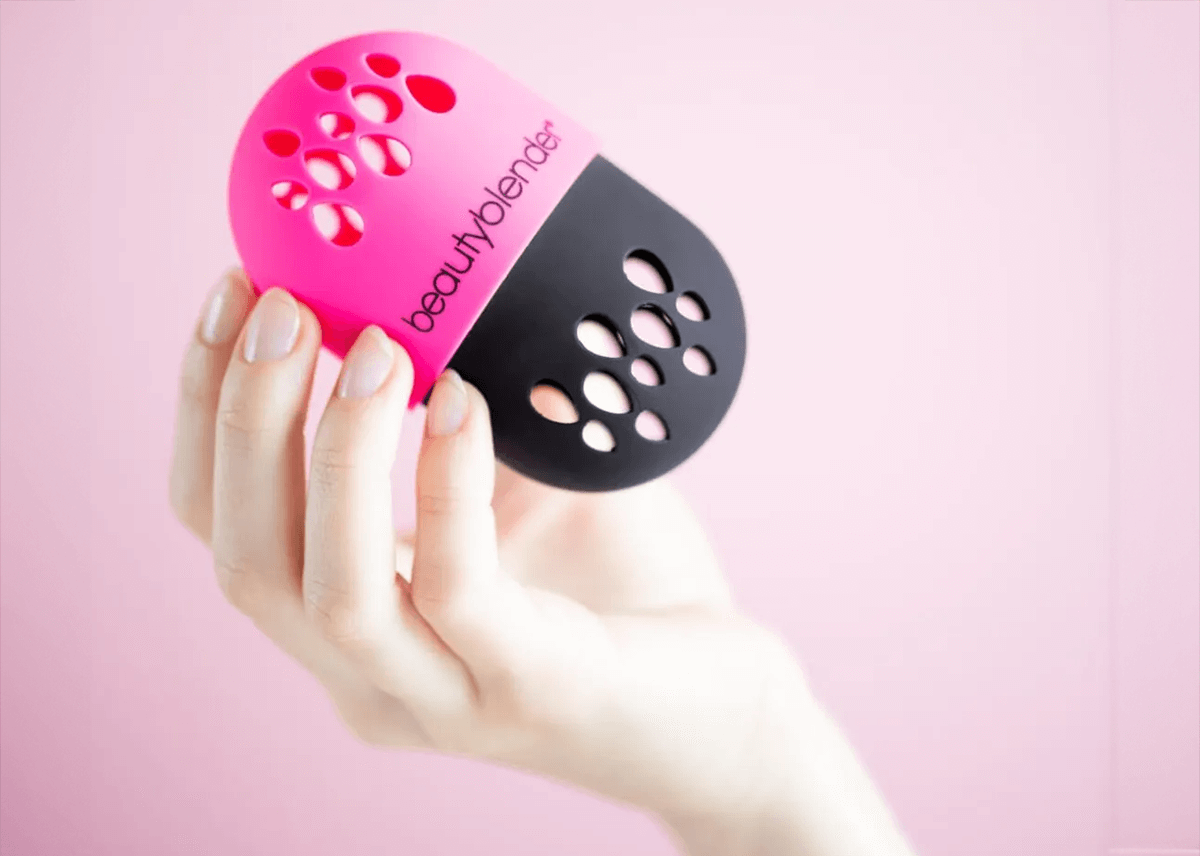
Bottom vs. Pointed Tip
If you’ve ever wondered why the beauty blender has a unique egg shape, it’s all about precision and flexibility. The beauty blender pointed tip:
Is perfect for hard-to-reach areas like under the eyes, around the nose, and mouth.
Excels at concealing all sized blemishes.
Is great for applying contour creams.
Has the best angle for
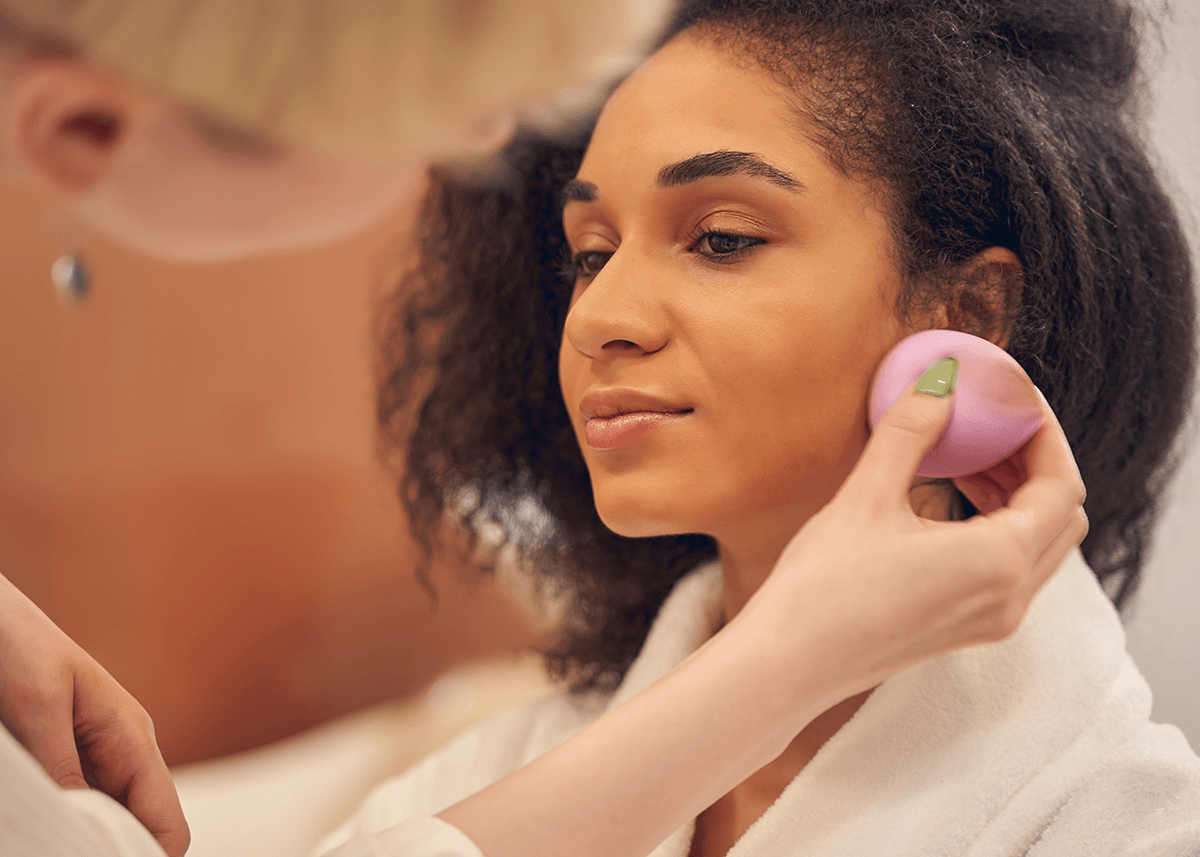
On the other hand, the wider end of the beauty blender is your best friend for larger surfaces of the face like the cheeks, chin, and the forehead. Tapping the wider end on these areas yields faster and more uniform coverage, making it perfect for applying cream blush, powder, or any cream and liquid products.
Bouncing vs. Dragging
Ever wondered why most makeup tutorials emphasize tapping the beauty blender instead of dragging it back and forth?
Here’s the simple reason: bouncing allows for seamless blending and the most product payoff on the skin. On the other hand, dragging can cause streaks or lines, which is not what we want.
Bouncing the sponge, also known as stippling, makes sure that all the makeup is evenly blended.
Using a Beauty Blender for Various Makeup Products
By now, we’ve learned how to prep our beauty blender and mastered the application technique. Let’s now delve into the many ways this versatile tool can be applied to various makeup products.
Whether you’re applying foundation, contouring, or setting your makeup, a beauty blender can do it all!
Foundation and Concealer Application
One of the primary uses of a beauty blender is for applying foundation and concealer. But it’s not as simple as slapping on the product and hoping for the best. For the perfect finish, you need to tap concealer or liquid foundation in small amounts and build it to your liking across your skin.
To apply cream concealer or foundation, start by dabbing a small amount under your eyes and around your nose. Then, use the damp beauty blender to gently blend it in in stippling motions.
For liquid concealer or foundation, pump a small amount onto the back of your clean hand. Then work a small amount onto the damp sponge and gently tap it onto the needed face or eye areas.
Contouring and Highlighting
Contouring and highlighting can be daunting for beginners, but not when you have a beauty blender by your side! The pointed end of the beauty blender is perfect for precision application of both contour and highlighter products. The technique involves dabbing and blending the product where you want to catch the light or mimic shadows.
Tap the makeup sponge into the desired makeup formula. Then, using the side of the tip, stipple the sponge on the high points and low points of the face. Use the round bottom end to blend in the first application of the laid down areas. Repeat until the desired look has been created!
Loose Powder and Baking
This is the main reason why everyone should use a beauty blender!
First, dampen the sponge with water and squeeze out the excess. Then, tap the sponge on your skin (if needed) to blend the makeup before dipping the tip of the slightly damp sponge into the loose powder.
A lot of beauty blender or makeup sponge users will then use the damp sponge with the loose powder directly onto the skin. This can cause uneven application and patchy baking! Instead, tap the sponge with the powder onto a tissue then onto the back of your hand to evenly distribute the moisture liquid into the loose powder for the perfect bake.
‘Baking’ your makeup allows for a long-lasting, photoshopped, crease-free makeup finish. Let the loose powder to set on your face for 5-10 minutes, then brush off the excess powder with a fluffy brush. Et voila! You’re left with a flawless finish that remains intact all day!
Caring for Your Beauty Blender Sponge
Now that we’ve explored the many uses of a beauty blender, let’s talk about how to care for it. Proper care and maintenance of your beauty blender play a pivotal role in securing its functionality and lifespan, not to mention preventing bacteria creating a nasty skin breakout!
Here is how we recommend how to store, clean, and sanitize this multi-purpose tool.
Storing Your Sponge
Storing your beauty blender correctly is paramount to inhibit bacteria growth and to preserve its shape. The sponge needs to breathe and remain dry on all areas, which is why it should be stored in a well-ventilated space. Storing it improperly can lead to moisture retention, causing mold and bacteria growth, and even make the sponge less effective for blending.
The best storage containers for beauty blender sponges are ones that offer breathability, such as beauty blender holders, breathable makeup sponge cases, and silicone sponge holders. If you’re traveling, store it in a mesh bag or a specifically designed case like the Blender Defender to keep it dry and prevent mold and bacterial growth.
Silicone cases are a huge plus because it’s easy to clean, is shatterproof, keeps your makeup bag from getting foundation all over it, and you can boil it for a deep cleanse!
Cleaning and Sanitizing
It’s imperative to clean and sanitize your beauty blender after each use to uphold its performance and ward off bacteria accumulation. You can use a gentle soap and warm water to clean the sponge, or go the extra mile and sanitize it using various methods like microwaving it for 60 seconds or soaking it in lukewarm water with a few drops of non-scented liquid soap.
Remember, a clean sponge is a happy sponge! Being diligent with your beauty blender care will not only give you a flawless makeup application but also prolong the lifespan of your sponge. Thus, make a regular practice of cleaning and sanitizing your beauty blender after each use.
Summary
Beauty blenders are iconic for multiple reasons, so whether you use it just for applying powders, to erase makeup mistakes, or for every makeup step, it is an absolute must have in anyone’s kit!
Frequently Asked Questions
Do you use a beauty blender wet or dry?
You should always use a beauty blender wet, more specifically just damp. It’s designed to be used with moisture to evenly apply your makeup, and how wet you make it can determine the finish of your foundation. So, get ready to wet your sponge for stunning makeup results!
How do you use a beauty blender for the first time?
To use a beauty blender for the first time, dampen it with water under the sink until thoroughly saturated, squeeze out excess water multiple times until you get most of the water out, and then apply makeup by stippling the sponge on the skin.
Can I use the same beauty blender for different types of makeup like foundation and contour?
Yes, you can definitely use the same beauty blender for both foundation and contour, just remember to wash it well after each use to prevent mixing products.
What’s the difference between using a firm versus a bouncy beauty blender sponge?
The main difference between using a firm makeup sponge versus a bouncy beauty blender sponge is their application technique. Firm sponges are better for full coverage and loose powder, while bouncy sponges provide a smoother blend with smooth tapping and bounce back.
How often should I clean my beauty blender sponge?
You should clean your Beauty Blender sponge after each use to keep it performing well and prevent bacteria build-up. Start making it a habit for the best results!