How to Cover Dark Circles Easily with Effective Pro Techniques
Alyssia Chang
- Published

Struggling with dark circles that seem to shadow your every look?
You’re not alone, and there’s no need to settle for tired eyes!
This article dives straight into easy methods for concealing those stubborn under-eye shadows, teaching you techniques that will help you master how to cover dark circles effectively, regardless of your skin tone or type.
Key Takeaways
Choose the right concealer shade matching your skin’s undertones and select creams or liquids based on your skin type for a more natural look without cakey lines!
Know the steps and what coverage to use with priming, using eye cream, color correction for your skin tone, and how to blend.
Lock in your hard work with the perfect setting powder application, avoiding product build up and making everything last.
9 Tips and Tricks to Cover Dark Circles
- Start with Hydration
Well-moisturized skin ensures that concealer blends smoothly and doesn’t settle into fine lines. Use an eye cream with ingredients like hyaluronic acid or caffeine to hydrate and depuff. - Use a Color Corrector First
To neutralize dark circles, apply a peach or orange color corrector before concealer. Peach tones work for lighter skin, while deeper oranges are better for darker skin tones. - Choose the Right Concealer Shade
Pick a concealer that matches your skin tone to seamlessly blend dark circles into the rest of your face. If you want to brighten the under-eye area, choose a shade one tone lighter. - Apply Concealer in a Triangle Shape
Instead of dotting concealer directly under the eye, apply it in an upside-down triangle shape to lift and brighten your face naturally. - Blend with a Damp Sponge or Finger
For a flawless finish, blend your concealer using a damp beauty sponge or your ring finger (which applies the least pressure to delicate under-eye skin). - Let Concealer Sit Before Blending
For better coverage, let the concealer sit on your skin for about 30 seconds before blending. This helps it thicken slightly and improves its staying power. - Set with a Lightweight Powder
To prevent creasing, lightly set your concealer with a translucent setting powder using a fluffy brush. Avoid too much powder to prevent cakiness. - Avoid Heavy Layers
Applying too many layers of concealer can make dark circles look worse by emphasizing fine lines. Use thin layers and build coverage gradually. - Brighten the Inner Corners
A touch of highlighter or a light eyeshadow in the inner corners of your eyes can make them appear brighter and draw attention away from dark circles.
9 Mistakes People Make Covering Dark Circles
- Using Too Much Eye Cream Right Before Makeup
Hydration is key, but applying too much eye cream right before concealer can cause products to slide around and prevent proper blending. Let your skincare absorb for at least 5–10 minutes before applying makeup. - Rubbing Instead of Tapping When Blending
Many people rub or swipe their concealer instead of gently tapping. This removes more product than it blends, leading to uneven coverage and even irritation on delicate under-eye skin. - Applying Concealer Too Close to the Lower Lash Line
Placing concealer directly under the lower lashes can make the eyes look smaller and cause product buildup, leading to creasing. Instead, apply it slightly lower and blend upward for a lifted effect. - Ignoring the Rest of the Face
Focusing only on dark circles and leaving the rest of the face bare can make your under-eye area look too bright, creating an unnatural contrast. Even if you don’t wear foundation, blending a light layer of concealer in key areas (like around the nose and mouth) helps balance everything out. - Not Adjusting Coverage Based on Lighting
What looks good in bathroom lighting might not work in natural daylight. Many people use concealer that looks flawless indoors but appears too thick, light, or unnatural in bright lighting. Always check your makeup in different lighting before heading out. - Overlapping Too Many Layers of Different Products
While layering products can be helpful, mixing too many formulas (eye cream, corrector, thick concealer, foundation, and powder) can create a heavy, cakey buildup that makes dark circles look worse instead of better. - Skipping a Thin Base Layer Before Corrector
Going straight in with a heavy orange or peach corrector on bare skin can sometimes look too intense, especially if you’re fair-skinned. A light layer of concealer first can help it blend more naturally. - Using a Shimmery or Reflective Concealer
Some concealers have light-reflecting particles meant for brightening, but these can sometimes highlight puffiness and texture, making under-eye circles look even more pronounced. A natural satin or matte finish works best for coverage. - Forgetting About Lifestyle Factors
Relying only on makeup and ignoring factors like poor sleep, dehydration, high salt intake, or allergies can make dark circles worse over time. Concealer helps, but long-term improvement requires better hydration, sleep, and nutrition too! Use a neutral brown eyeshadow to add depth and dimension to the outer corners. Then blend.
Smudge out the eyeshadow along the lower lash line to emphasize the uplifted effect.
Introduce Vitamin C into your daily skincare to help reduce the appearance of dark circles.
Hydrate the under-eye area with moisturizer before makeup application for easy makeup application.
Choose a color corrector that complements your skin tone based on the color wheel to cancel out dark circle discoloration.
After applying concealer and foundation, set it gently with a fine loose setting powder for longevity and prevent creasing.
Avoid pulling the skin during the application of concealer to avoid creasing.
Don’t apply a ton of powder makeup; use thin layers to prevent caking.
Don’t use a concealer that is too light or too dark, as it can draw attention to the dark circles instead of hiding them.
Don’t forget to blend the edges of your concealer to avoid harshness.
Overcoming the First Obstacle: Concealer
Concealer is the “magic” when it comes to hiding your dark under-eye circles. To use it effectively, it’s key to select the right shade, use the best one for your skin type, and choose the appropriate texture.
The Right Shade for You
Selecting a suitable concealer shade will make or break how easily you can cover your dark circles.
Using a concealer shade that is the same color as your skin tone will help blend the dark circle skin into the rest of your face and not stand out. While choosing a lighter shade is an old trend that if not blended or layered properly, can make your dark circles look ashy or grey.
We recommend that you use a concealer shade that is the same color as your skin and then layer with a color corrector if needed. Makeup technology gets better every year and so does the dark circle coverage!
To brighten the under eye area, then you can use a lighter concealer, matte highlighter, or liquid/powder brightener. This keeps the face looking natural and lifted without looking cakey.
While testing shades, see how it covers the blood vessels on the back of the hand or similar tone of dark circle color. If the coverage isn’t enough, then you know a color corrector will be needed!
Understanding Skin Types
Not only the shade but also understanding your skin type plays a significant role in choosing the right concealer.
If you have dry skin, opt for a concealer with a creamy formula that is hydrating and made for dry to sensitive skin. Got oily skin? Then a matte finish, oil controlling concealer is your best friend.
Given the under-eye area’s delicate skin, using a lightweight feeling concealer that is tested to be used for the under eye area with a blendable formula to make your skin look it’s best.
Consistency Matters
For undereye circles, consistency is important!
Liquid concealers are one of the best options, comes available for all skin types, and allows for buildable coverage without appearing cakey resulting in smooth skin.
If your concealer is too thick, it can emphasize fine lines or dark circles. If that’s the case, thin it out with a lightweight moisturizer for a more natural finish.
How to Step-by-Step Cover Under Eye Dark Circles
With the basics understood, let’s guide you through a detailed process to cover dark circles effectively and getting rid of those eye bags!
Prepping and Priming
Before we apply the concealer, applying a hydrating eye cream then an eye primer is super important for your makeup to got on smoothly, not creating a cakey texture, as well as avoiding makeup from creasing.
A well-primed skin helps makeup to stay in place longer, giving you that much-needed staying power without moving!
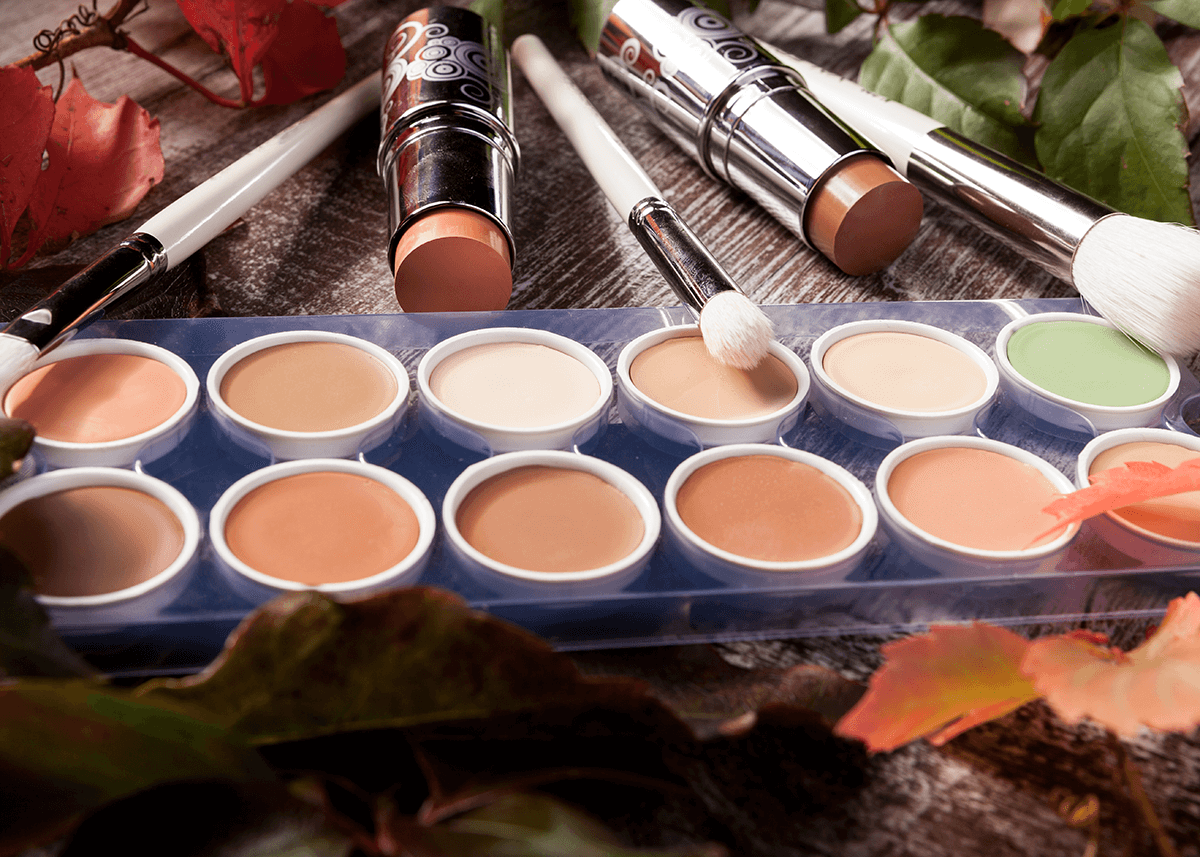
Color Correcting Explained

Color correction plays a transformative role in the journey to veil dark circles. Specific color correctors like peach for light skin or orange for darker tones neutralize dark circles.
Apply the corrector only over the discolored areas, with your fingers or a concealer brush, starting on the darkest part of the dark circle then working your way upwards.
Follow by a layer of concealer matching your skin tone to avoid any unnatural hues showing through.
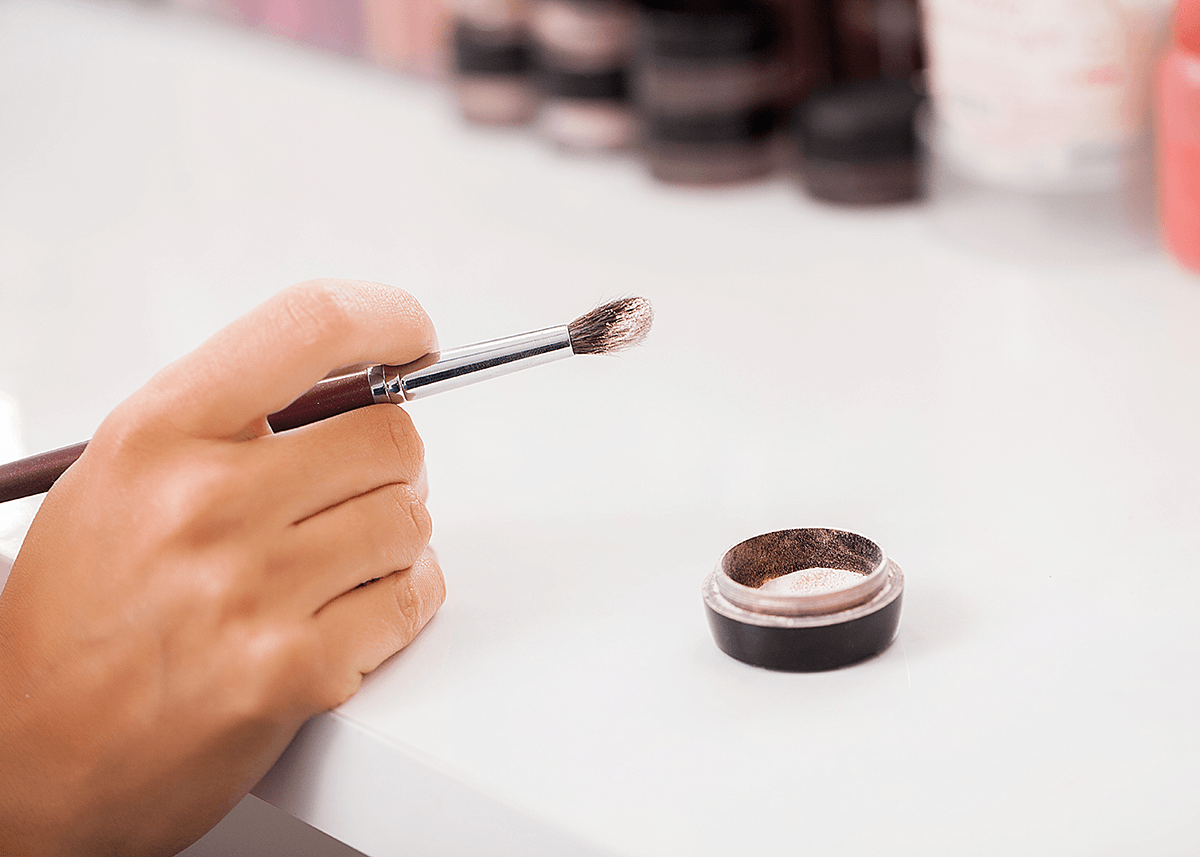
Seamless Blending Techniques
The primary role of a makeup brush, like a beauty blender, is blending. Wait a couple seconds until your under-eye concealer becomes slightly tacky, then use your ring finger to tap and blend for a natural finish if you’re not using foundation.
For an even finish, apply the concealer in a tapping or stippling motion and blend it out the harsh edges with a fluffy brush.
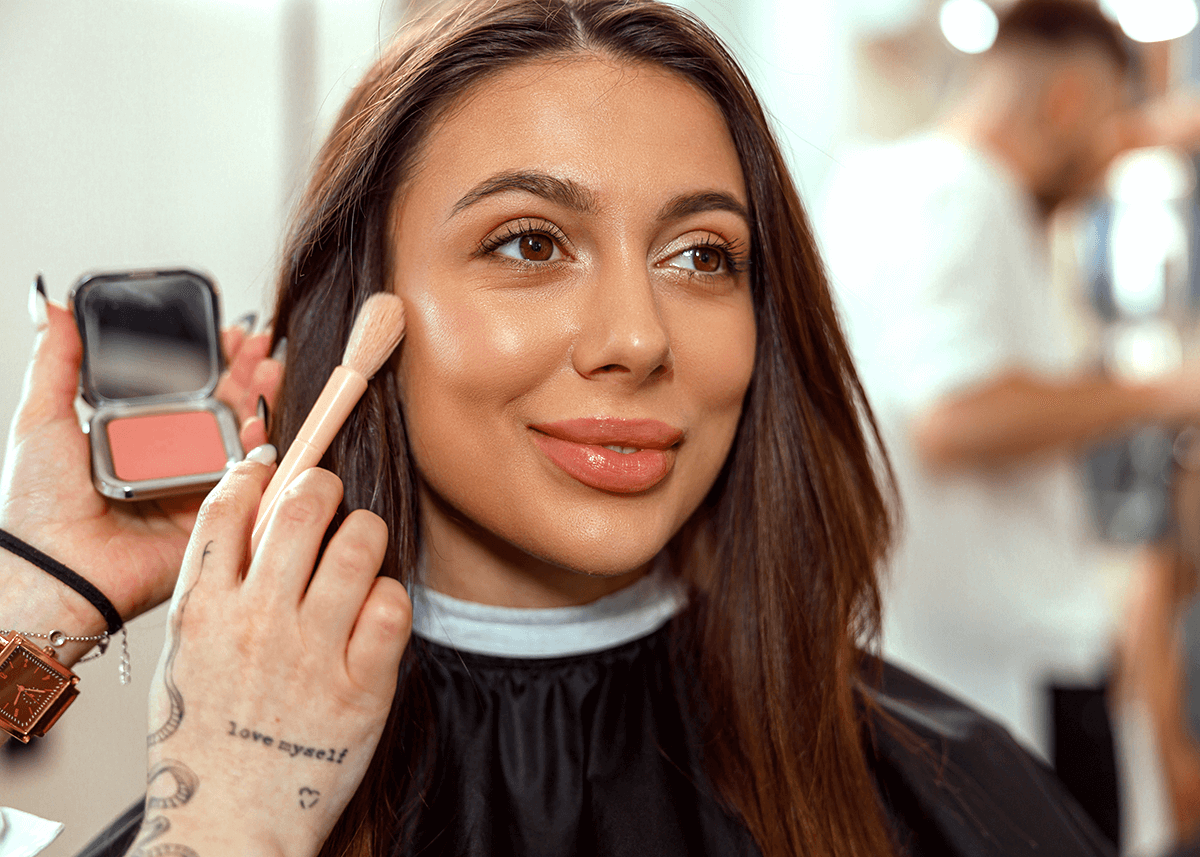
F is for Face Foundation
Applying foundation to blend the face skin with the newly concealed areas will help make the makeup look more refined and seamless! It doesn’t have to be full coverage, but something that will make the rest of the makeup look clean and more polished.
Set It and Forget It

Setting your concealer with powder is essential to prevent it from creasing and to keep it intact throughout the day.
A light application of setting powder will help to maintain the concealer’s coverage and avoid the makeup from moving or melting.
Choosing Your Powder
Use a lightweight or buttery formula so that the under eye doesn’t look heavy.
Whether it’s pressed or translucent, stippling a thin layer on top of the just applied wet makeup products will seal it all in!
The Art of Application
The application of setting powder is no less than an art. Start with a light touch, using a fluffy brush with soft, gentle bristles so that it doesn’t move the rest of the makeup.
If creases appear after setting the powder, blend out the imperfections using a small, clean brush.
Bright Eyes Finishing Touches
Just as you thought we were finished, as your pro makeup artist, here is my favorite final touches to elevate your makeup!
Highlight the Inner Corner
Think of brightening the inner corners of your eyes as turning on a light in a dimly lit room.
Use a light-colored eyeliner pencil or a shimmery eyeshadow in soft and reflective shades like champagne or pearl to illuminate the eyes’ inner corners, so that it will draw attention to the eyes instead of the recently covered dark areas!
Define the Outer Corner
Accentuating the outer corner of your eyes can yield a lifted and awake appearance. Here’s how to do it:
This will make your look balanced, and create an eye-defining makeup look.
Natural Remedies for Dark Circles
If you’re looking for a gentler approach to reducing dark circles, natural remedies can be a great alternative. Simple ingredients like cold tea bags (especially green or chamomile) can help reduce puffiness and brighten the under-eye area thanks to their anti-inflammatory properties.
Cucumber slices and potato juice are also well-known for their cooling and skin-lightening effects. Applying aloe vera gel or almond oil before bed can nourish and hydrate delicate under-eye skin, helping to improve its appearance over time. While natural remedies may take longer to show results, consistency is key for noticeable improvements.
Do’s and Don’ts of Dark Circle Coverage
Since those pesky dark circles tend to be a common issue, let’s dive into our pro tips and common mistakes to avoid, for effective cover dark circle coverage!
Do’s
Don’ts
Summary
We know that dark circles can be super frustrating, but with time and practice, you’ll ace your conceal game in no time!
Dark circles, what’s that?!
Frequently Asked Questions
What causes dark circles under the eyes?
Dark circles can result from various factors, including genetics, lack of sleep, allergies, aging, and lifestyle choices. Understanding the underlying cause can help in selecting the most effective treatment or concealing method.
How can I prevent dark circles from forming?
Preventive measures include getting adequate sleep, managing allergies, protecting the skin from sun exposure, and maintaining a healthy diet rich in vitamins. Regularly moisturizing the under-eye area can also help maintain skin elasticity.
How can I cover up dark circles?
You can easily hide dark circles with these simple steps! Start by using a primer, then correct and conceal with a color corrector and concealer, blend with your favorite foundation, and finally set it all with setting powder. Don’t forget to de-puff your eyes before and apply eye cream for an even application!
Which Colour corrector is best for dark circles?
The best color corrector for dark circles is a peach or orange shades, as it helps cancel out the bluish hue undertones. Try using an orange corrector like the Smashbox Color Correcting Stick for effective dark circle coverage.
Why doesn’t my concealer cover my dark circles?
Your concealer might not be effectively covering your dark circles because the color or formula brings out the darkness more or isn’t high enough in coverage. Try moisturizing and using a color corrector to improve the coverage and reduce the appearance of dark circles!
Where to put concealer?
You should apply concealer underneath the inner corners of your eyes, around your brows, on blemishes or dark circles, and down the sides of your nose to create a more pinched and highlighted look.
Why is choosing the right concealer shade important?
Choosing the right concealer shade is crucial for a natural, lifted look. Choose a shade that matches your skin tone to minimize the appearance of dark under-eye circles.