Master How to Cover ANY Pimple with Makeup
Alyssia Chang
- Published

Struggling to hide that stubborn pimple with makeup?
We completely understand.
Going out with having a big, puss filled blemish can give unwanted looks and attention. Making it hard to get through the work day or just the public in general!
Here is the best makeup article for you to master covering up your acne, our unwanted “friends”. Discover practical tips on how to cover a pimple with makeup effectively, regardless of the type of acne blemish you’re dealing with.
Key Takeaways
Disguise any pimple type with makeup suited for acne-prone skin, using products such as oil-free, anti-inflammatory cosmetics, primers, and moisturizers to create a smooth application!
Keep your makeup tools super clean to prevent bacteria build-up and combat acne! Brushes should be sanitized every two weeks and sponges after every use with gentle soaps and cleaners.
Master the Concealer-Foundation-Concealer ‘Sandwich’ Technique for the ultimate coverage, beginning with a concealer that includes acne-fighting salicylic acid, followed by an even foundation layer, and finishing off with a skin-tone matching concealer!
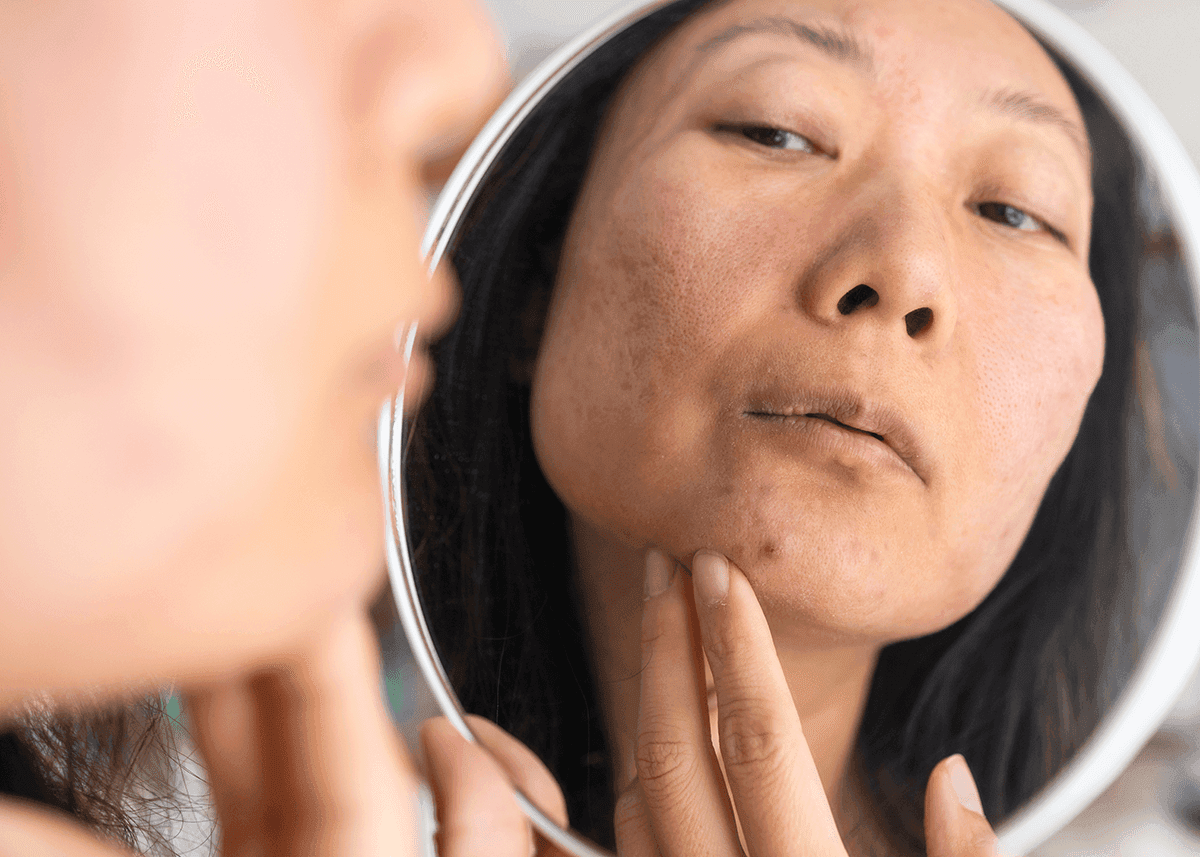
Understanding Acne: From Whiteheads to Nodules
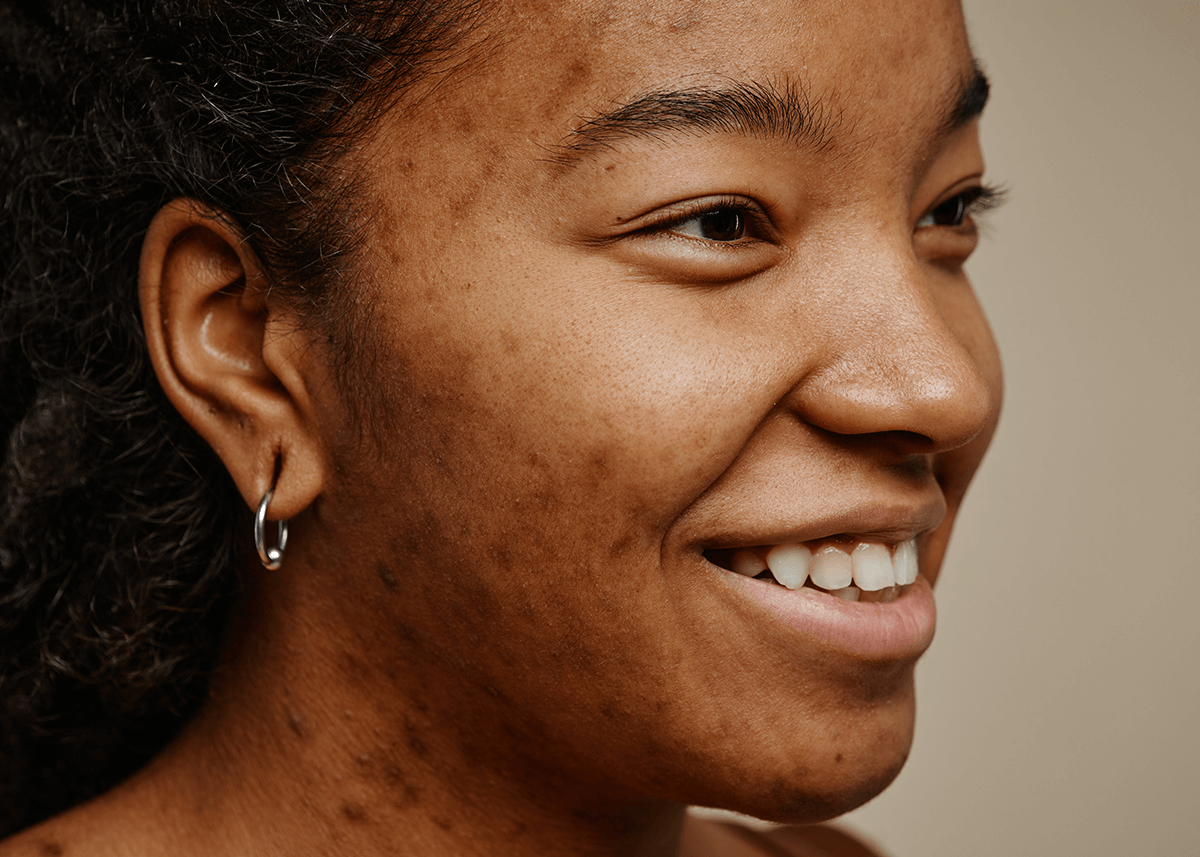
You might be wondering, “What exactly are those annoying bumps on my skin?” Well, they can be different types of acne pimples, including whiteheads, pustules, nodules, and flaky pimples.
As frustrating as different types of acne are, choosing the right makeup for acne-prone and oily skin can make a huge difference!
Even if it feels overwhelming, fear not! Makeup suited for acne-prone skin includes oil-free products, cosmetics with antimicrobial and anti-inflammatory ingredients, and noncomedogenic options like mineral-based makeup. And to up your game, you can use fabulous products like Hero Cosmetics Rescue Balm and The Ordinary Salicylic Acid 2% Exfoliating Blemish Solution. Exciting, right?
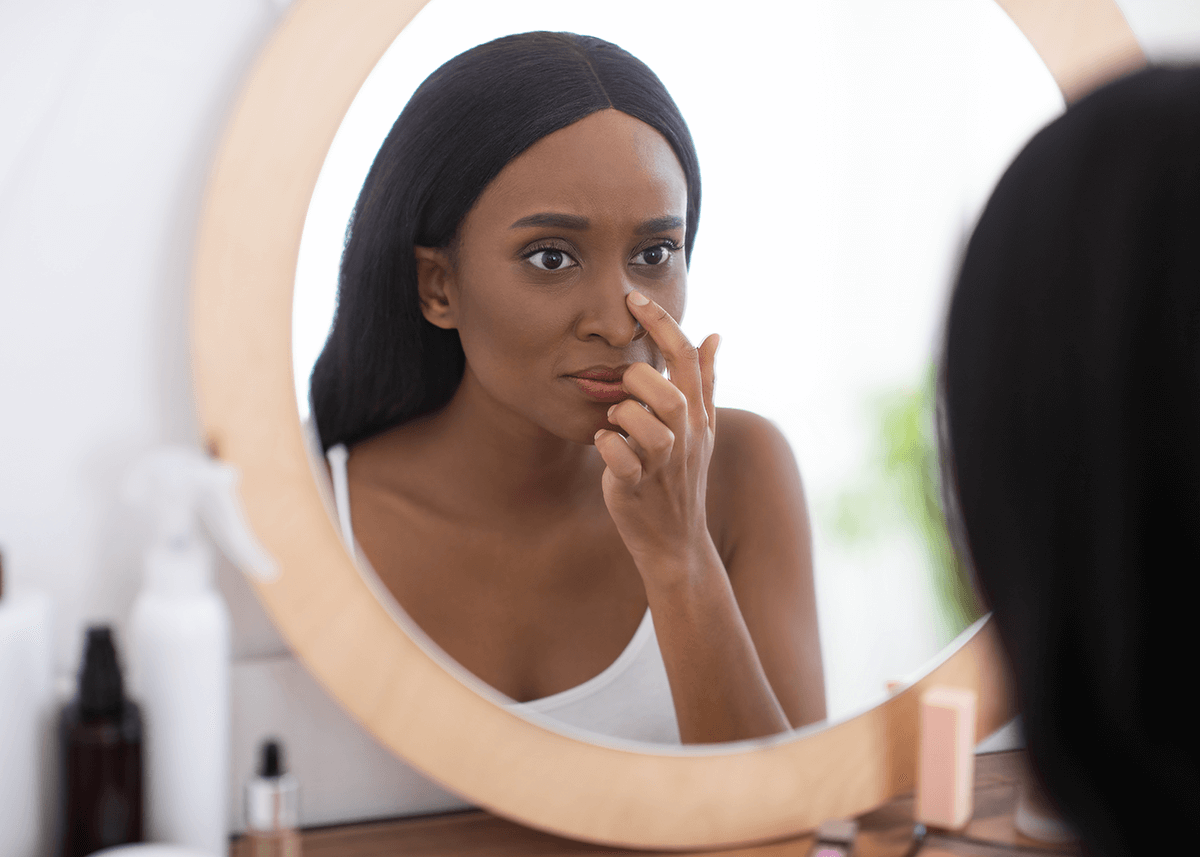
Skin Prep for Covering Up Pimples
Before kicking off your makeup application, priming and preparing your skin is a super important step.
Using a clean, noncomedogenic smoothing pore primer such as Tatcha The Silk Canvas Protective Primer, a deep pore cleanser, and a hydrating moisturizer can create a barrier between the breakout and the foundation.
Using these products will help a lot in creating a “happy skin” environment for your textured blemishes, give something for your makeup to adhere to, and prevent more clogged pores or breakouts, resulting in better makeup application. Additionally, maintaining a proper skin care routine for acne-prone skin is vital for long term prevention and healing.
Help out your angry skin by changing and washing your pillow case regularly! The oils of your dirty hair and face skin seeping into your pillow fabric grows bacteria, then can transfer back onto your face skin (especially if you’re a side or front sleeper). Which can cause longer lasting acne and hold back your skin from healing quicker.
Whiteheads and Surface Blemishes
Resisting the urge to pop or touch your pimple is super important when preparing to cover whiteheads or any pimples with makeup. Instead, let the pimples run it’s course and heal on it’s own to prevent skin damage, infections, and acne scarring.
To cover up whiteheads, use a precision concealer brush for a soft yet targeted application with a full coverage, cream based concealer.
After applying concealer to a whitehead with the brush, gently pat the outside rim areas with a clean ring finger or the side of the brush to make sure that the concealer is well blended with the rest of the skin. Follow up with a liquid foundation that matches your skin tone, and set with a medium to full coverage setting powder.
Deeper Concerns: Nodules, Pustules, and Cystic Acne
Nodules and cystic acne are caused by the overgrowth of propionibacterium acne bacteria on the skin and/or clogged pores with natural oils, dead skin cells, and debris. This can lead to painful, deep, or red blemishes and noticeable bump(s).
But don’t worry, covering these deeper types of pimples are not impossible!
To prepare your skin, start with a 5 to 10 minute warm compress — to soothe the area and smooth out the texture. Then, instead of using just full-coverage liquid foundation, opt for a combination of color corrector and liquid full coverage concealer with your foundation.
This technique will help you conceal acne more effectively while preventing the makeup from highlighting the pimple’s size and texture.
The Difficult Flaky Pimple
We now focus on the ‘flaky pimple dilemma’. These are zits that have become dry and flaky, making makeup application a bit tricky.
To cover up a flaky pimple, you’ll want to prep the skin properly so that the texture doesn’t show. This is our best tips:
Moisturize: hydrate the skin with a good amount of moisturizer for smoother makeup application. Feel free to apply a bit more on the problematic areas. Skinfix Barrier+ Skin Barrier Restoring Gel Cream or Neutrogena Hydro Boost Hydrating Water Gel Face and Neck Moisturizer are great options!
Face Mask: use a pore and blackhead detox mask the night before needing to cover up, for a deeper moisturization.
Exfoliate: apply a gentle face exfoliator such as the OLEHENRIKSEN Pore-Balance™ Facial Sauna Scrub in a warm shower at least once a week to help remove the dead skin cells.
Then, apply your makeup with thin layers of liquid concealer, corrector if needed, and liquid foundation. Add a little extra coverage on the center of the inflamed area.
Sanitation Savvy: Keeping Your Makeup Clean
Here’s a “surprising” fact: your makeup tools and how you apply your makeup can be a breeding ground for bacteria, which can contaminate your makeup products and aggravate acne-prone skin. Therefore, it is absolutely essential to keep your makeup brushes and sponges clean.
So, how often should you clean your tools? Makeup brushes should be surfaced cleaned once a week and deep cleaned cleaned at least every two weeks, while makeup sponges should be washed after every use. This keeps your tools are free from bacteria buildup!
Cleaning your makeup tools is super easy, all you need is brush cleanser or water and a gentle soap, like baby shampoo, hand soap, or a facial cleanser. For those tough residues in brushes, natural unscented dish soap or an oil cleanser can also work wonders.
The Right Way to Clean Makeup Sponges and Brushes
To clean your makeup sponges, place them in a bowl with lukewarm to warm water and liquid soap, then vigorously work the soapy water into each sponge for at least 15 seconds.
Then, let the sponge dry in a makeup sponge holder so that the air can flow all around to prevent mold and bacteria growth.
For your makeup brushes, use a cleaning agent like natural dish soap, gentle soap, or baby shampoo, buff the brush on the inside of a clean hand around the finger ridges, and rinse the brushes under warm running water until the water runs clear. Squeeze multiple times to rinse out the deeper makeup buildup.
Never let your brushed dry fully on the counter. You want the air to flow all around the wet bristles. Let the brushes hang on the edges of the counter or table so that the ferrule/handle is the only part making contact with the surface.
The Concealer-Foundation-Concealer “Sandwich” Technique
Next, we discuss the “sandwich” makeup technique. This involves layering concealer, foundation, and then concealer again for ultimate coverage of acne pimples. It’s the perfect recipe for hiding any imperfections!
First Layer: Applying Concealer
When it comes to the first layer of concealer in the “sandwich” technique, apply a thin layer and let it set for a 20 to 30 seconds.
If needed, try using a green color-corrector to neutralize any redness before the concealer that contains citric acid. Citric acid gently lifts and breaks down dead skin cells and helps to clear up pimples faster, making the skin’s surface smoother. It’s like a magic potion for your skin!
Applying the first layer of concealer is pretty easy. Just stipple a little bit onto the zit, then blend out the edges until it’s seamless with the skin area around the blemish.
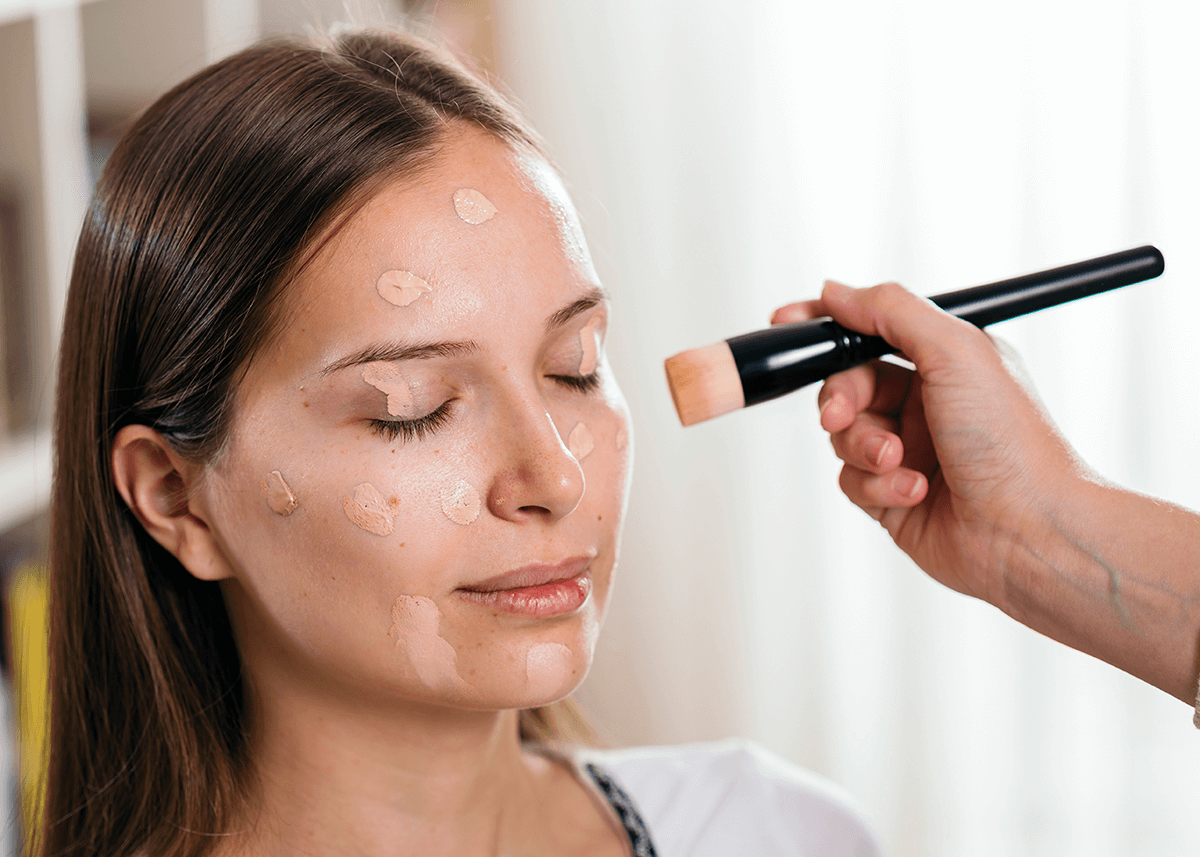
Foundation Application: Creating an Even Canvas
Next, is the foundation application. This is your chance to create an even canvas for the final layer of concealer. For a even layer, use a clean makeup sponge or a foundation makeup brush to evenly apply your foundation across your entire face. This will help leave a natural finish.
But remember, you should avoid thick or heavy foundation on a pimple to prevent drawing so much attention to it with an uneven look! It’s all about creating balance.
Feel free to set the “sandwich” makeup on the blemish with a powder foundation or translucent powder so that the makeup doesn’t move, as extra oil can come out of that area though out the day.
Final Conceal: Extra Coverage Where Needed
Lastly, we arrive at the final layer of this awesome pimple covering technique — the final conceal. This is where you provide that extra coverage for those stubborn blemishes, making the blemish color undetected after foundation application.
Some of our favorite concealers for extra coverage of pimples are, NYX Professional Makeup HD Photo Concealer Wand, and Nars Soft Matte Complete Concealer.
Do’s and Don’ts of Pimple Camouflage
Now, we delve into some do’s and don’ts of pimple camouflage. These are your golden rules for effective coverage without causing further irritation or breakouts.
First, always clean your acne-prone skin before applying makeup, use a mattifying primer, and use concealers specifically made for acne-prone skin that matches your skin color appropriately.
On the flip side, here are some things to avoid if you have acne:
Sharing makeup products.
Picking or constantly touching your face.
Applying makeup to open or moist acne blemishes.
Using makeup products that contain oils, silicone, fragrances, lanolin, petrochemicals, acetylated lanolin and alcohol, algae extract, algin, and avocado oil/butter.
These substances can clog pores and exacerbate your acne.
Do’s: Best Practices for Pimple Coverage
Always use clean makeup tools when covering pimples to prevent the transfer of dirt and bacteria across your face. This can help maintain clearer skin.
Color-correcting concealers are essential for covering acne. They use colors opposite on the color wheel to counteract the appearance of pimples. For example, green is used to cancel out redness.
Use a thin amount of concealer or foundation when layering. This avoids cakeyness and helps to actually build the coverage that you need instead of directly applying large amounts at once.
Use a clean beauty, gentle exfoliator to help your skin texture and pores heal. This will help the makeup look more natural and smooth when covering up a pimple.
Don’ts: Common Mistakes to Avoid
Avoid applying heavy makeup on acne-prone skin. It can make the acne look worse by showing the texture of the blemish or cause new breakouts. With makeup on acne-prone skin, less is more.
Resist the temptation to pop pimples before applying makeup. The open wound might produce liquids throughout the application, making it hard to hide. Popping pimples also increases the risk of infection and scarring, and delays the healing process.
Try not to use your fingers or a dirty makeup sponge to apply makeup as the bacteria transfer can irritate your skin and cause your acne to get worse.
Expert Tips from Professional Makeup Artists
Next, let’s glean insights from the professionals. Expert tips from a professional makeup artist, including a skilled makeup artist, can help you achieve flawless pimple coverage. They use color correction to neutralize redness and discoloration, making it easier to cover acne pimples.
They also utilize light-reflecting and diffusing products to soften the appearance of acne scars and create a more natural-looking finish.
The Role of Color Correction
Color correction uses the basis of the color theory to rectify discoloration. It’s all about using opposites on a color wheel to effectively cancel each other out. A green concealer is commonly used to cover the redness from acne blemishes or scars, and shades of peach, orange, or red are recommended for dark blue or green spots.
The Power of Light: Reflecting and Diffusing
The power of light in makeup is truly transformative. Light-reflecting makeup products work by using special ingredients that help to reflect light like a prism, enhancing the skin’s natural luminosity at the surface while also defending against external factors.
Light-diffusing products, such as mineral powder, blur imperfections and impart a soft, radiant glow, minimizing the look of fine lines, wrinkles, and pores for a smoother and even skin appearance. Use this after on your blemishes to set and look more natural.
Summary
Pimples are one of those things where it can really effect us, especially when we are comparing ourselves to the photoshopped, blurred skin in today’s social media.
Just remember that your skin’s life is a journey, you’re beautiful just the way your are, and makeup is there to help you feel at your best when you need that extra boost!
In other words, you got this and we believe in you!
Frequently Asked Questions
How do you cover up pimples with makeup?
To cover up pimples with makeup, start with a cleansed face, then apply a green color corrector to any red breakouts, followed by a concealer that matches your skin tone, apply a thin layer of full coverage foundation, and finish by setting with a light dust of face powder.
How do you cover up a pimple without pimple patches?
You can use an over-the-counter spot treatment or a full coverage concealer that matches your foundation to quickly decrease swelling and redness and hide your pimple. Then use a liquid full coverage concealer and set the makeup with the same colored setting powder for the best results. Goodbye, pesky pimple!
What types of acne can be covered with makeup?
You can cover a wide variety of acne types, such as whiteheads, nodules, and flaky pimples, with the right makeup! It is the texture, bumps, and scar tissue that isn’t possible to cover with makeup.
How often should I clean my makeup tools?
You should clean your makeup brushes with a “surface clean” brush cleanser once a week, and a deep clean with a gentle soap or shampoo with water at least every two to three weeks. Make sure to wash your makeup sponges after every use to keep them free of dirt and bacteria.
What is the “sandwich” makeup technique?
The “sandwich” makeup technique involves layering concealer, foundation, and then concealer again for ultimate coverage of acne pimples. It’s a great way to achieve great coverage and an even complexion!