Pro Artist Tips: How to Bake Makeup for a Lasting Look
Alyssia Chang
- Published

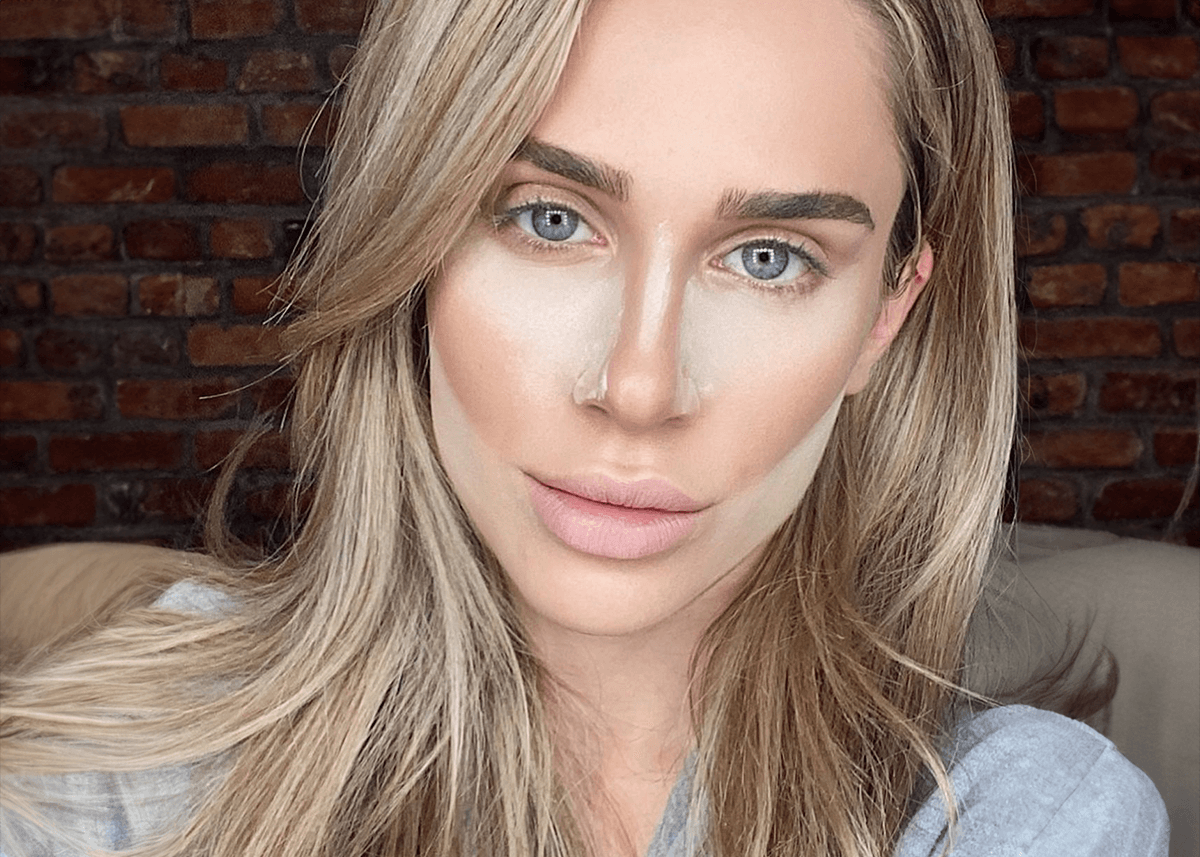
Featured Image: @kokobeaute
Ever wondered how to bake your makeup for that impeccable, lasting, blurred finish? Without the white photo bounce back?
This is something that I get asked all the time as a professional makeup artist, and through this article I want to reveal to you all the best kept secrets, tips, and give you the knowledge you need to get “baked”!
Key Takeaways
Bake your makeup to stay all day and night that’s tough enough to withstand a full day’s wear – perfect for anyone wanting crease-free, photo-ready makeup!
Perfect your baking technique with essential tools like which loose translucent powder you should use, damp makeup sponges, and fluffy, dense brushes – and remember, practice makes perfect!
Step up your beauty game by mastering makeup baking for any occasion – whether it’s keep it light and natural for everyday wear, or go full-on glam for those nights out!
The Art of Makeup Baking

If you’re imagining a kitchen full of pastries, think again! Makeup baking is an innovative technique inspired by drag queens that’s all about layering your setting powders to create a flawless, oil absorbing, smooth skin finish. It involves:
Applying face powder, then a generous amount of loose powder over your foundation and concealer.
Using a damp Beauty Blender or makeup sponge to put on the initial baking layers.
Allowing the makeup to set and essentially melt into the skin and the powder to absorb excess oils, thanks to body heat.
Then dusting it off with a dense, yet sturdy powder brush.
What is the difference between just applying setting powder and baking?
With setting powder, you merely set the face makeup without waiting and apply a couple thin layers. However, baking involves applying an additional amount of powder and allowing the thick layers to bake/settle on the skin for 5-10 minutes.
The Origins of Baking Makeup
Baking is far from being a new kid on the beauty block!
In fact, it has deep roots in the history of beauty, enhancing not just face makeup but also eye makeup.
The baking makeup technique was first prominently used by the drag community. It was their secret weapon for creating makeup that not only created depth and dimension, but also lasted through the long days and hours of working up a sweat on stage.
The technique later gained traction with a wider audience, thanks to pro makeup artists like Max Factor and Scott Barnes who popularized contour techniques, contributing to the development of makeup baking on celebrities.
Social media and video sharing platforms have amplified the visibility of makeup baking. Celebrities, particularly those like the Kardashians and JLo, along with beauty YouTubers played a significant role in popularizing the makeup baking technique in the mainstream beauty industry.
So, the next time you’re baking your makeup, remember that you’re part of a beauty tradition that’s been proven to look stunning!
Benefits of Baking
The beauty of baking lies not just in the flawless finish it delivers, but also in the array of benefits it offers:
The primary benefit of baking makeup is its longevity. It keeps the foundation and base makeup on, without transferring, sweating off, or settling into creases, regardless of how long your day or night is.
Baking sets makeup in place, reducing the chance of it settling into fine lines and creases, thereby preventing crease formation.
This technique is especially beneficial for individuals with oily skin or sweat as it helps control shine and maintain a soft yet luminous finish, without causing flashback.
The end result of baking makeup is a fuller coverage and tight makeup look that lasts longer and performs even better.
Essential Tools for Baking
Now that you’re eager to experiment with baking, it’s time to discuss the necessary tools needed.
The effectiveness of makeup baking relies not only on the method but the tools and products as well. To bake your makeup effectively, you absolutely need to have the right face pressed powders and loose powder.
When it comes to applying the powder, a damp makeup sponge and a tissue paper are your best friends. For brushing away the excess powder after baking, a small to medium fluffy brush is a go-to choice. With the right tools at your disposal, you’re all set to bake your way to a flawless finish!
Choosing the Right Powder
The star of the baking process is undoubtedly the loose translucent powder. A jet-milled, translucent or colored loose setting powder is your best bet for makeup baking.
This type of powder is crucial for setting the liquid products properly and helps to achieve flawless looking skin without any cakiness.
Our favorite, no-flash photo bounce back loose powders are:
Huda Beauty Easy Bake Loose Setting Powder. Not only does it offer a matte yet luminous finish, but it’s also designed specifically for baking. This means it provides long-lasting wear and eliminates shine, making it a favorite among makeup enthusiasts.
Laura Mercier Translucent Loose Setting Powder is always in every makeup artists kits. It’s reliable, good for all skin types, has Vitamin E & C, and blurs the look of pores.
Givenchy Prisme Libre Loose Setting and Finishing Powder has been hot in social media for the 4 unique colors that each has a specific purpose in making the skin look stunning. Such as correcting redness, dark spots, and increasing radiance.
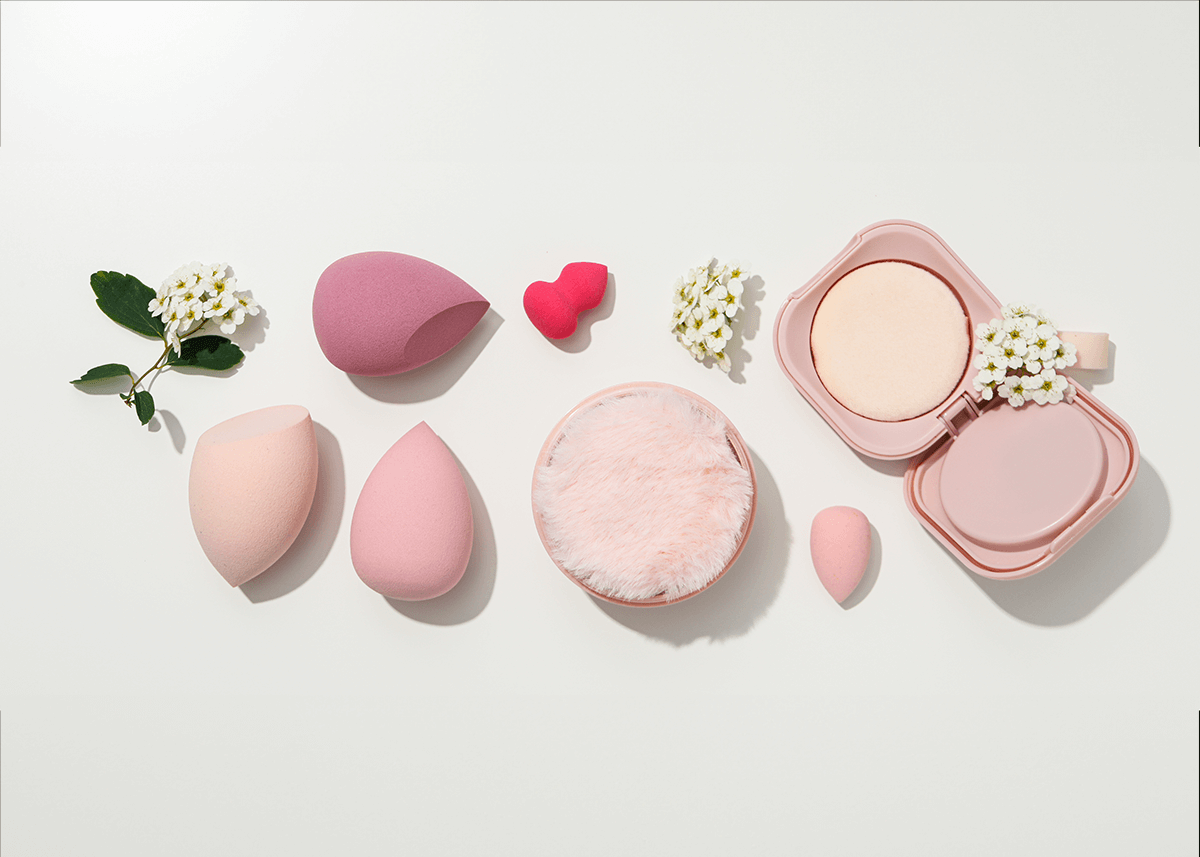
Picking the Perfect Applicator
An appropriate applicator is a game-changer in makeup baking. For the baking process, here are the essential tools you’ll need:
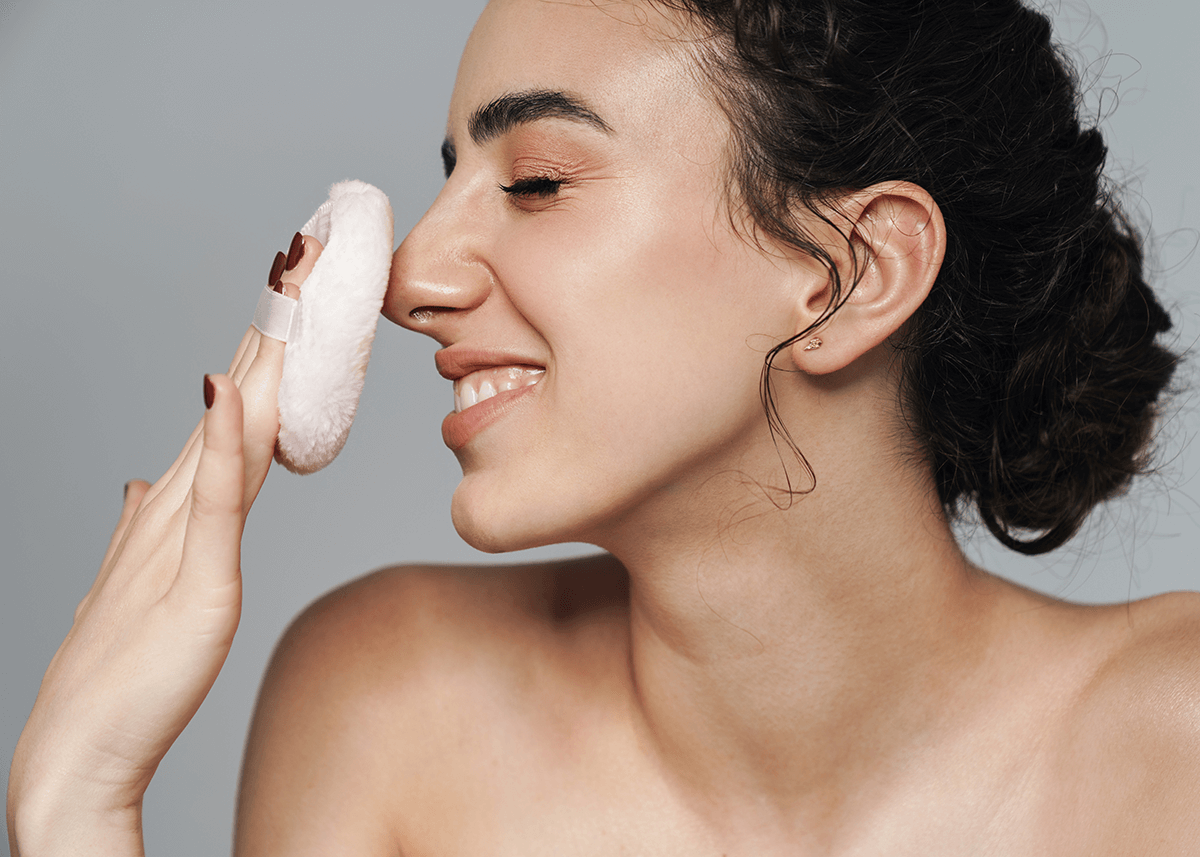
A damp makeup sponge or powder puff for the application phase.
A medium firm, yet fluffy brush, about a third of the size of a typical face powder brush, for the removal of excess powder after baking.
If you’re wondering about the best brands of damp makeup sponges for makeup baking, look no further! Here are our go-to must haves:
e.l.f. Angled Silicone Face Sponge, tarte Quickie Blending Sponge, and Beautyblender Original Makeup Sponge are some of the favorites in the beauty community. Now, armed with the right powder and applicators, you’re ready to bake!
Step-by-Step Guide to Baking Your Makeup
You know what baking is, you’ve got your tools ready, and now it’s time to dive into the process of baking makeup. Baking your makeup involves a few key steps, starting with skin preparation and ending with the finishing touches.
This guide will lead you through each step, keeping it simple yet thorough. Let’s get started!
Preparing Your Skin
Before you start baking, it’s important to properly prepare your skin. This involves applying your morning skincare routine to hydrate and protect, as well as applying a primer on your face and eye area.
In addition to a primer, an eye cream should be applied around the eyes before baking to keep the under-eye area moist and hydrated, avoiding the appearance of dry, textured skin.
Laying the Foundation
The next step in the baking process is laying the foundation on and base makeup. This involves applying your regular liquid foundation, followed by a layer of liquid concealer under your eyes and/or blemishes. This creates an even skin tone for the powder and helps brighten the under-eye area.
Remember, the foundation and concealer should be set with a thin layer of setting powder afterwards! If you bake directly on wet skin, you can have patchy, uneven settlement, while look cakey. Ew!
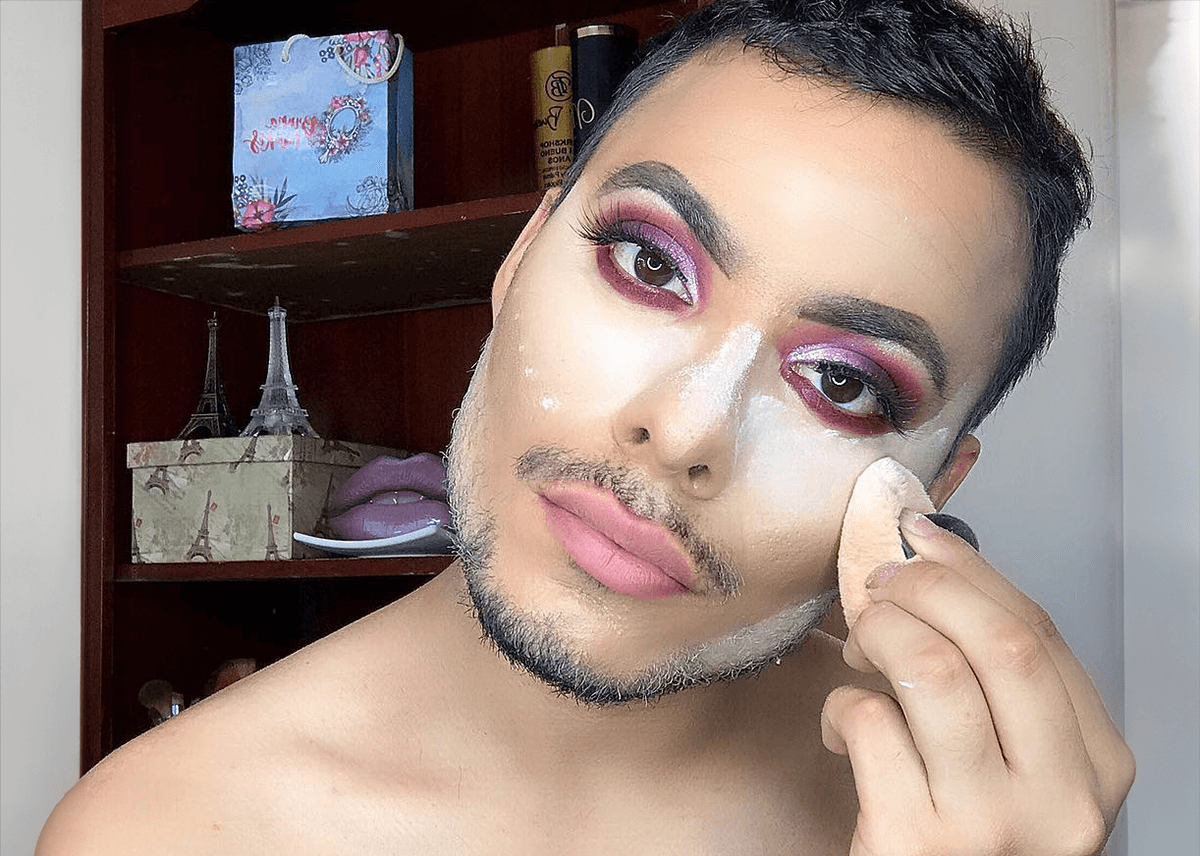
How to Bake your Makeup
This step, after setting is to bake! You got the dough all prepped, now it’s time to put it in the oven (metaphorically speaking) and wait for the magic to happen.
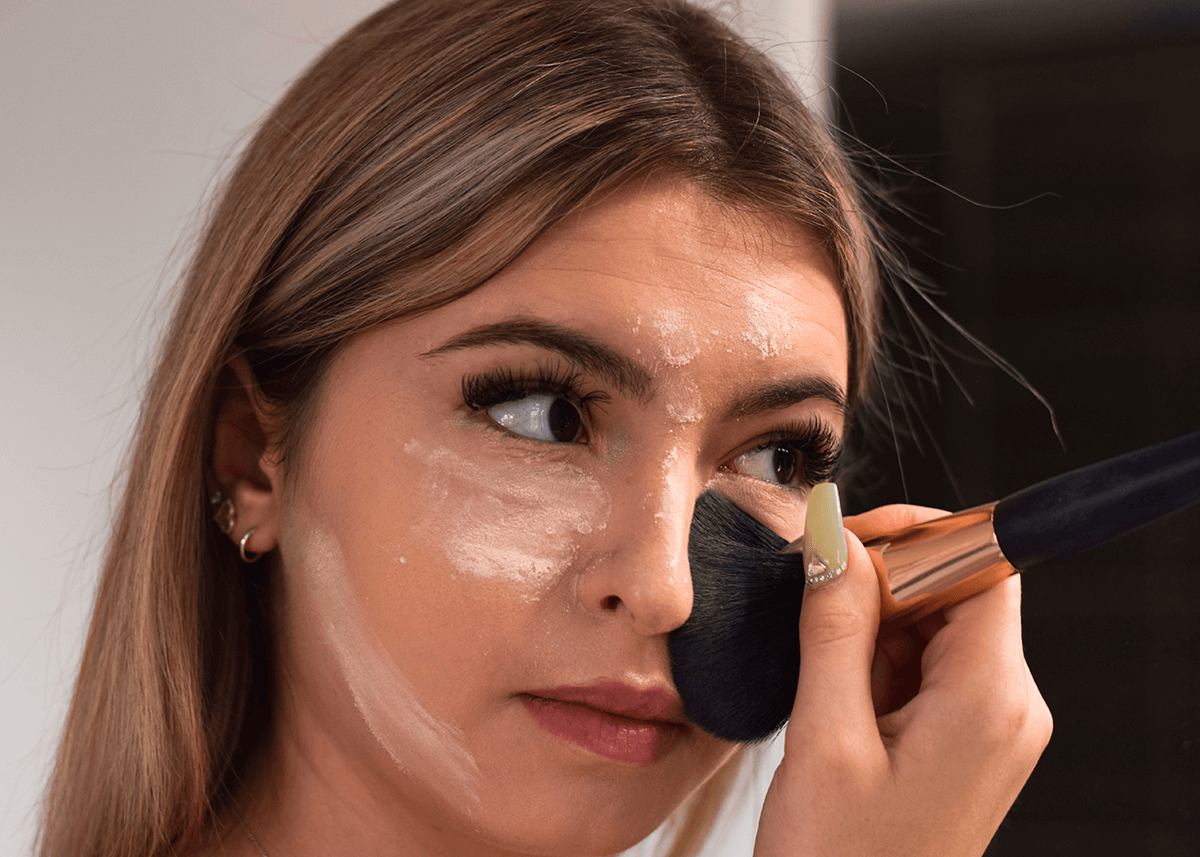
Take your damp beauty blender or powder puff and tap it a couple times into the loose setting powder.
Then press the applicator on the back of the hand a couple times to push the loose powder into the tool and press into a tissue or Kleenex to absorb the water and spread out the moisture into the powder.
Then stipple the tool on the T-Zone face, under the eyes, around the laugh lines, under the cheek bones, and chin.
Leave on for 5 to 10 mins so that the powder has enough time to set the makeup underneath and dry completely.
Finishing Steps
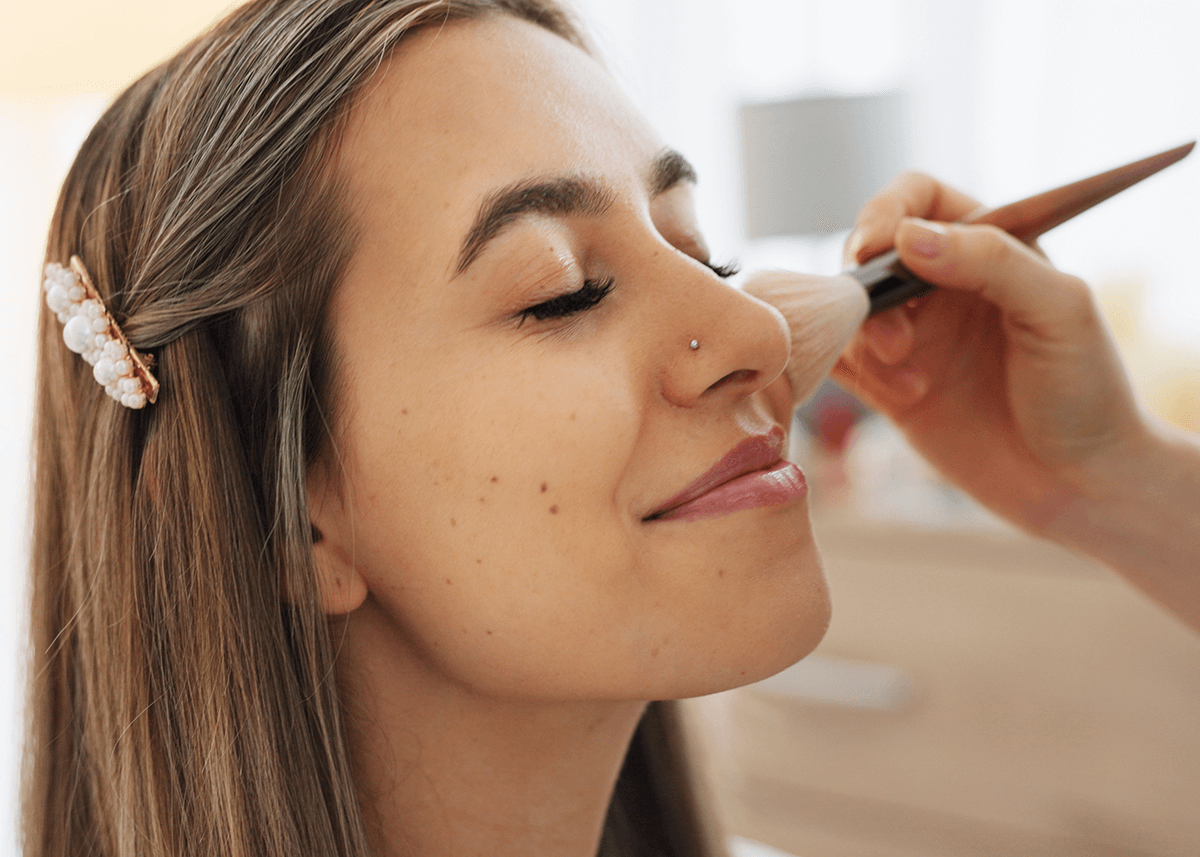
After baking, it’s time for the finishing touches. This involves brushing off the excess powder after it has sat on the face for the specified time. A larger, firm yet fluffy brush is perfect for this task.
To make the baking areas even better, use a bit of Charlotte Tilbury Refillable Airbrush Flawless Finish Brightening Powder to add a face and eye lift effect at the same time when you dust off the remaining baked powder!
Then apply your choice of blush, contour, and highlight in that specific order to complete your look. Remember, the blush should be applied after baking and can be applied based on your face shape or in a style you prefer.
Now, with your makeup perfectly baked and your features enhanced, you are ready to step out and dazzle!
Expert Tips for Baking Perfection
Having mastered the basics of baking, it’s time to elevate your skills with some expert advice and strategies. These tips will help you customize your baking time, avoid common mistakes, and adapt the technique to suit your unique facial features.
Whether you’re a makeup newbie or a seasoned pro, these tips will help you take your baking game to the next level. Ready to find out how to achieve baking perfection? Let’s dive in!
Customizing Your Baking Time
One of the appealing aspects of baking is its customizable nature to fit your needs and lifestyle. The baking time, for instance, can be adjusted based on your skin type, how long you’re going out, how much time you have to get ready, and the desired finish.
Note that for dry skin, make sure that you use a loose powder tested for your skin type or else it can make your skin look dry.
The factors that affect baking time include the amount of baking powder applied, the type of powder used, and the desired level of coverage and longevity. At the very least, you’ll want to bake for a couple minutes before sweeping off the product.
Avoiding Common Baking Mistakes
Like any makeup technique, baking has its own potential challenges. Here are the top common baking technique mistakes to avoid:
Overusing powder. Layer and build when needed.
Failing to press powder into a tissue before applying.
Neglecting to set the makeup with a thin layer of powder beforehand.
Applying too much product, causing it to scatter onto your clothes.
Not blending properly and leaving a white cast.
Forgetting to apply setting spray after baking.
Adapting Baking Techniques for Your Features
Makeup doesn’t have to adopt to a one-size-fits-all approach, particularly in the case of baking.
You can adapt baking techniques by considering your unique facial features. For instance, if you have round eyes, you may elongate them by extending eyeshadow from the outer corners, then using baking to lift and brighten the under-eye area outwards.
For a prominent nose, the technique involves applying a thick layer of loose powder on the sides of your nose to bake around your nose contour, making your features appear more balanced and proportionate. Remember, the key to successful makeup application is to make the techniques work for you and not the other way around!
Baking Makeup for Different Occasions
Baking isn’t exclusive to special occasions. You can tailor the technique according to various occasions and makeup styles. Whether you’re going for a natural daytime look or a full-glam evening look, baking can help you achieve the perfect finish.
From creating a natural everyday look to achieving a glamorous finish for an evening event, baking can be adapted to cater to different occasions and personal preferences. Here is how to do it:
Everyday Baking
To achieve a casual baked makeup look that is quick and easy, follow these steps:
Prepare your skin with moisturizer and eye cream.
Apply foundation and concealer for a smooth base.
Gently apply a couple layers of loose powder with a brush. If you have time, it is better to use a damp sponge or puff.
Baking the powder for a short duration like 1 to 3 minutes will help you to achieve a flawless finish that’s not too heavy for everyday wear.
Glamorous Bold Baking
To pull off a sultry evening look, build and layer on the powder. Then allow the powder to bake for approximately 5 to 10 minutes, using a damp applicator.
Use a powder brush for the final step to wisp the rest of the product off of your face, giving you a meticulous and pronounced finish suitable for dim lighting and formal attire. And of course, keeping your makeup smudge proof throughout the night!
Summary
While this makeup step isn’t needed for everyday, it will help to keep your makeup from creasing, and feels cooling, even refreshing when you use the damp sponge!
So go ahead, level up your makeup style, and look photoshopped wherever you go.
Frequently Asked Questions
Do you bake or set your makeup first?
Set your makeup first with a pressed powder after applying your foundation and concealer, then follow with baking for a polished, long-lasting finish.
Does baking make a difference makeup?
Yes, baking does make a noticeable difference in makeup! It’s perfect for achieving a crease-free, tight looking matte finish, and controls oil for a long-lasting look. You definitely have to try this makeup technique to enhance your makeup routine if you haven’t already!
What’s the difference between baking and setting powder?
Baking and setting powders are essentially the same, but the difference lies in the application technique and formulas. Baking involves applying many layers of loose powder and leaving it on for many minutes to deep set. While setting powder is more versatile, comes in pressed and loose formulas, and is applied in a thin veil over the face. So, it’s all about the technique and your desired makeup outcome!
What is baked powder?
Baked powder is a unique type of makeup product that starts as a cream then is baked until dry. Then is refined or jet milled until it’s a fine powder. Resulting in a second skin, refined texture!
What tools are necessary for baking?
To bake makeup onto the skin, you’ll need applicators like a makeup sponge such as the Beauty Blender or a powder puff, and a medium, soft yet firm brush to complete all the needed steps.