
How to Apply Tinted Moisturizer like a Pro
Alyssia Chang
- Published

Ah, tinted moisturizers, the secret weapon for achieving that perfect no-makeup makeup look.
They’re lightweight, hydrating, and provide just the right amount of coverage for a natural, glowing complexion.
But how do you apply tinted moisturizer like a pro artist? Fear not, for we’ve got you covered with the ultimate step-by-step guide on how to apply tinted moisturizer. Get ready to unveil a radiant, flawless complexion that’ll have everyone wondering what your secret is!
Key Takeaways
Prepare and prep your skin for a glowing, protected complexion with proper skincare, primer, & sunscreen.
Choose the right tinted moisturizer for your skin type and needs.
Master the application techniques for an even finish that highlights your natural beauty – plus adds color & hydration!
Preparing Your Skin for Tinted Moisturizer
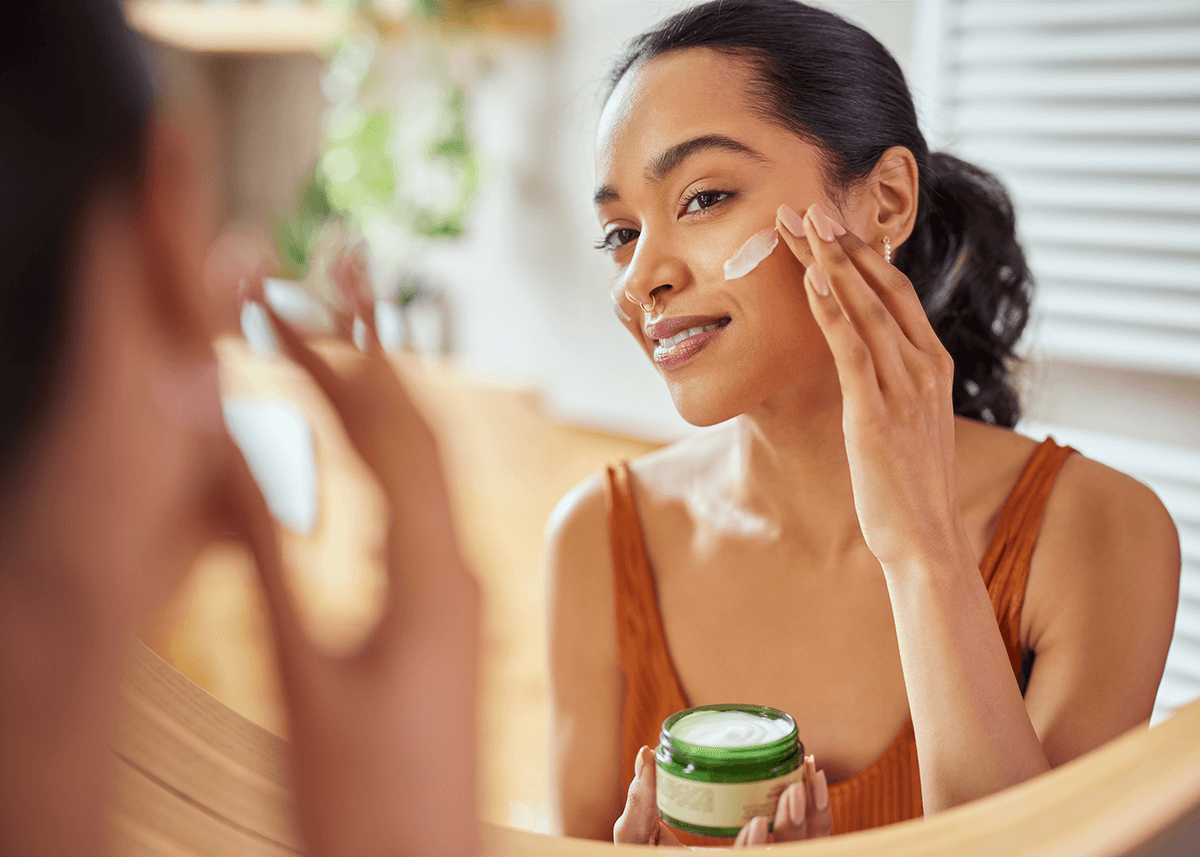
First things first, to achieve a flawless application of tinted moisturizer, you need to properly prepare your skin.
Step 1: CLEAN. Remove the dirt and dead skin by cleansing your face and making sure your skin is regularly exfoliated. Then proceed with your regular skincare morning routine.
Step 2: PROTECT. Not all tinted moisturizers contain SPF. If you’re planning to go outside or will be receiving sun exposure, apply a face mineral SPF before your tinted moisturizer. This is an important step to any makeup, skincare routine. Using a brush-on mineral sunscreen is a simple and effective way to protect your skin from harmful UV rays.
Step 3: PRIME. There’s no point in spending 2, 5 or 15 minutes applying your makeup if by half the day it all melts off. Use a face primer to make sure that your tinted moisturizer lasts and remains even till YOU decide to take it off!
Selecting the Perfect Tinted Moisturizer
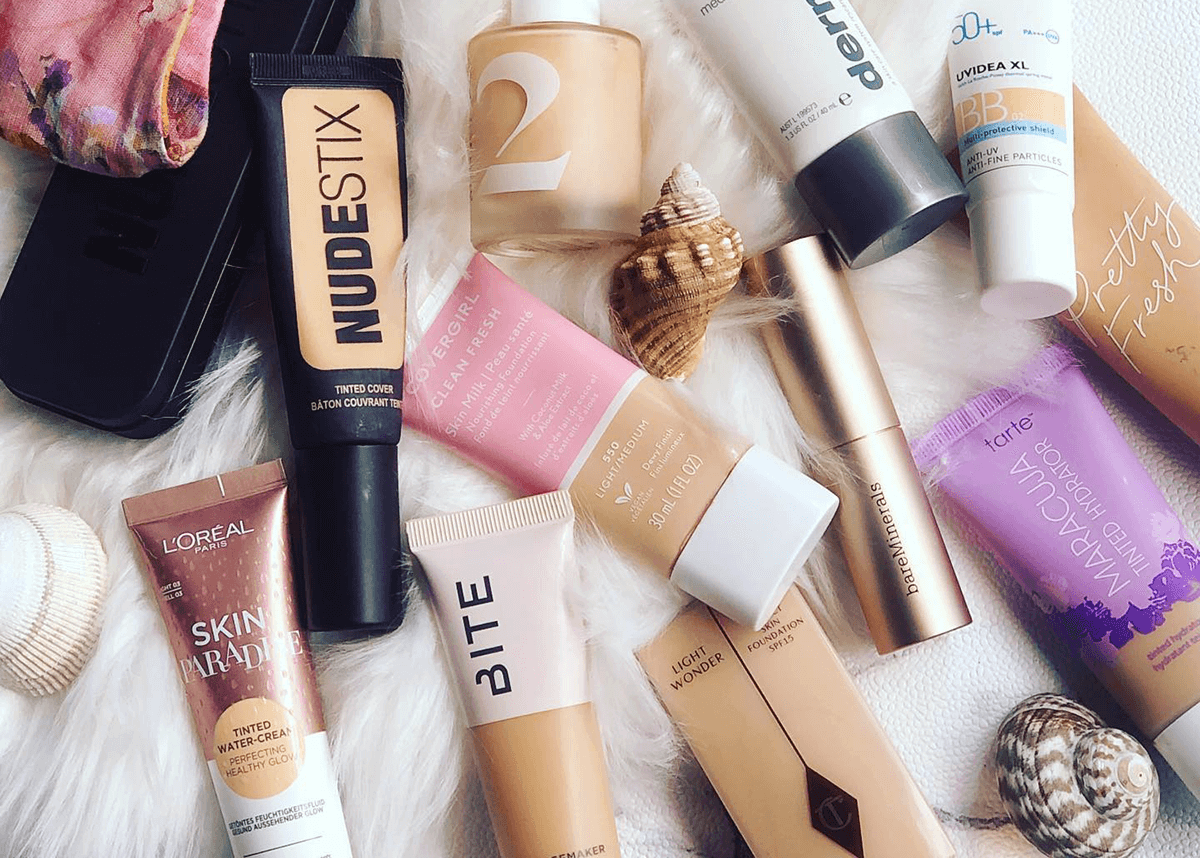
Once your skin is P.P.P: prepped, protected, and primed, the next step is to find the ideal tinted moisturizer!
This involves finding the right shade and formula for your skin type, ensuring a natural and seamless finish. Tinted moisturizers are more lightweight than foundations, providing different coverage levels that looks like second skin.
How do you pick the perfect shade and formula? We got you covered with pro expert tips on color matching and choosing the ideal formula for your specific skin needs!
Color Matching Tips
To find your perfect shade, start by testing a little tinted moisturizer on the side of your face, tanned shoulders, or on back of your hand, making sure it blends well and matches your skin perfectly.
Most skin tints are quite flexible in color matching. To identify your undertone, look at the color of your veins: if they appear blue, you likely have cool undertones; if they appear green, you likely have warm undertones. The best way is to swatch and see which one blends into your skin tone!
Lighting is super important. Whether it’s natural or artificial, light can greatly enhance the perception of a tinted moisturizer’s shade on your skin. With many tinted moisturizers available, we highly recommended to test the tinted moisturizer in different lighting conditions to ensure the best color match.
Oxidizing can occur when applied and dried. This is when the shade of the moisturizer may subtly change, either enhancing to perfectly complement your skin tone or changing into a completely different color. Take a sample or wait a minimum of 8 hours before purchasing any tinted moisturizers.
Tinted Moisturizer Formulas for Different Skin Types

Selecting the right formula for your skin type, needs, and lifestyle is super important! When choosing a formula for your tinted moisturizer, here’s what to look for:
Oily Skin: Seek out oil-free formulas that can offer the necessary nourishment without exacerbating oiliness, yet adding hydration where you need it. If your skin is acne-prone, ensure the moisturizer doesn’t contain comedogenic ingredients like isopropyl palmitate, ethylhexyl palmitate, algae, or even “natural” ingredients such as wheat or coconut oil.
Sensitive Skin: Choose products that are light weight and free from potential irritants such as fragrances, essential oils, chemical sunscreens, sodium lauryl sulfates, and parabens. Clean beauty products are the way to go!
Dry Skin: Look for formulas infused with hydrating ingredients like hyaluronic acid and licorice root extract, which can provide intense hydration and visibly brighten your complexion.
Combination Skin: Opt for a formula that can balance both dry and oily areas of your skin, that is both hydrating and oil controlling. Look for ingredients that can moisturize dry patches, like glycerin, while also controlling oil in the T-zone, such as salicylic acid.
By picking a tinted moisturizer that is tailored to your skin type, you can ensure your skin receives the specific benefits it needs while looking exactly how you want it!
Application Techniques: Mastering the Art of Tinted Moisturizer
Having chosen the right tinted moisturizer, the next step is to perfect the application technique. Tinted moisturizer can be applied using:
Your fingers.
Cushion sponges.
Beauty blenders.
Cream makeup brushes.
Each technique offers unique pros and cons, while allowing you to achieve your desired level of coverage and finish.
Finger Application
Finger application is a quick and easy method for applying tinted moisturizer, ensuring a quick and natural finish. The warmth of your fingers helps to melt the moisturizer into the skin, resulting in a natural and effortless finish.
To apply tinted moisturizer with your fingers, follow these steps:
Dispense a small amount of the product on the back of the hand for control and to make it easier to apply.
Take your ring finger and middle finger, then take a small amount from the back of the hand.
Blend it seamlessly into the skin using light, padding, swiping motions.
Continue blending until the moisturizer is evenly distributed and absorbed into the skin, neck, and ears.
Layer additional product as needed to achieve your desired coverage.
Don’t forget about hygiene! Make SURE to have very clean hands before applying your tinted moisturizer to prevent acne and the spread of bacteria.
With this simple technique, you’ll be able to achieve a light and even coverage that beautifully showcases your natural skin!
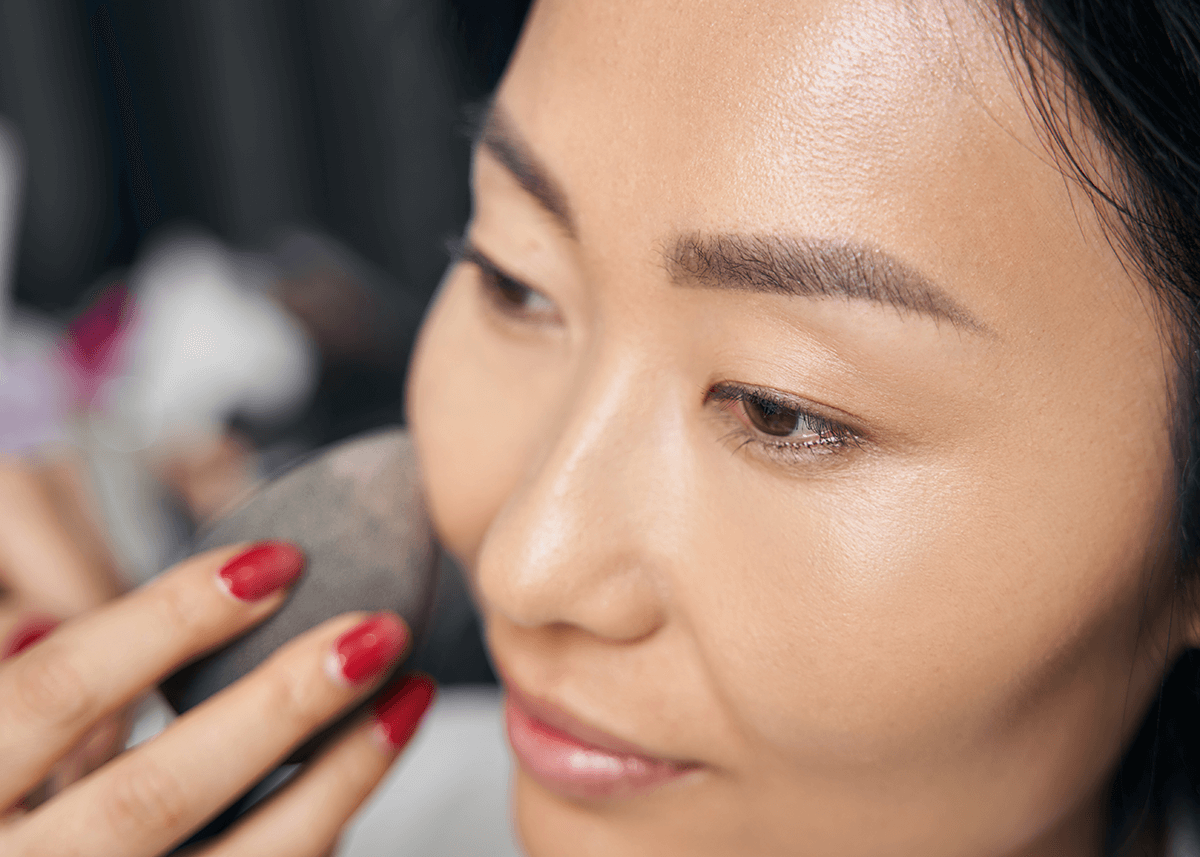
Cushion Sponge and Beauty Blender
Cushion sponges and beauty blenders provide a more controlled and precise application, allowing for buildable coverage.
These tools are great for creating an even finish when applying creams and liquids. PLUS you can use setting spray to dampen your sponge and set your cream products while applying it at the same time!
To use a cushion sponge for applying tinted moisturizer on the back of the hand, confidently apply the tinted moisturizer onto your skin spreading it evenly, and using gentle dabbing and tapping motions.
Remember to clean your cushion sponge and beauty blender regularly at least once a week to keep them performing at their best and avoid bacteria buildup. Don’t forget to replace every month. By doing so, you’ll ensure a beautiful, seamless, and airbrushed finish with every application.
Cream Makeup Brush
Cream or liquid foundation makeup brushes offer a smooth and streak-free application, perfect for achieving a fuller coverage look. Look for synthetic brush or a combination of synthetic and natural hair brushes (hybrid) for the best performance.
Always start with a small amount of product on the back of the hand.
Then gently buff a little bit the product into the brush.
Next, take the brush and start by applying the tinted moisturizer on the outside edges of the face then working your way towards the center.
Use controlled sweeping motions, avoiding going against the grain of the hairs on the skin. Always moving the brush downwards.
Highly-rated cream makeup brushes for applying tinted moisturizer include:
Bobbi Brown Full Coverage Face Brush
Saie The Base Foundation Brush
MAC Cosmetics 190 Foundation Brush
By using the right makeup brush, you’ll be able to achieve a radiant and flawless complexion with ease.
Wearing Tinted Moisturizer with Other Makeup
Wearing skin tints alone is great, yet when paired with other makeup products it can amplify your makeup look. From concealing imperfections to adding color and glow, incorporating additional makeup products in your routine can create a stunning, multidimensional look.
Just make sure that you layer a thin amount if applying foundation on top and set so that lasts. Here are some of our top tinted moisturizing makeup combinations!
How to Use Concealer with Tinted Moisturizers
Covering imperfections with concealer can provide extra coverage for blemishes and dark circles, ensuring an even complexion.
To achieve a natural finish with concealer and tinted moisturizer, follow these steps:
Start by applying the tinted moisturizer all over your face using your preferred applicator.
Add the concealer to areas that need extra coverage and/or brightness such as under the eyes, nose, or on blemishes.
Blend the concealer seamlessly into the tinted moisturizer for a beautiful, smooth finish.
Some great concealer options to try include Too Faced Born This Way Super Coverage Multi-Use Longwear Concealer, HAUS LABS BY LADY GAGA Triclone Skin Tech Hydrating + De-puffing Concealer with Fermented Arnica, and HUDA BEAUTY #FauxFilter Matte Buildable Coverage Waterproof Concealer.
How to Add Color and Glow
Making your skin look dimensional, shaped, and polished all boils down to how you add blush, bronzer, contour, and highlighter.
To achieve a gorgeous glowing look, follow these steps:
Apply and blend a contour cream after applying your base makeup products such as tinted moisturizer, concealer, or foundation.
Then set and bake on the areas needed.
Lightly dust bronzer and blend onto the areas where the sun naturally hits your face, such as the temples, forehead, cheeks, and nose.
Apply blush on the cheeks and nose to bring color back into the skin.
Then finish the face with highlighter and more setting products like setting spray.
Setting and Maintaining Your Tinted Moisturizer Look
To maintain your tinted moisturizer look, follow these steps:
Use a setting powder and spray to set your tinted moisturizer and ensure long-lasting wear. This provides more control over oil and also addresses any uneven skin tone problems with the help of keeping everything in place.
Layer your daily moisturizer on before applying your makeup because sometimes, especially if you have really dry skin, a tinted moisturizer isn’t enough hydration.
Note that it’s not recommended to use mattifying powder all over the face if you want to keep the dewy finish of a tinted moisturizer. However, if you want to prevent oil from moving the makeup, such as in your “T” Zone, you can still use powder to set your skin.
By taking the time to set and maintain your tinted moisturizer look, you’ll make sure that your application efforts don’t go to waste and keep everything looking fresh.
Summary
Now that you’re equipped to apply tinted moisturizer, all you have to do is practice, have fun, and remember that tinted moisturizer is there to keep your makeup game simple yet looking positively radiant!

FAQs
Should you use a brush or sponge for tinted moisturizer?
It’s up to you whether to use a brush or sponge for tinted moisturizer – each tool provides a different result. Using a brush typically offers a more controlled, full coverage application, while a sponge helps achieve a more natural, blended look.
Do you wear moisturizer under tinted moisturizer?
It’s important to moisturize skin before applying a tinted moisturizer, as the extra hydration can help ensure a long-lasting finish. Layering your regular moisturizer with a tinted one will help give your skin an extra boost of moisture and provide the best look for your makeup.
How long do you keep tinted moisturizer on?
You should reapply your tinted moisturizer every two hours for optimal sun protection. Mixing it with sunscreen can help further increase its effectiveness when outdoors.
Do I need to apply sunscreen before using a tinted moisturizer with SPF?
Yes, it’s recommended to apply sunscreen before using a tinted moisturizer with SPF if your tinted moisturizer doesn’t already contain sun protection.
How do I find the right shade of tinted moisturizer for my skin tone?
Try testing a small amount of tinted moisturizer on your skin to ensure it blends well and matches your undertone, and you’ll be sure to find the perfect shade for you!