Contouring 101: Easy Tips for Beginners
Alyssia Chang
- Published

Ever wonder how celebs get that perfectly sculpted look with the most dramatic facial features? No, it’s not good genes—usually, just a good makeup artist. Contouring is one of the biggest beauty trends of the last century, and if you’ve always been too scared to try it, this is your sign.
We’ve created this contour for beginners guide to help you get started. You can get the cheekbones you’ve always dreamed of with advice on how to contour, where to contour, troubleshooting, and tips.
What is Contouring?
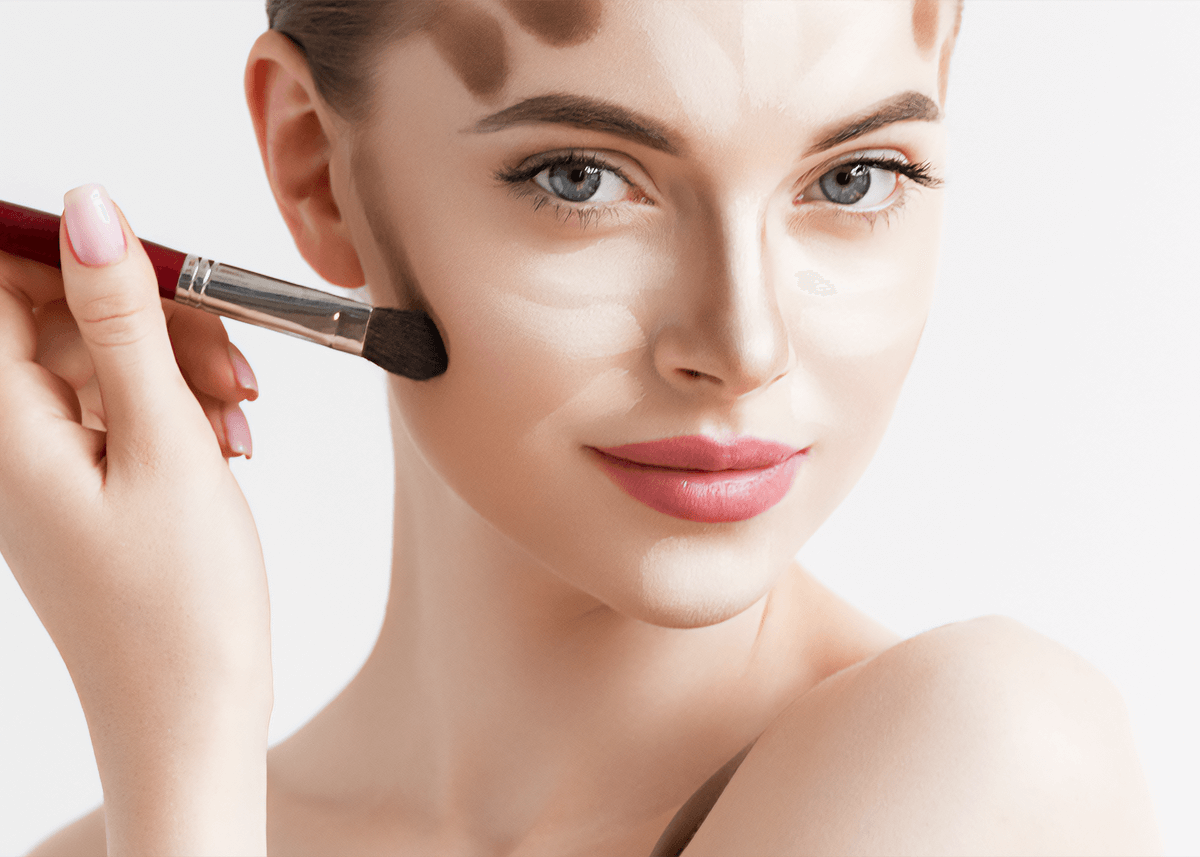
Contouring is a makeup technique designed to sculpt and shape the face. By using a combination of darker and lighter makeup, you can change the dimensions of your facial features by playing with the effects of shadow and light. The goal? To make some features stand out and others hide away, with a few simple products and tricks.
The art of contouring was once left to the professionals and drag queens, but today, it’s accessible to everyone. Learning how to contour face is a cinch thanks to loads of online tutorials, mainstream recognition (thanks, Kim K), and a whole host of products.
Of course, like any makeup technique, the contour needs to match your face shape. So, the first steps of contour for beginners are determining your shape and where the sweet spots are to apply those products.
Check out this beginner contour face chart for the basics on where to apply everything to suit your face shape.

Products to Create the Perfect Contour
The good news? With contouring being so popular, there’s a great selection of products. Contour for beginners is a lot easier with the best tools of the trade. Check out the basics.
Choose Your Colours
For the darker areas, choose a product that’s two shades darker than your skin tone but in the same undertone. A highlighter should be at least two to three shades lighter. To make it easier to find matching colours, choose a contouring palette that features two in one, like Smashbox’s Cali Contour Palette with blush, bronzer, and highlighter all packed into one shimmery set.
Powder or Cream?
Both have benefits. Powders are quick, buildable, and easily blendable, which can be handy for a beginner. Our favourite is Kevyn Aucoin’s The Sculpting Powder which makes it easy to shape your face, even for newbies.
On the other hand, creams look divine, can have more ingredient benefits, and stay on longer. A simple but effective palette, like Huda Beauty’s Tantour Contour & Bronzer Cream, can create a dramatic and soft contour that rivals the professionals.
If you choose a cream contour, make sure you also choose a contrasting highlighter to balance the light and dark on the face. And the same goes for powders.
Brush Basics
The brush you use to contour will determine the result. Want a super chiselled and refined look? A dense, short angled brush is best. Prefer the softer and more blended style of contour? A fluffy brush will help you achieve it.
You’ll also want a small brush< to get the harder-to-reach areas, like the side of your nose, and a blending sponge to smooth it out. Juno & Co’s Microfiber Blending Sponge is a cult classic and luxuriously soft on your skin, with no chance of drying it out.
Still trying to figure out the whole contouring thing? No worries! We can show you where to contour and highlight in a few simple steps, plus how to apply the products to get a Kim K-approved look.
- Start with a hydrated face by applying your usual moisturiser and primer. Anything we can do to keep our contour in place now will pay off later. Then, follow up by applying your foundation base as usual.
- Once it’s set, you can start highlighting. Focus on the tops of your cheekbones, the front of your nose, your brow browns, and the inner corners of your eyes. Again, less is more with highlighter.
A smaller brush is also recommended. Use your blending sponge to dab and smooth it into your foundation. - Look at the natural shadows your face creates and focus on them with the darker contouring product. Use the face shape chart for inspiration.
A dark line underneath and slightly over your jaw can make it more chiselled. Contour under your cheekbones can help raise them and a little on either side of your nose can change its shape and size altogether. Apply some contour and smooth it in with your brush. It should blend in without being too obvious. - Finish up with your usual makeup routine. You can apply blush, eyeshadow, and lipstick once your contour is done.
- Apply a powder and/or setting spray once you’re happy with the look. This will keep your gorgeous new shape in place for the whole night.

Common Contouring Mistakes (And Solutions)
Contouring can be a challenge to get right, but everyone has to start somewhere. So be patient with yourself as you learn this new skill, and check out how to fix these common contouring mistakes.
- The contour is too obvious. This usually means you chose a colour that’s too many shades darker or too orange than your natural skin tone. Try taking it back one or two, makes sure to blend well, and see if it makes a difference.
- THe lines are too harsh. More time spent blending with the right brush can help soften and blur some lines, as well as using less product per application. Likewise, better blending tools – like sponges – are worth their weight in gold.
- Your highter shows up in pics. This is a common mistake and an easy one to make. Highlighter and concealer might look good in the mirror, but it stands out dramatically once you add a camera flash. Tone it down just a little, look for non-flash bounce back products, and it shouldn’t happen again.
- Your skin is drying out or caking. You might not be suited to powder products, and that’s totally normal. Instead, switch to a cream contour and see if it stops the flaking and dryness. Another tip is to exfoliate your skin the day before and to use a hydrating mask to prep the skin.
Celebrity Contouring Looks
Once you nail the easy contouring for beginners, it’s time to level up your game. These are a few of our favourite celebrity makeup looks you can emulate once you build your contouring skills.
Kim Kardashian
Kim got us all to sit up and pay attention to contouring, so she deserves a place on our list. Today, her contour is slightly more paired back but still dramatic, like this example of her glam look at a 2022 event.

Kaia Gerber
Kaia Gerber, the queen of understated beauty, has an unsurprisingly relaxed contouring approach. She predominantly focuses on underneath the cheekbones and nose ridge, so she sells the supermodel vibe.

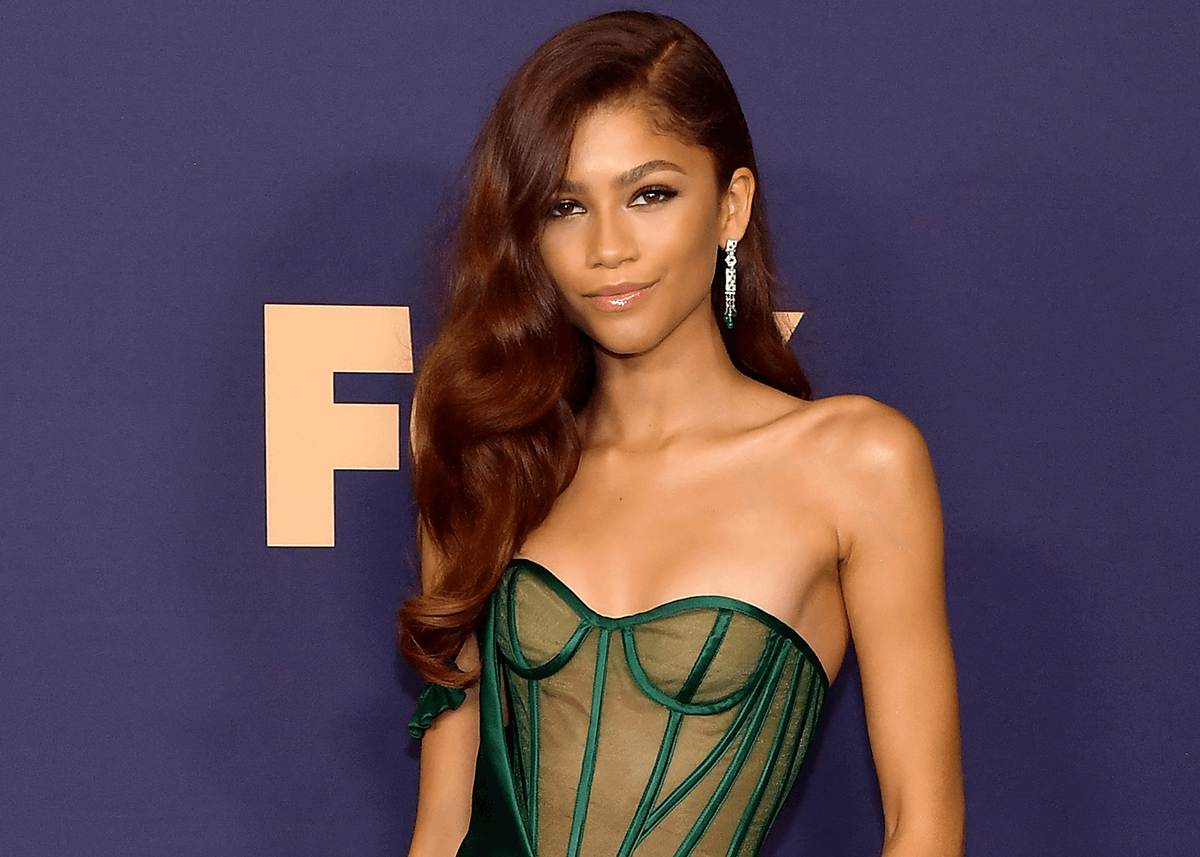
Zendaya
Zendaya’s makeup is highlighter heavy which works for the Euphoria star. Showing off her dramatic cheekbones is easy with a good glow, and she chisels her jawline sharply with darker contouring.
Contour for Beginners: Class Passed
Congrats, you’ve just had your first beginner contour face course and passed with flying colours! Spend some time experimenting with products and techniques that work for you, and get ready to fall in love with yourself all over again once you see the results.
FAQs
What’s contour makeup?
Contour is a makeup effect that creates shadow and light on the face by using darker and lighter products than the natural skin tone.
Do you contour before or after foundation?
Powder contouring should be done after applying foundation, cream can be applied before or after. Make sure that the foundation’s base layer has time to set (relax on the skin) before contouring over it.
What type of contour is best for beginners?
Powder contour is better for beginners because it’s more buildable and blendable than creams and sticks. However, once you master the contouring technique, you can experiment with cream-based products.
Why use contour makeup?
Contouring can help certain facial features stand out to create dimension and depth. Likewise, it can help minimise other features you might want to hide.
When you contour, should you use makeup cream or powder?
Cream and powder contour products come with pros and cons that the user should weigh up. For example, creams tend to be long-lasting and softer, but powders are more diffused and buildable, so it depends on your preference.