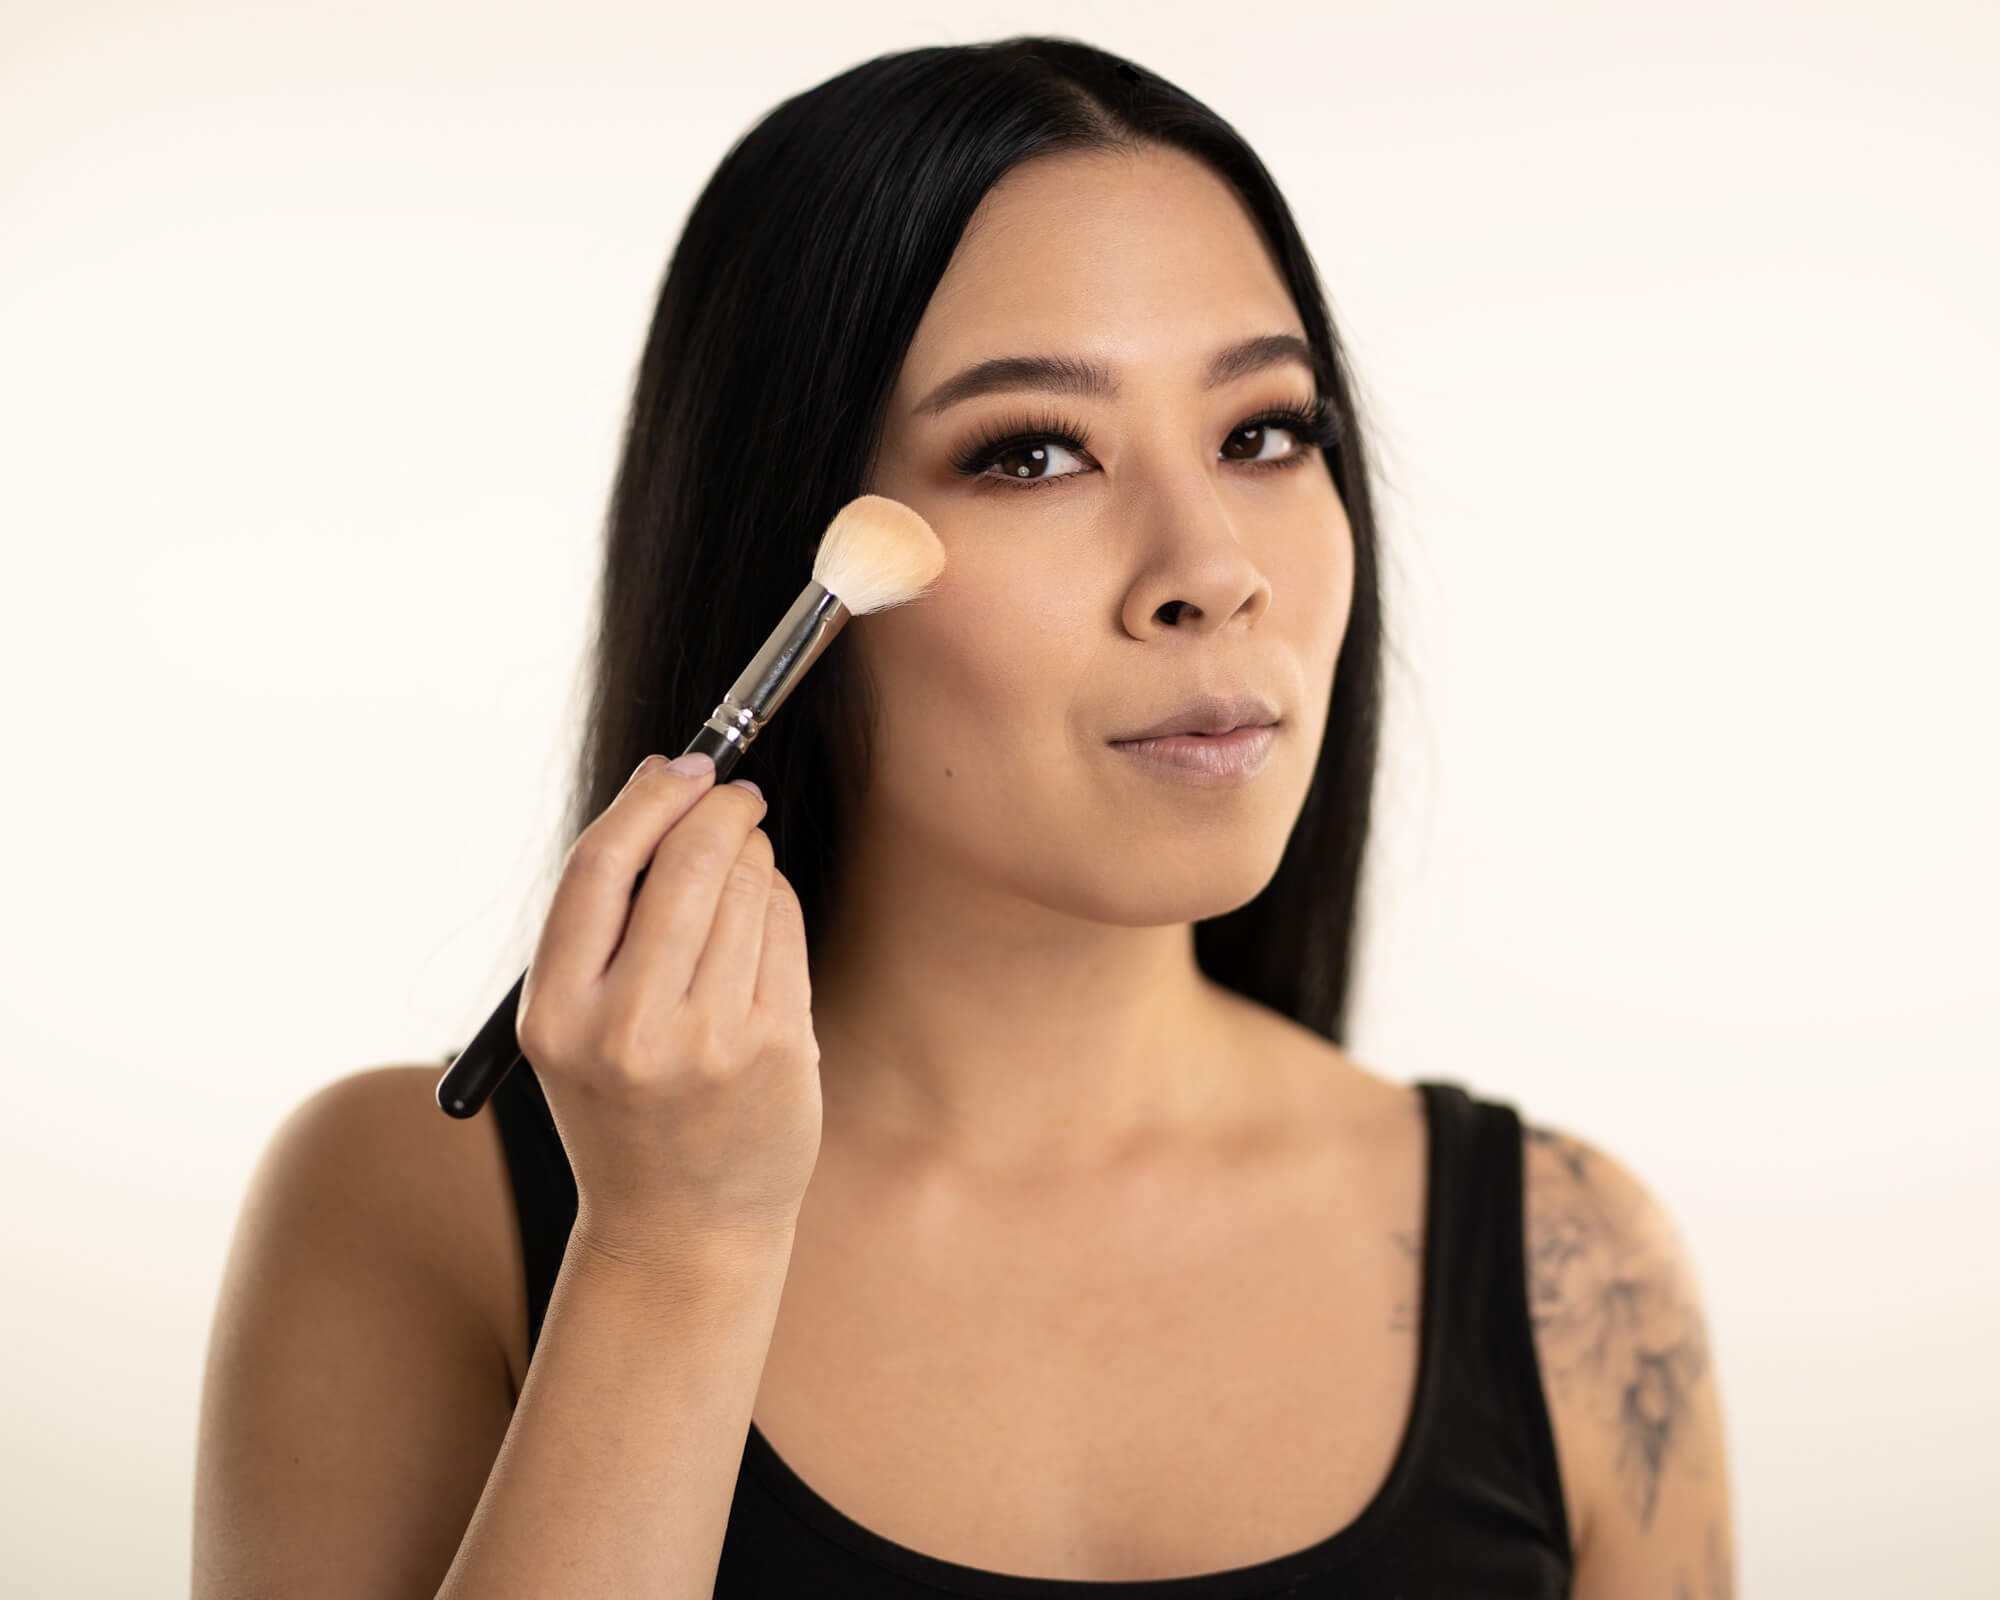
7 Essential Steps for Amazing Soft Glam Makeup
Alyssia Chang
- Published

What You Need to Achieve a Soft Makeup Look
7 Essential Steps for Amazing Soft Glam Makeup.
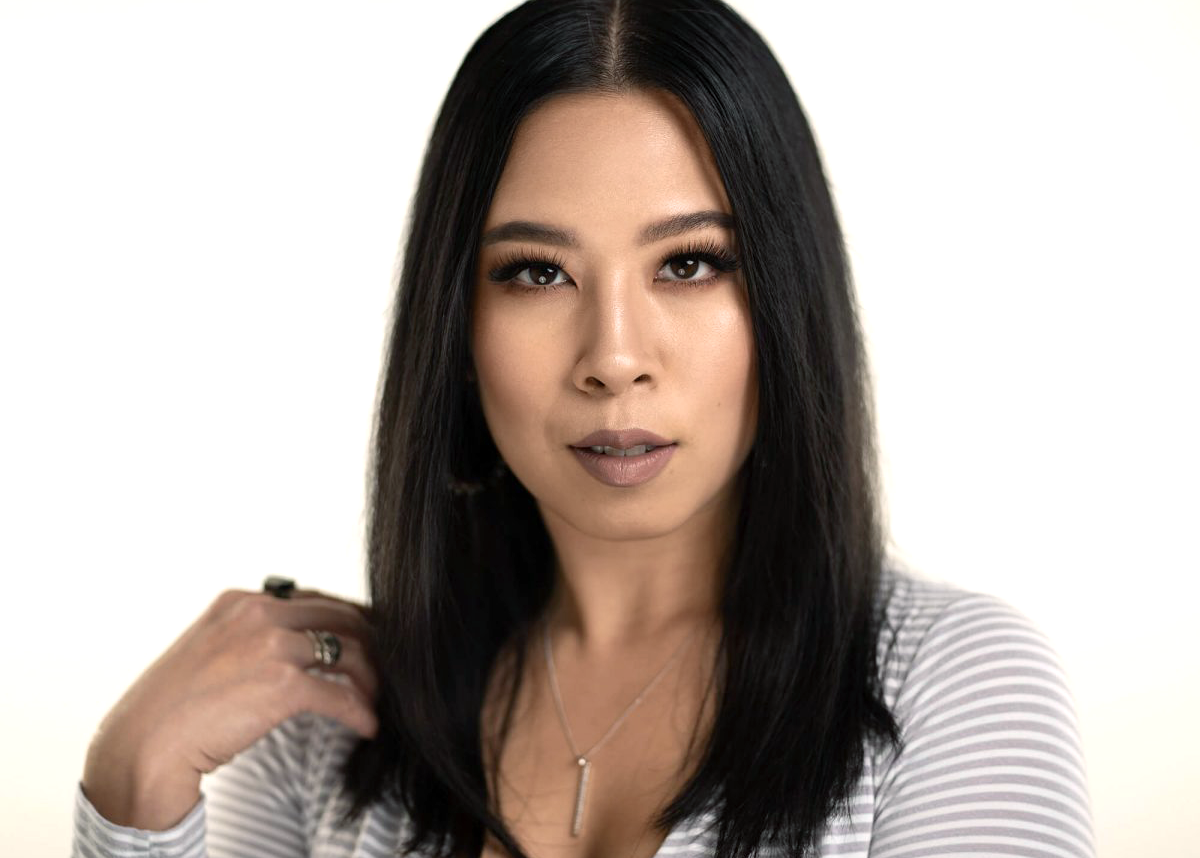
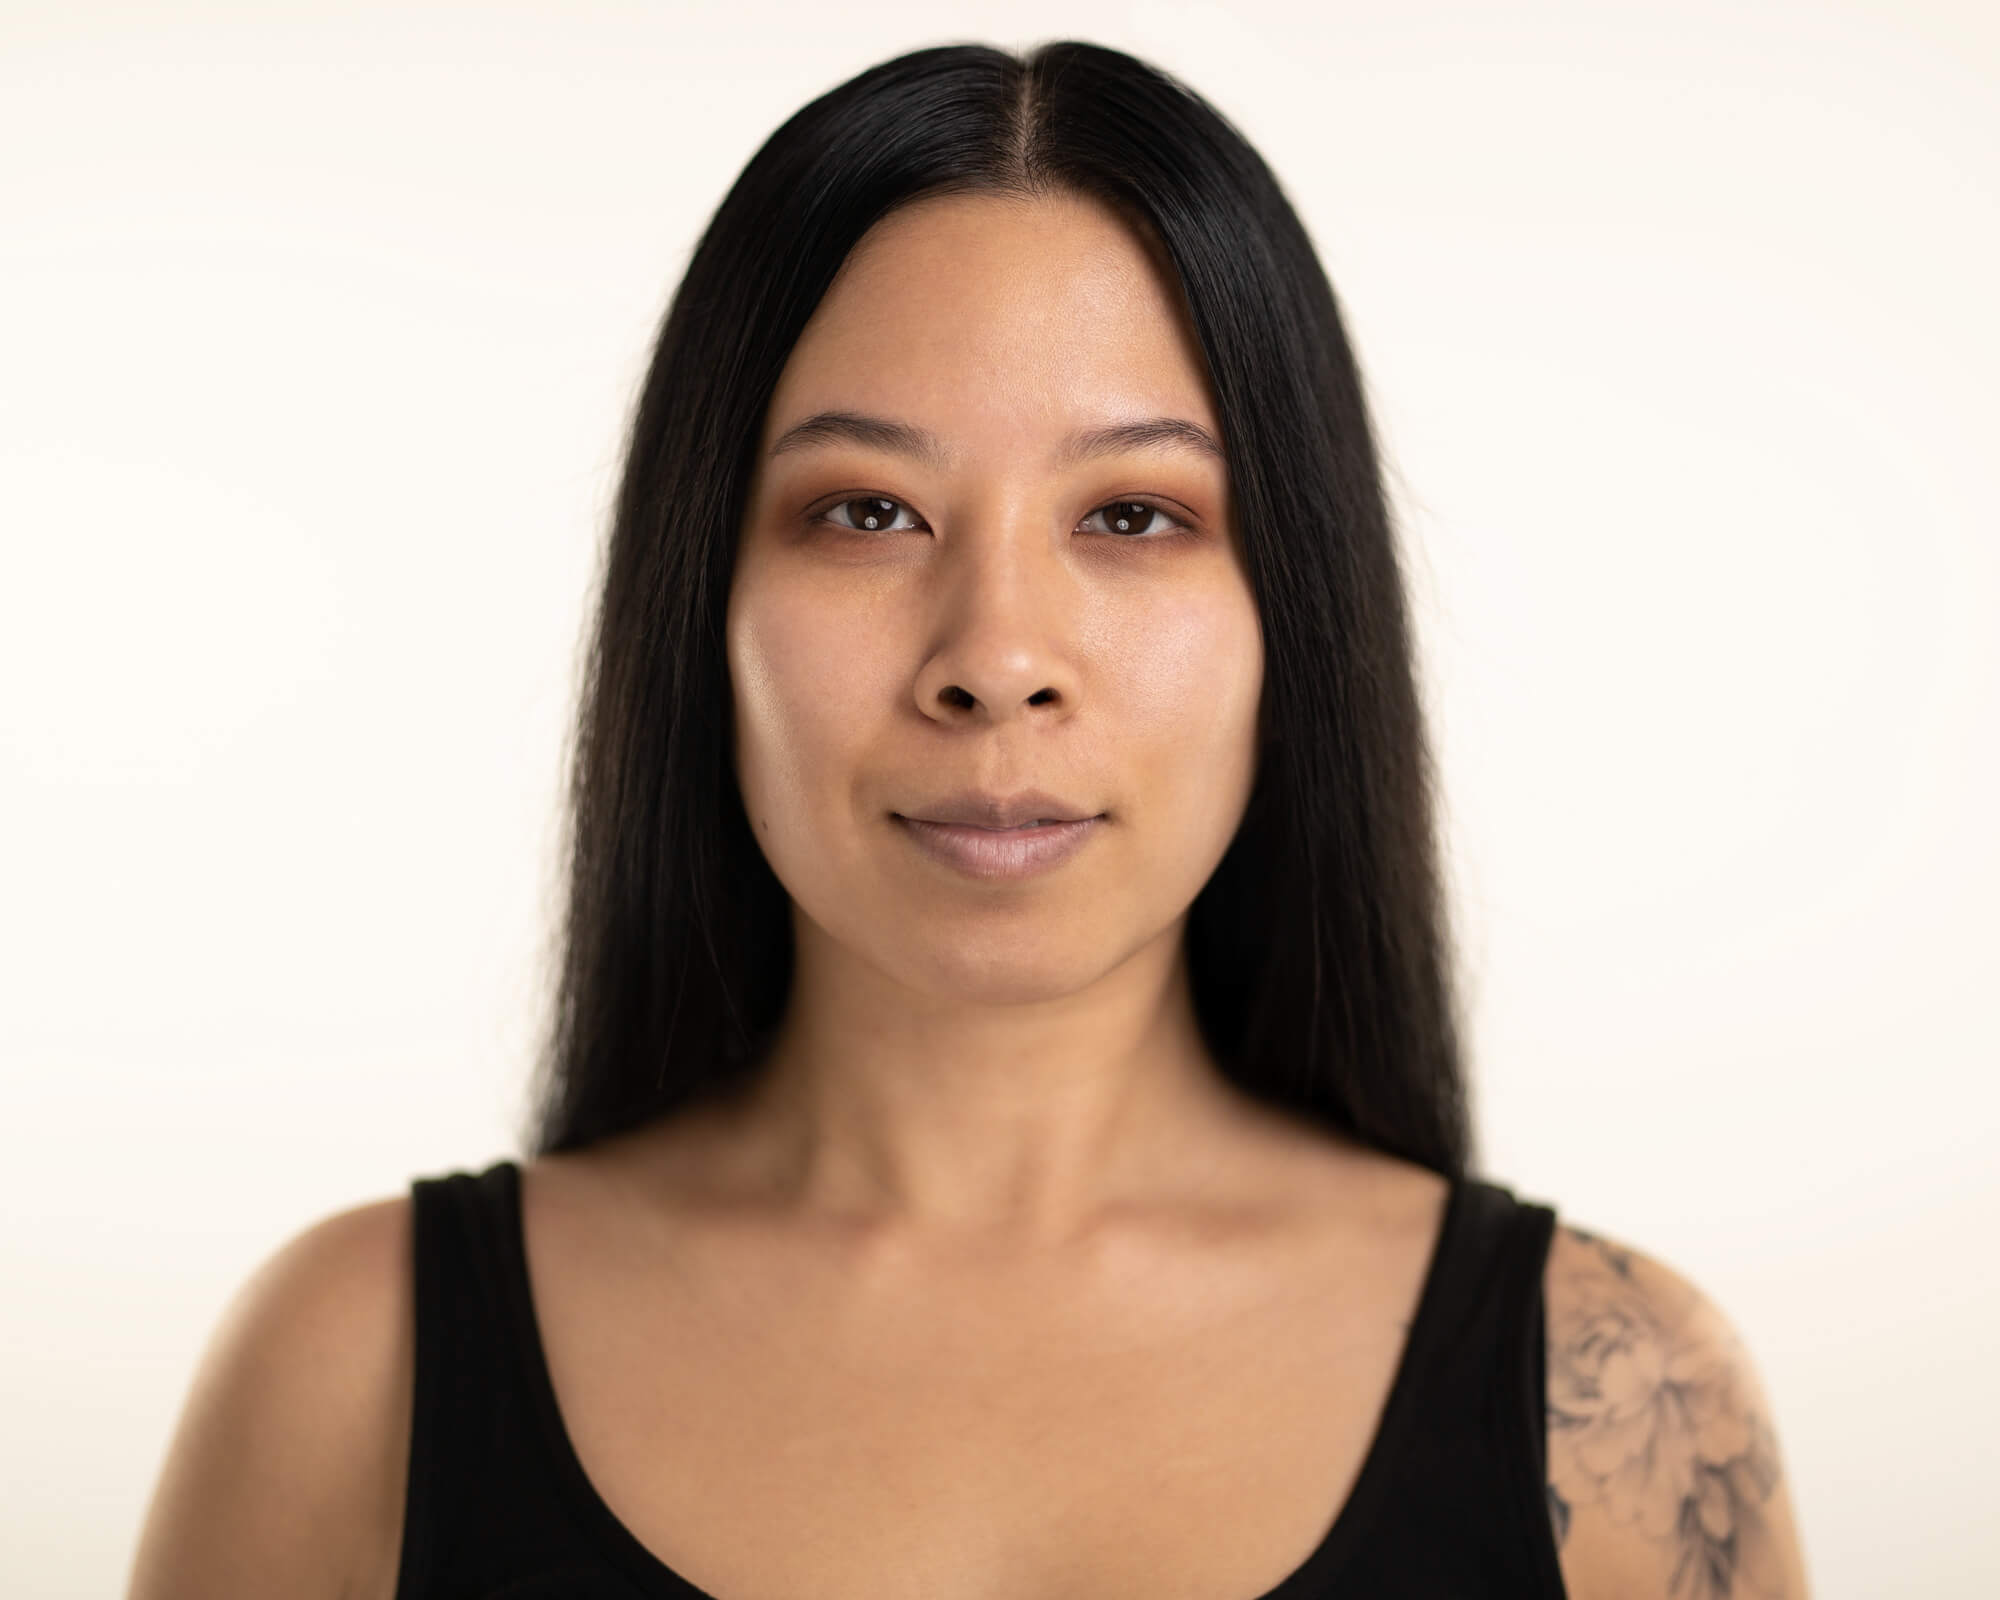
It’s true that Pinterest photos, Instagram selfies, and Hollywood celebrities are consistently looking absolutely amazing in the ever popular natural, soft, glam makeup look.
Unfortunately for us, trying to replicate makeup from a photo can be quite challenging and may even be completely overwhelming.
I’m not going to show you a list of products and a handful of vague tips that fall short of being actually useful.
What I’ll show you instead is HOW to learn the BEST techniques and steps to make sure that you understand what to do and are guaranteed to end up with a soft, glam makeup look on yourself that’s worth your time and effort.
Each person is unique, therefore I’ve picked the best teaching points so that you know the fundamentals of this soft glam hype.
Disclosure: I only recommend products I would use myself and all opinions expressed here are our own. This post may contain affiliate links that at no additional cost to you, I may earn a small commission.
Images from Pinterest
What is a Soft, Glam Makeup Look?
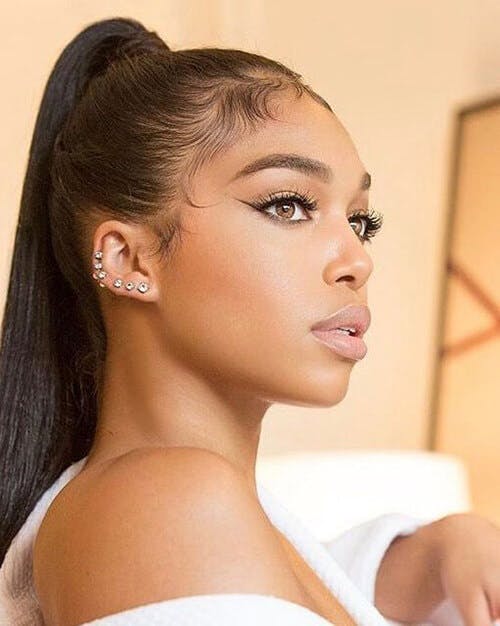
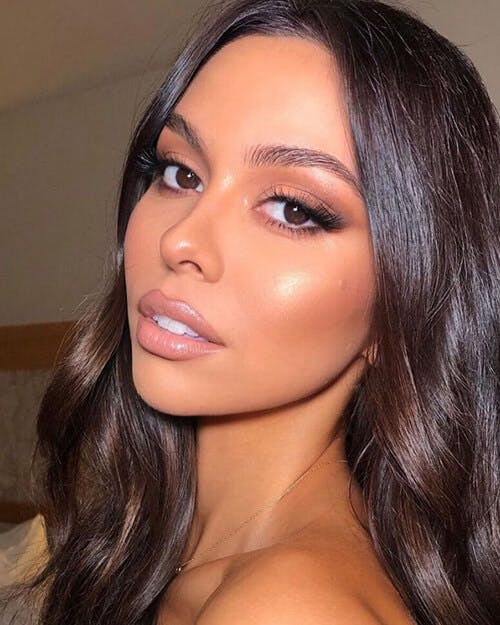
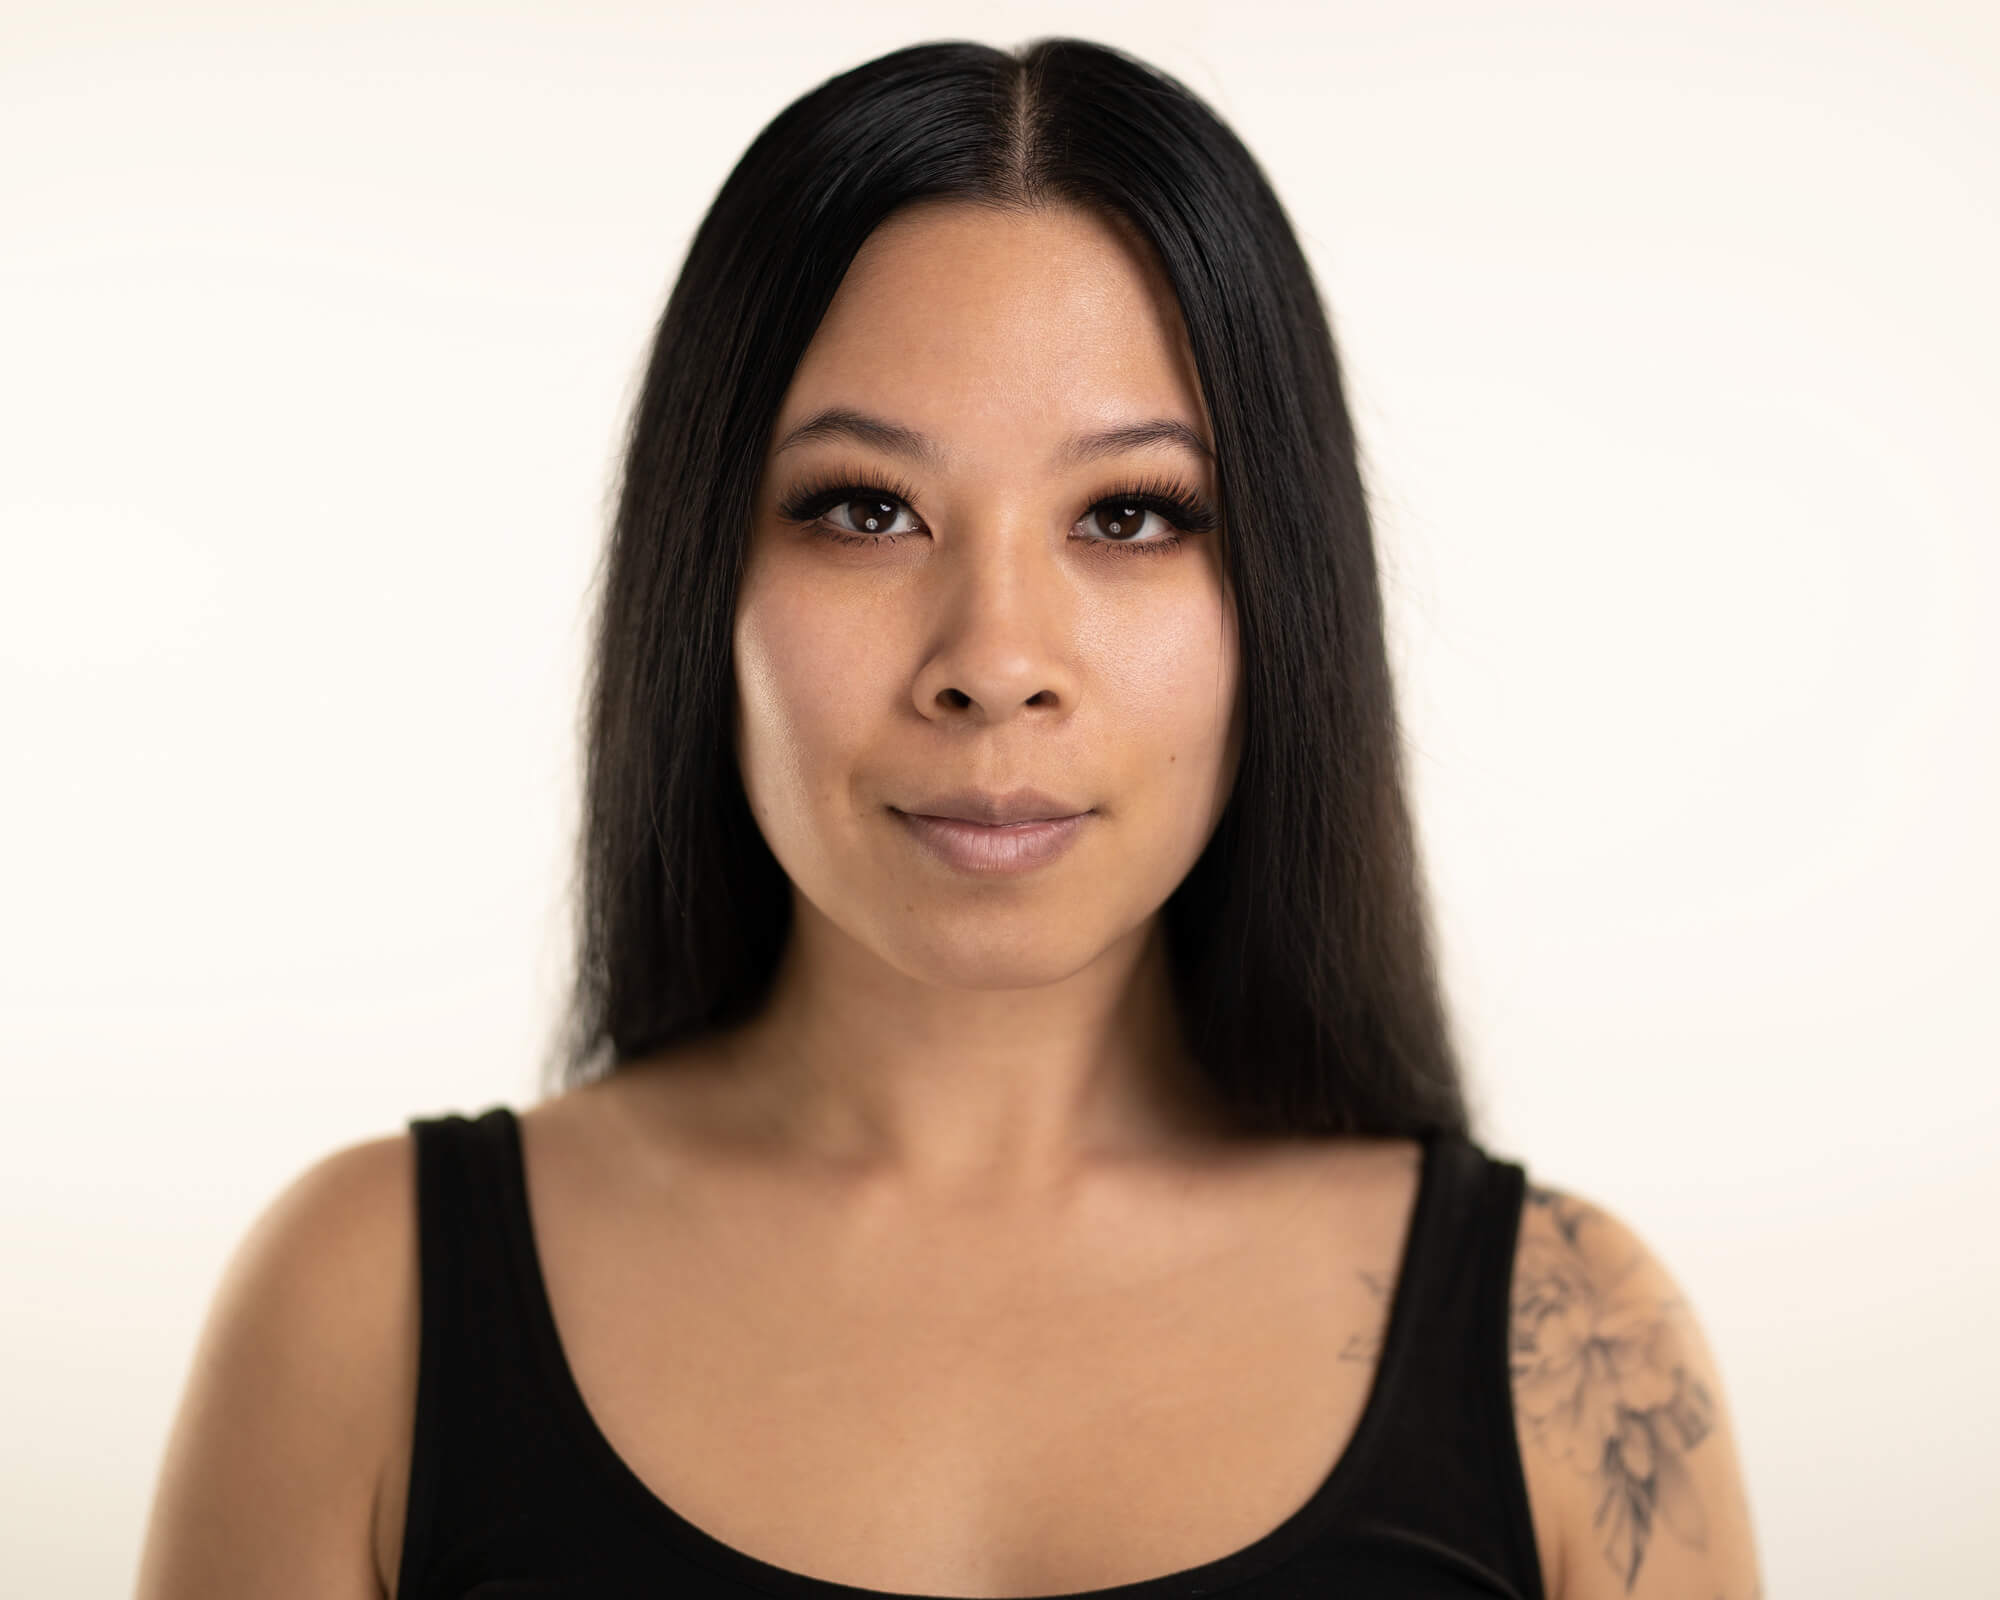
A soft, glam makeup look is a makeup application that has a natural feeling while looking luxurious and polished.
These looks are super popular because they’re an enhanced version of a traditional Day Look. It’s a style that can take you from the morning, afternoon and all the way into the evening!
“It is easy to apply a sexy, smokey makeup look. But it is always harder to easily apply a natural makeup look that looks good.”
– Kerry Todd, MAC Makeup
7 Essential Steps to Create a Perfect Soft Glam Makeup Look
Re-creating inspirational makeup looks that you’ve found online or through social media onto yourself is quite challenging. Unless you’ve found your makeup doppelganger, you do not have the exact same facial features and may not even own the exact same products they used.
In this article, you’ll find 7 proven methods and tips on how to confidently create a custom soft, glam makeup look for yourself!
- How to Choose the Best Nude Color for your Eyes.
- What is Tightlining and Why it Works so Well.
- How to Make your Lashes Wispy and Glam.
- How to Achieve Soft and Smooth Skin.
- The Best Eyebrow for any Soft Nude Look.
- How to Blend and Contrast your Face for High Impact.
- How to Make Your Lips Unforgettably Perfect.
When you look through Google images for “Soft Glam Makeup Looks” or “Natural Makeup Looks”, you’ll see a consistency of neutral eyeshadows.
In the makeup world we often call these shades “nude” colours and these colours are FAR from boring!
“By definition neutral means “no color.” A neutral makeup look could include muted shades of grey, earth tones, flesh tones, and shades from light to dark. Textures can be anything from matte to metallic. Neutral makeup doesn’t necessarily need to be soft or light.”
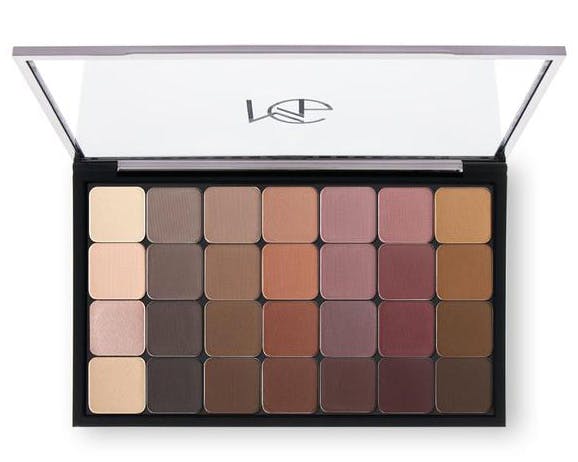
Image from Makeup Geek
Contrasting eyeshadow is when you use different textures (matte, shimmer, frost, satin, foiled, lustre, etc) and/or shades, which will give your eyes depth and dimension. This keeps the eyes looking timeless and draws more attention by forming a dynamic 3D effect.
Image from Makeup Geek
The best way to achieve a soft look is to start by choosing a minimum of 3 colours:
- One colour for the base (to help the other colours blend)
- One colour to make the eyes look more open (lighter).
- One colour to create depth (a shade or three deeper than your base colour).
The colours you pick can be all uniformed matte or they can be a combination of shimmery + satin + matte, as long as the colours melt together and have a dynamic feeling.
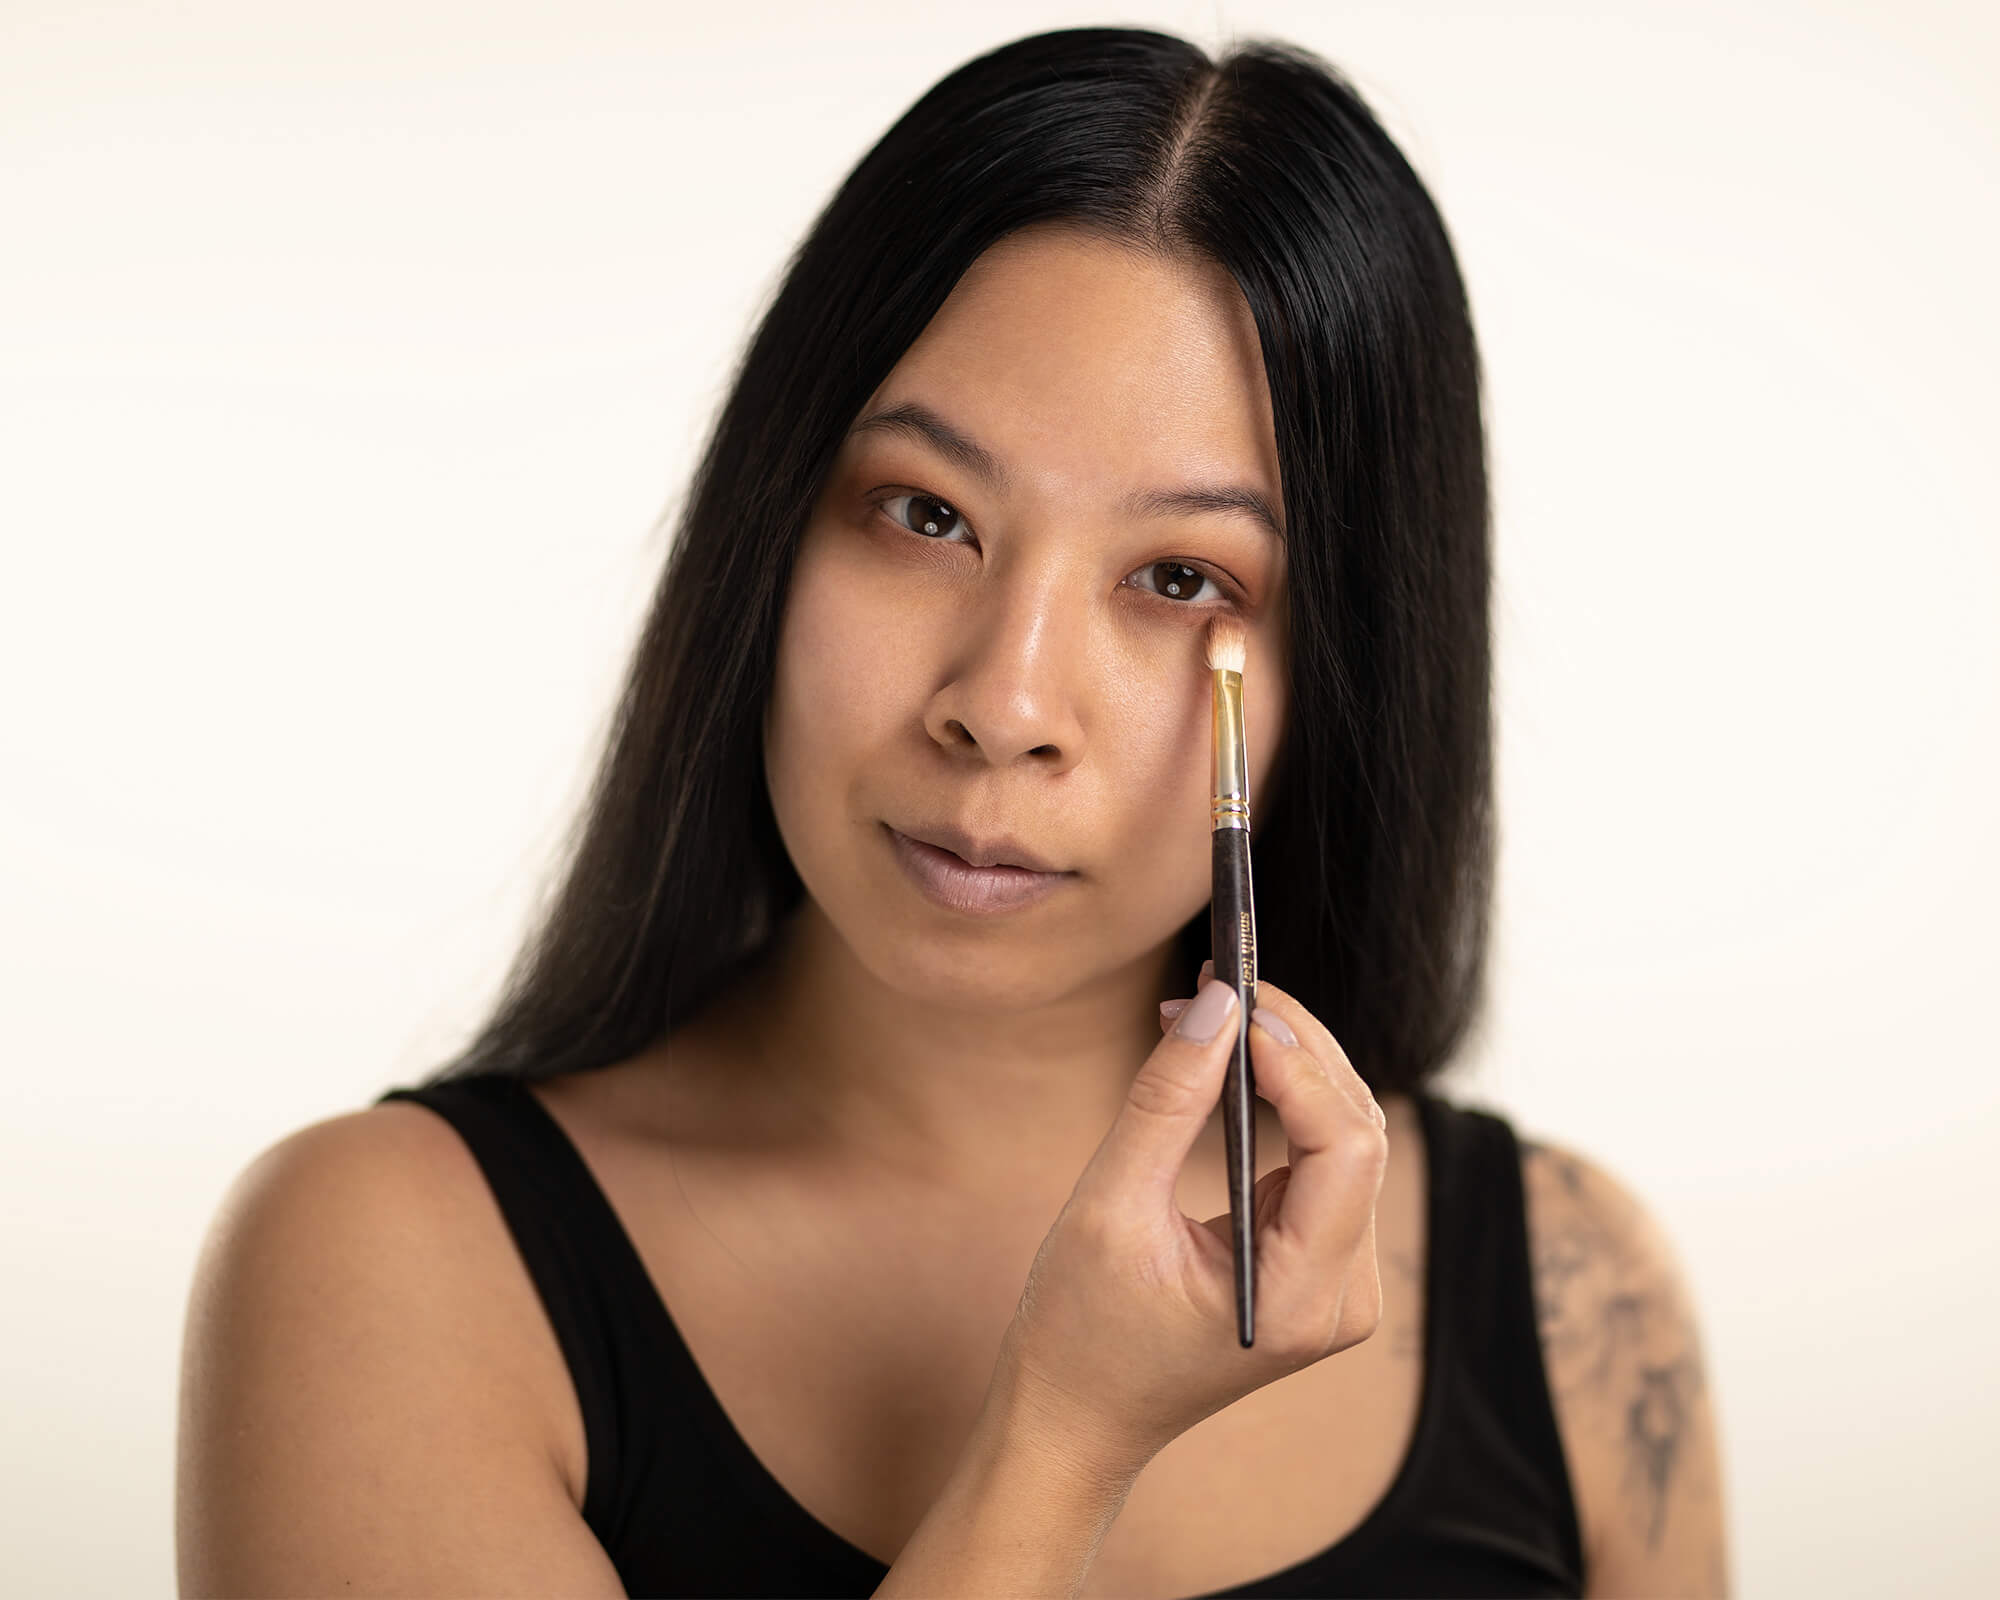
How to Pick Nude Colours and Apply Them on Your Eyes
You can apply eyeshadow in many ways: solid style, light lid/deeper crease, light to dark, candlelight, and cut crease. For today’s let’s keep it simple and learn the Solid Style as this will be flattering for every eye shape!

1. Prime the top and bottom of your eyelids.
2. Use your base colour on the top and bottom of your eyelids.
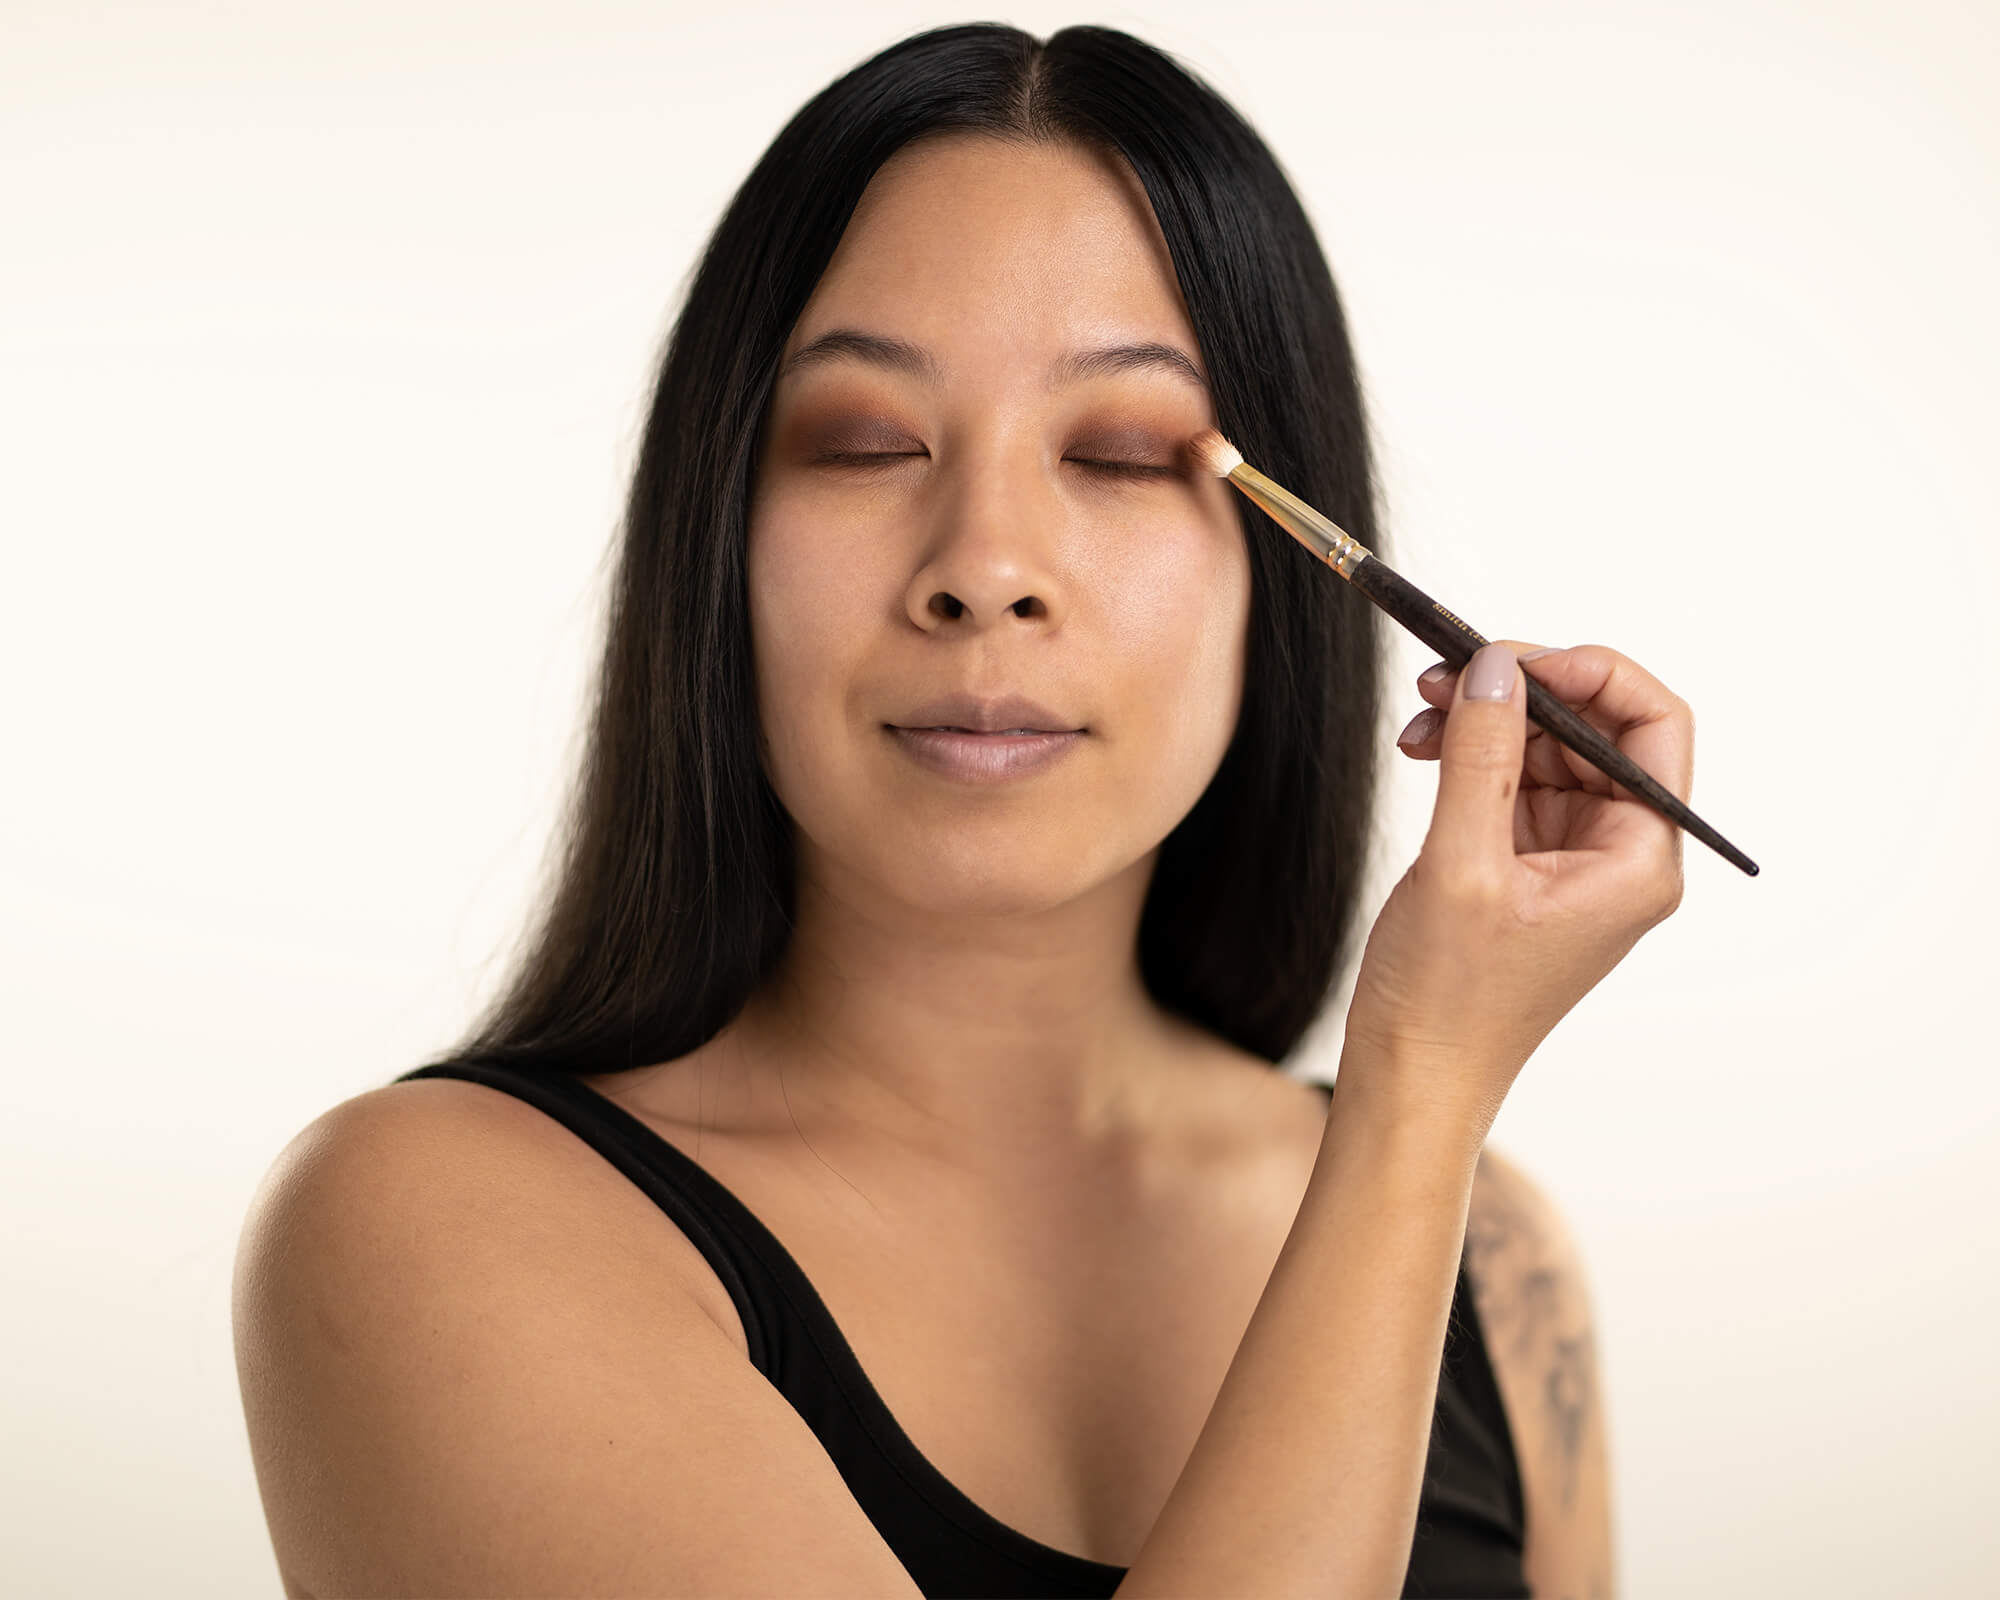
3. Choose your medium deep colour and place it on the upper lash line and blend just above the fold. Apply the same colour on the lower lash line.
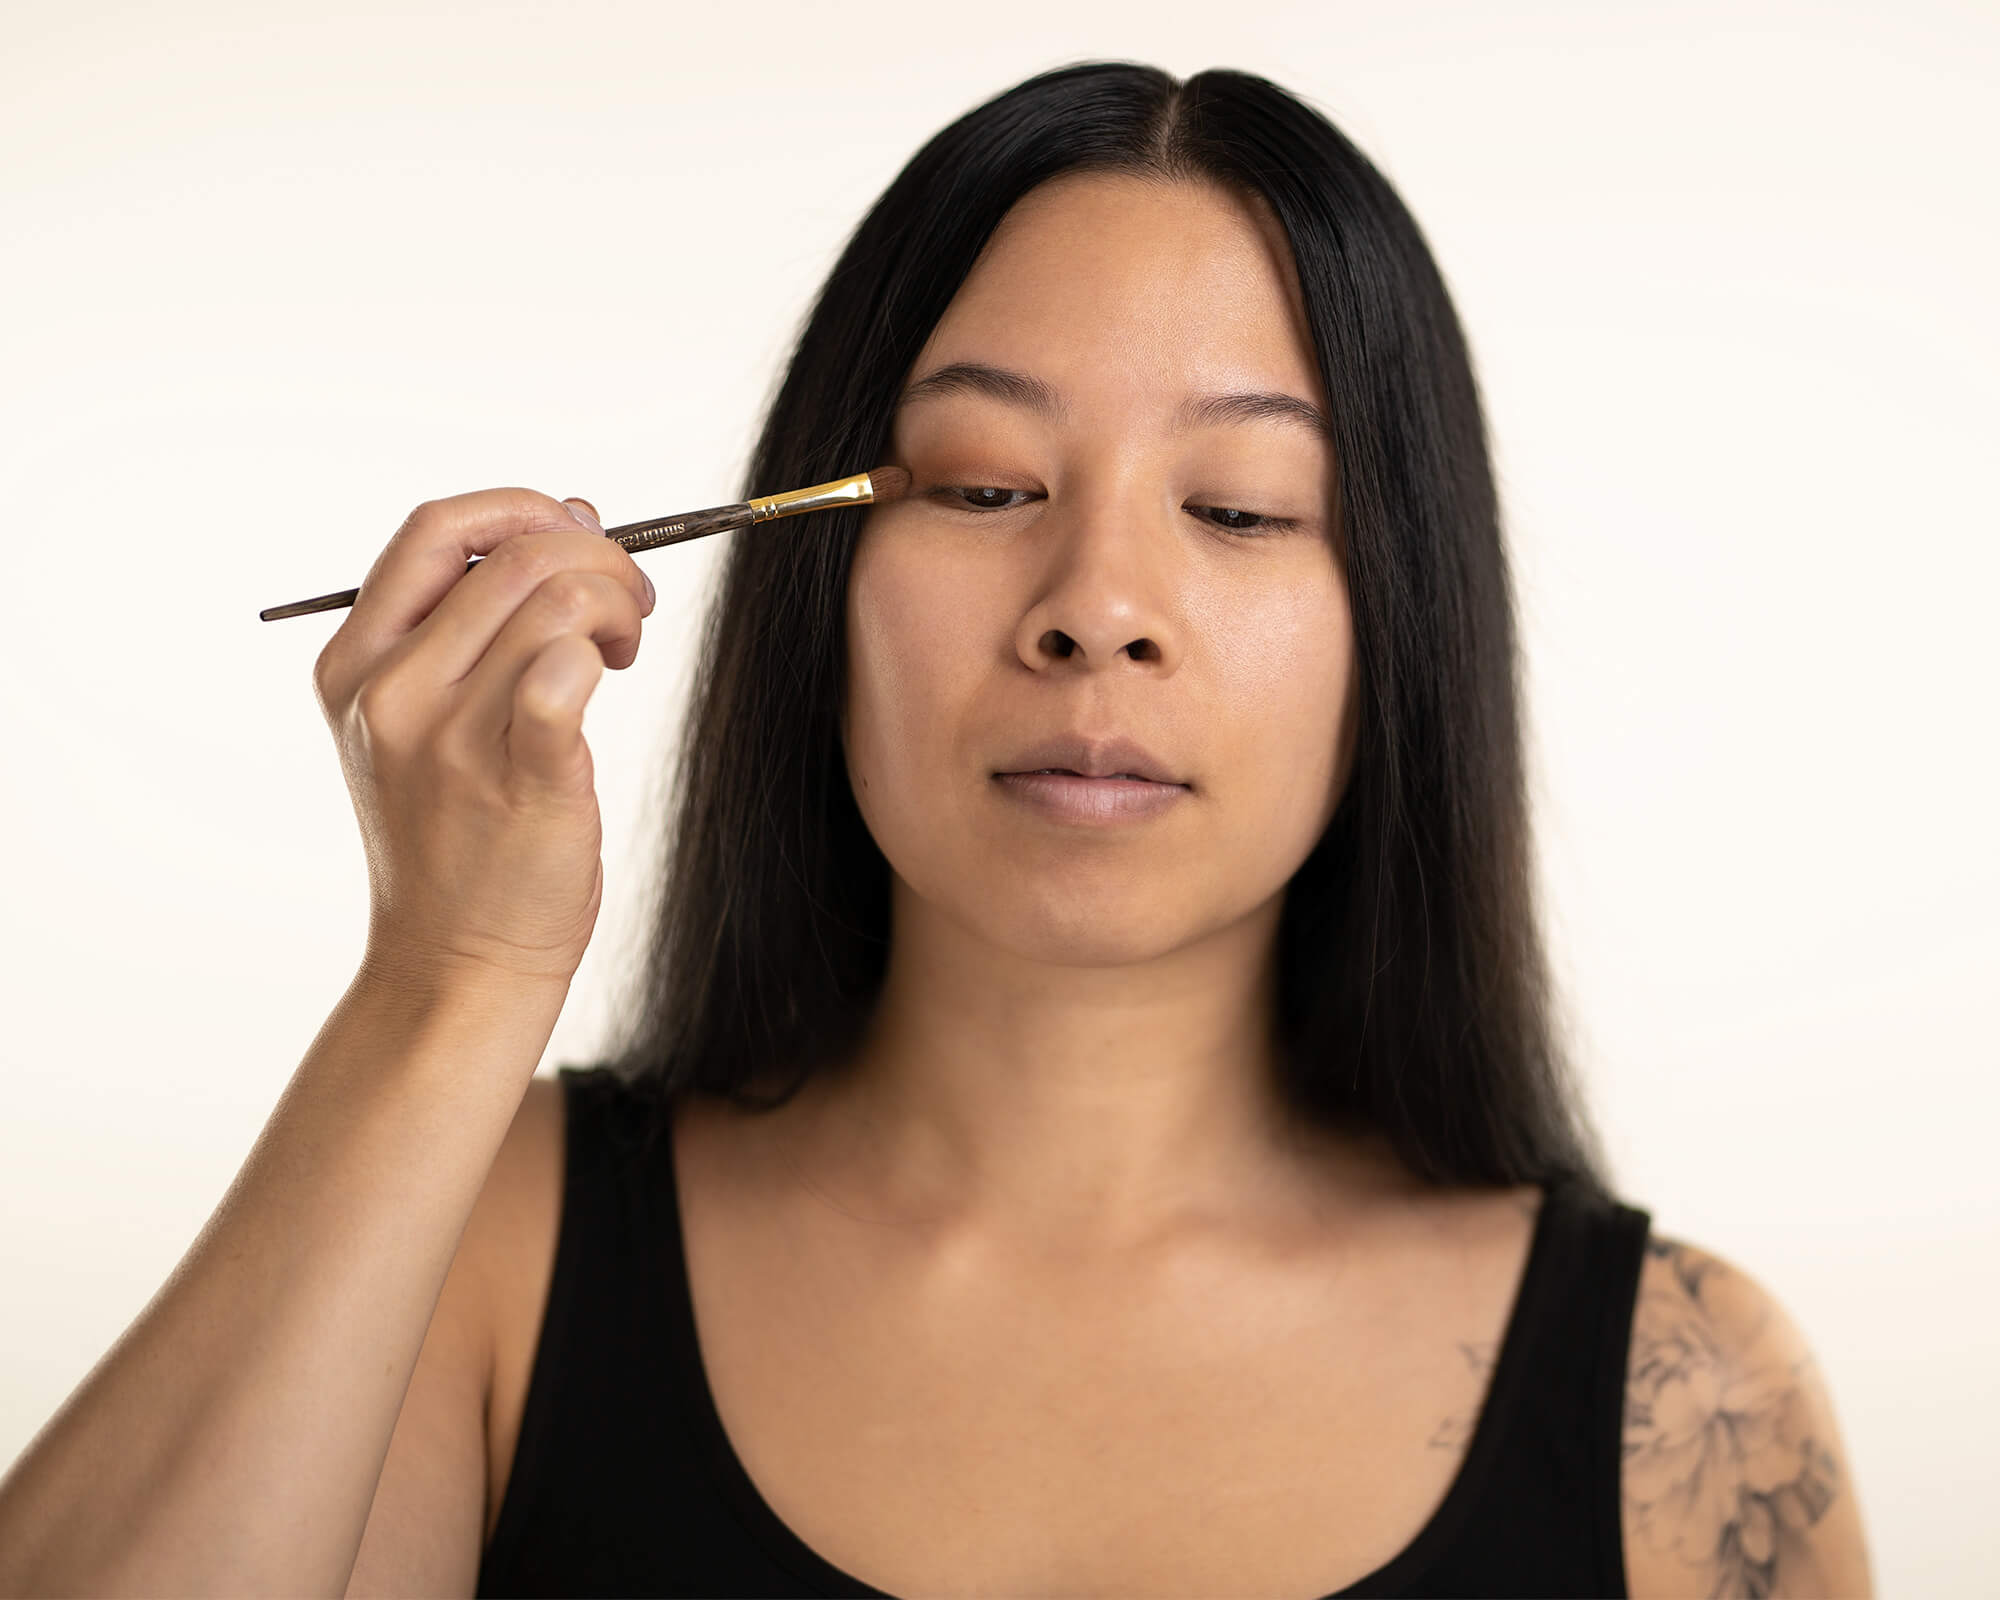
4. Use a deeper colour in the crease and lower lash line. Blend with a blending brush.
5. Apply the base lighter colour in areas to highlight the eyes: inner corner, lower inner corner.
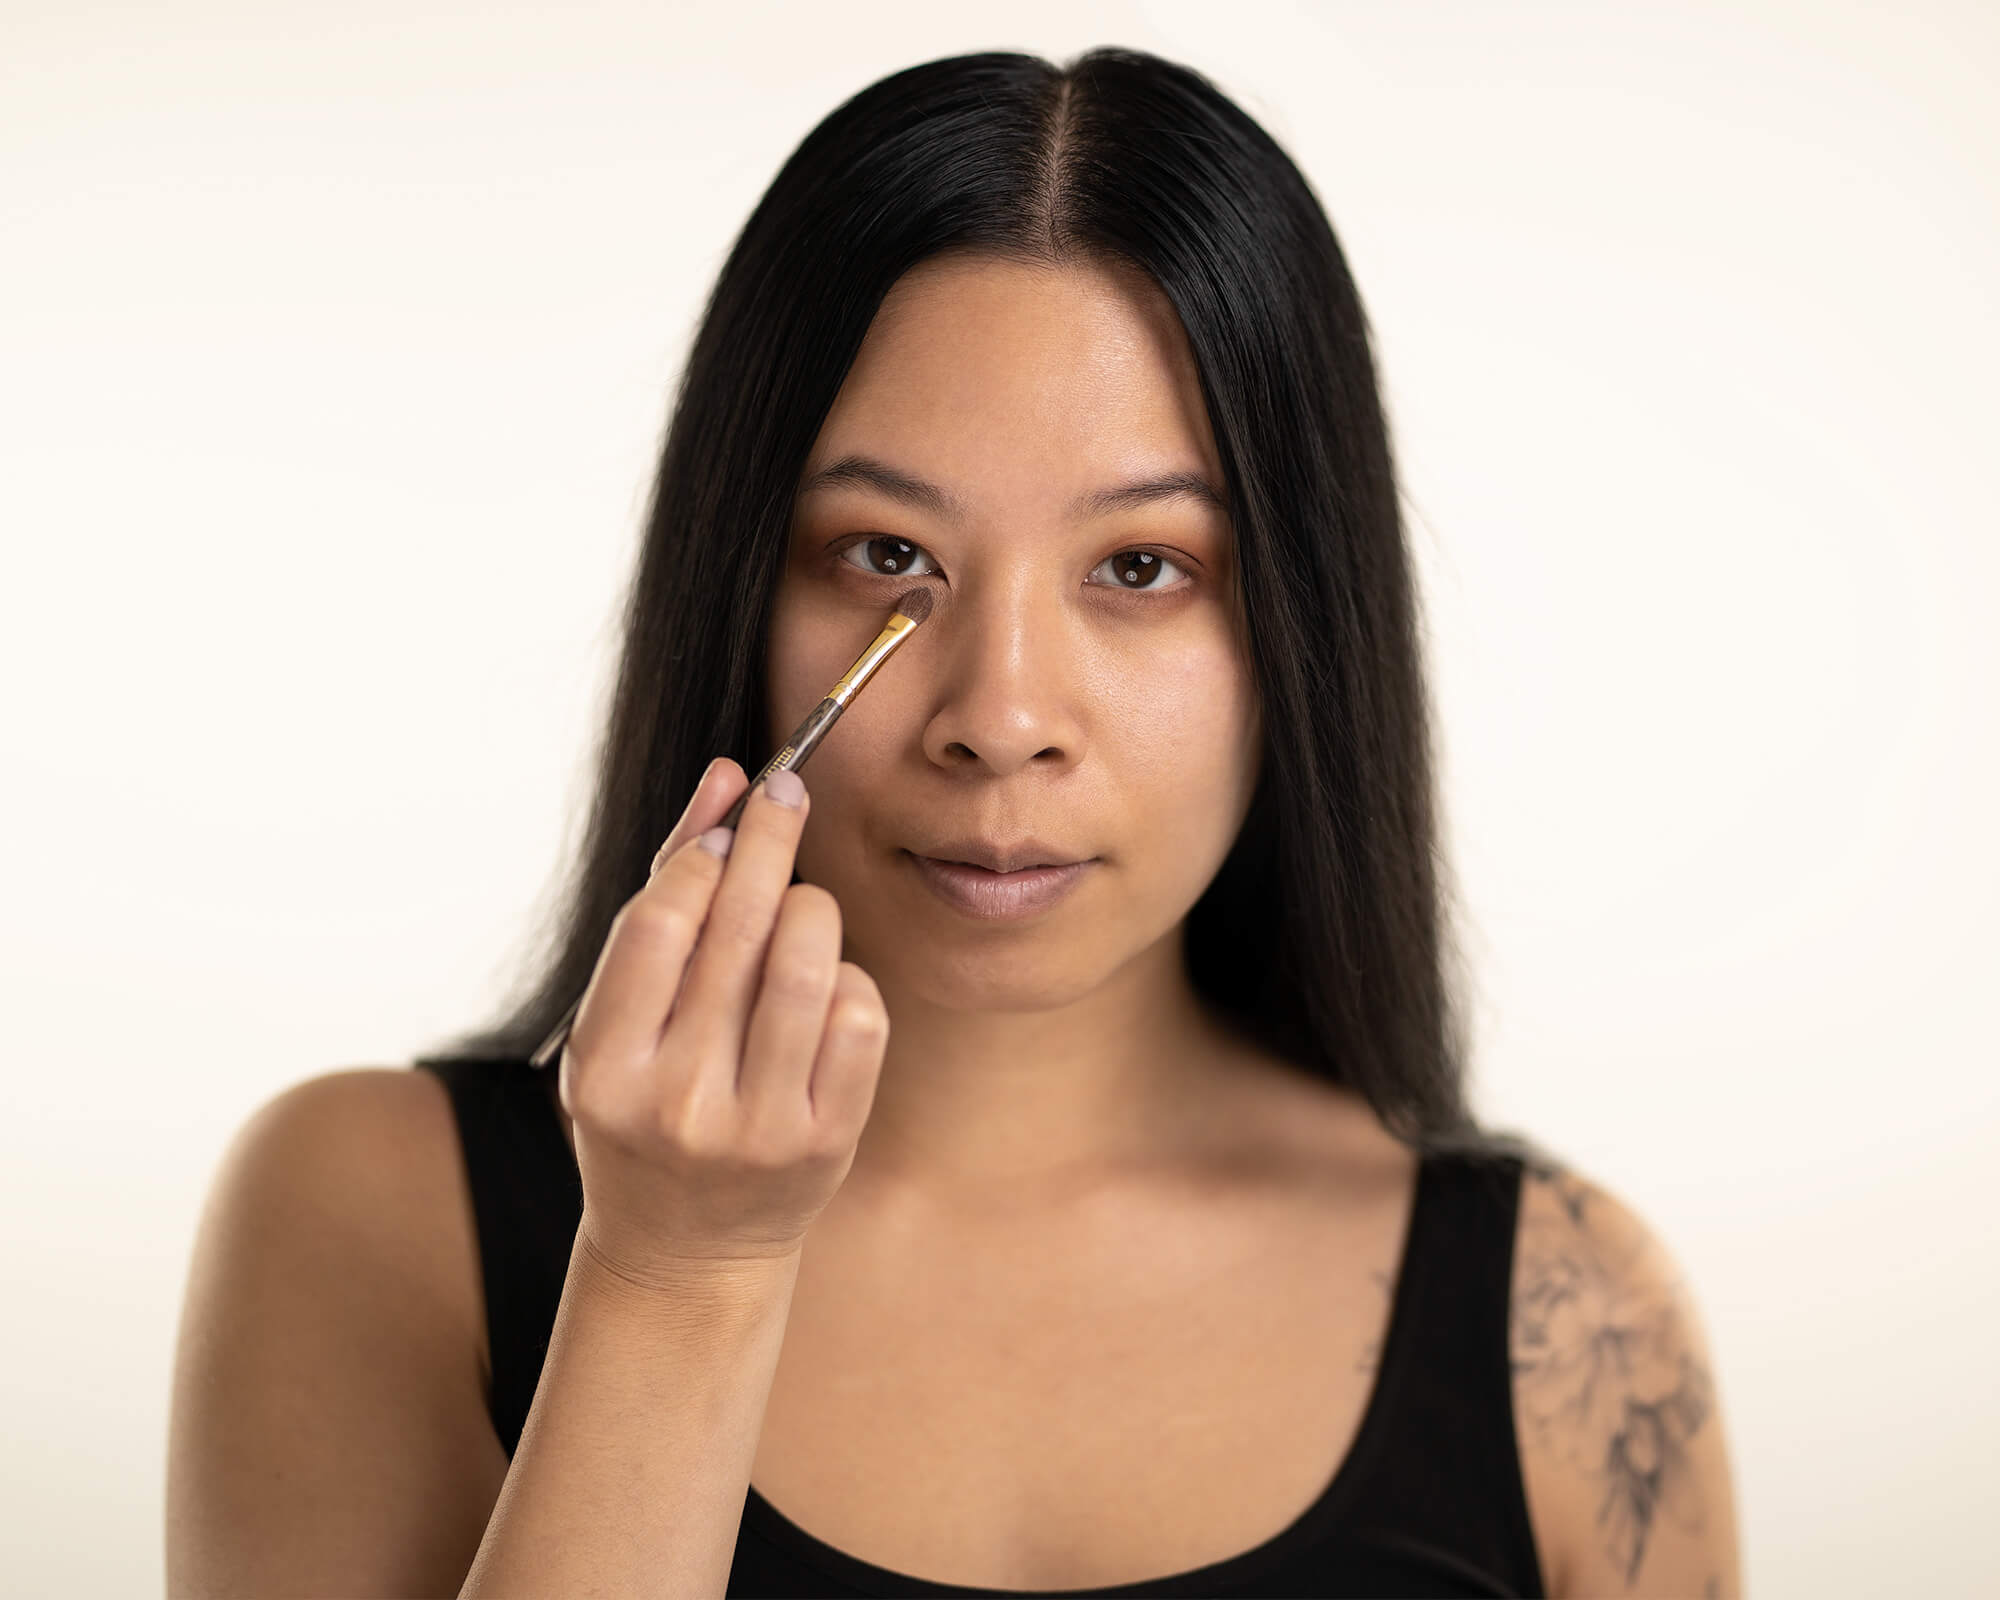
Without Tightlining
With Tightlining
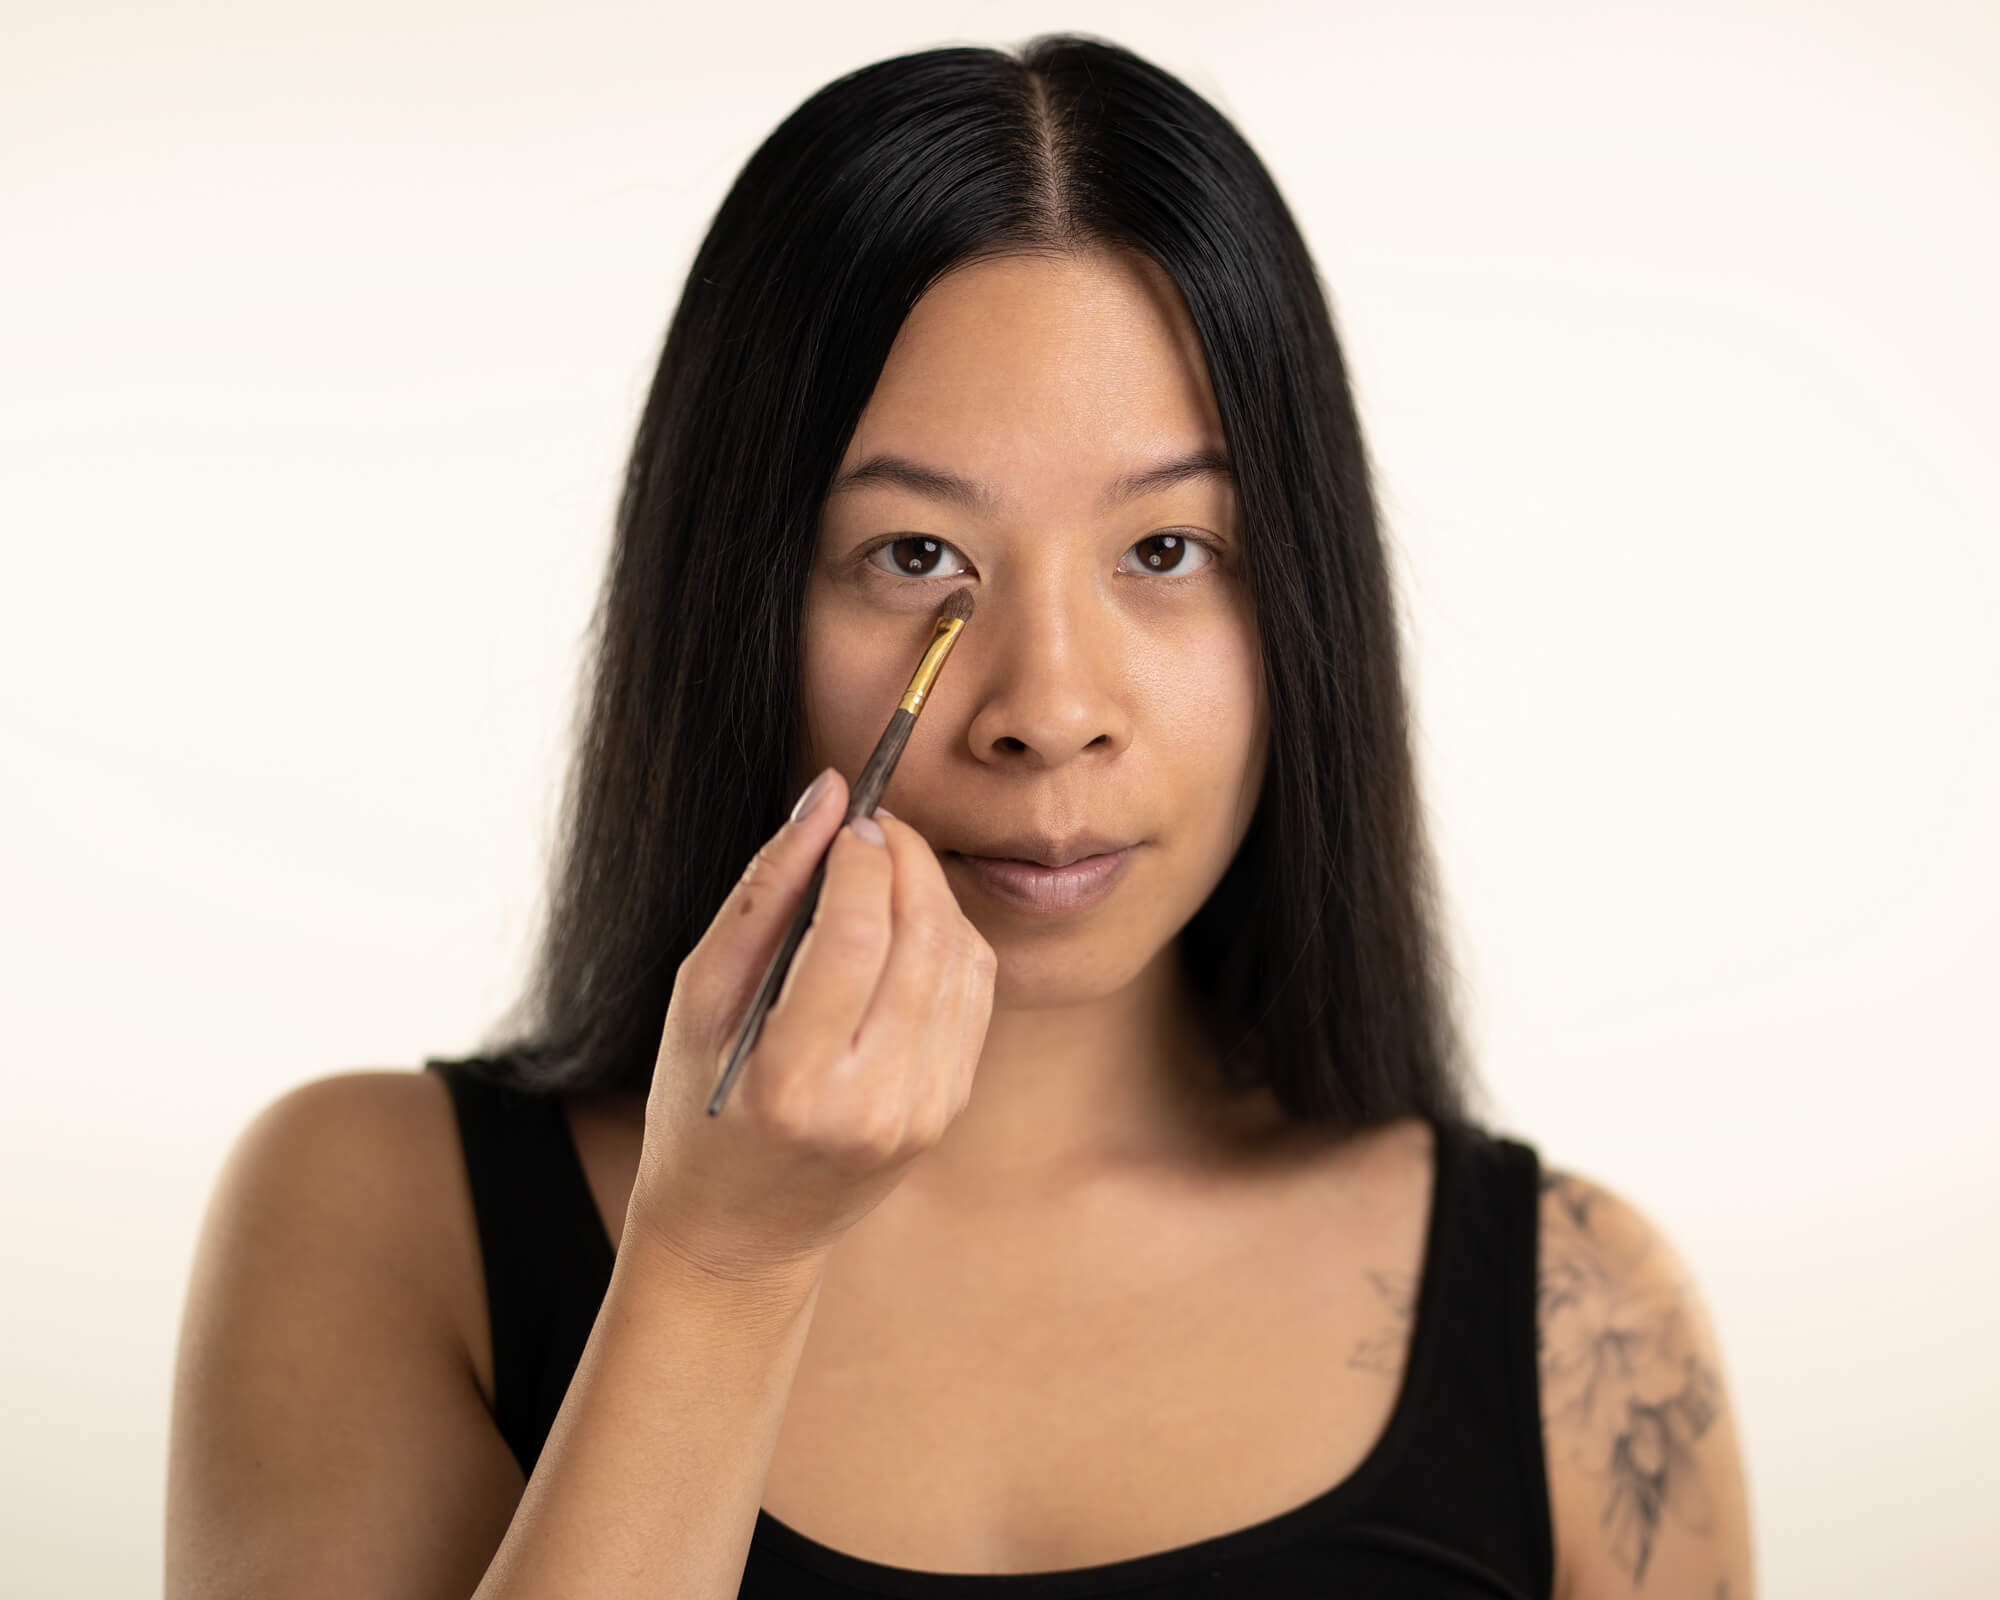
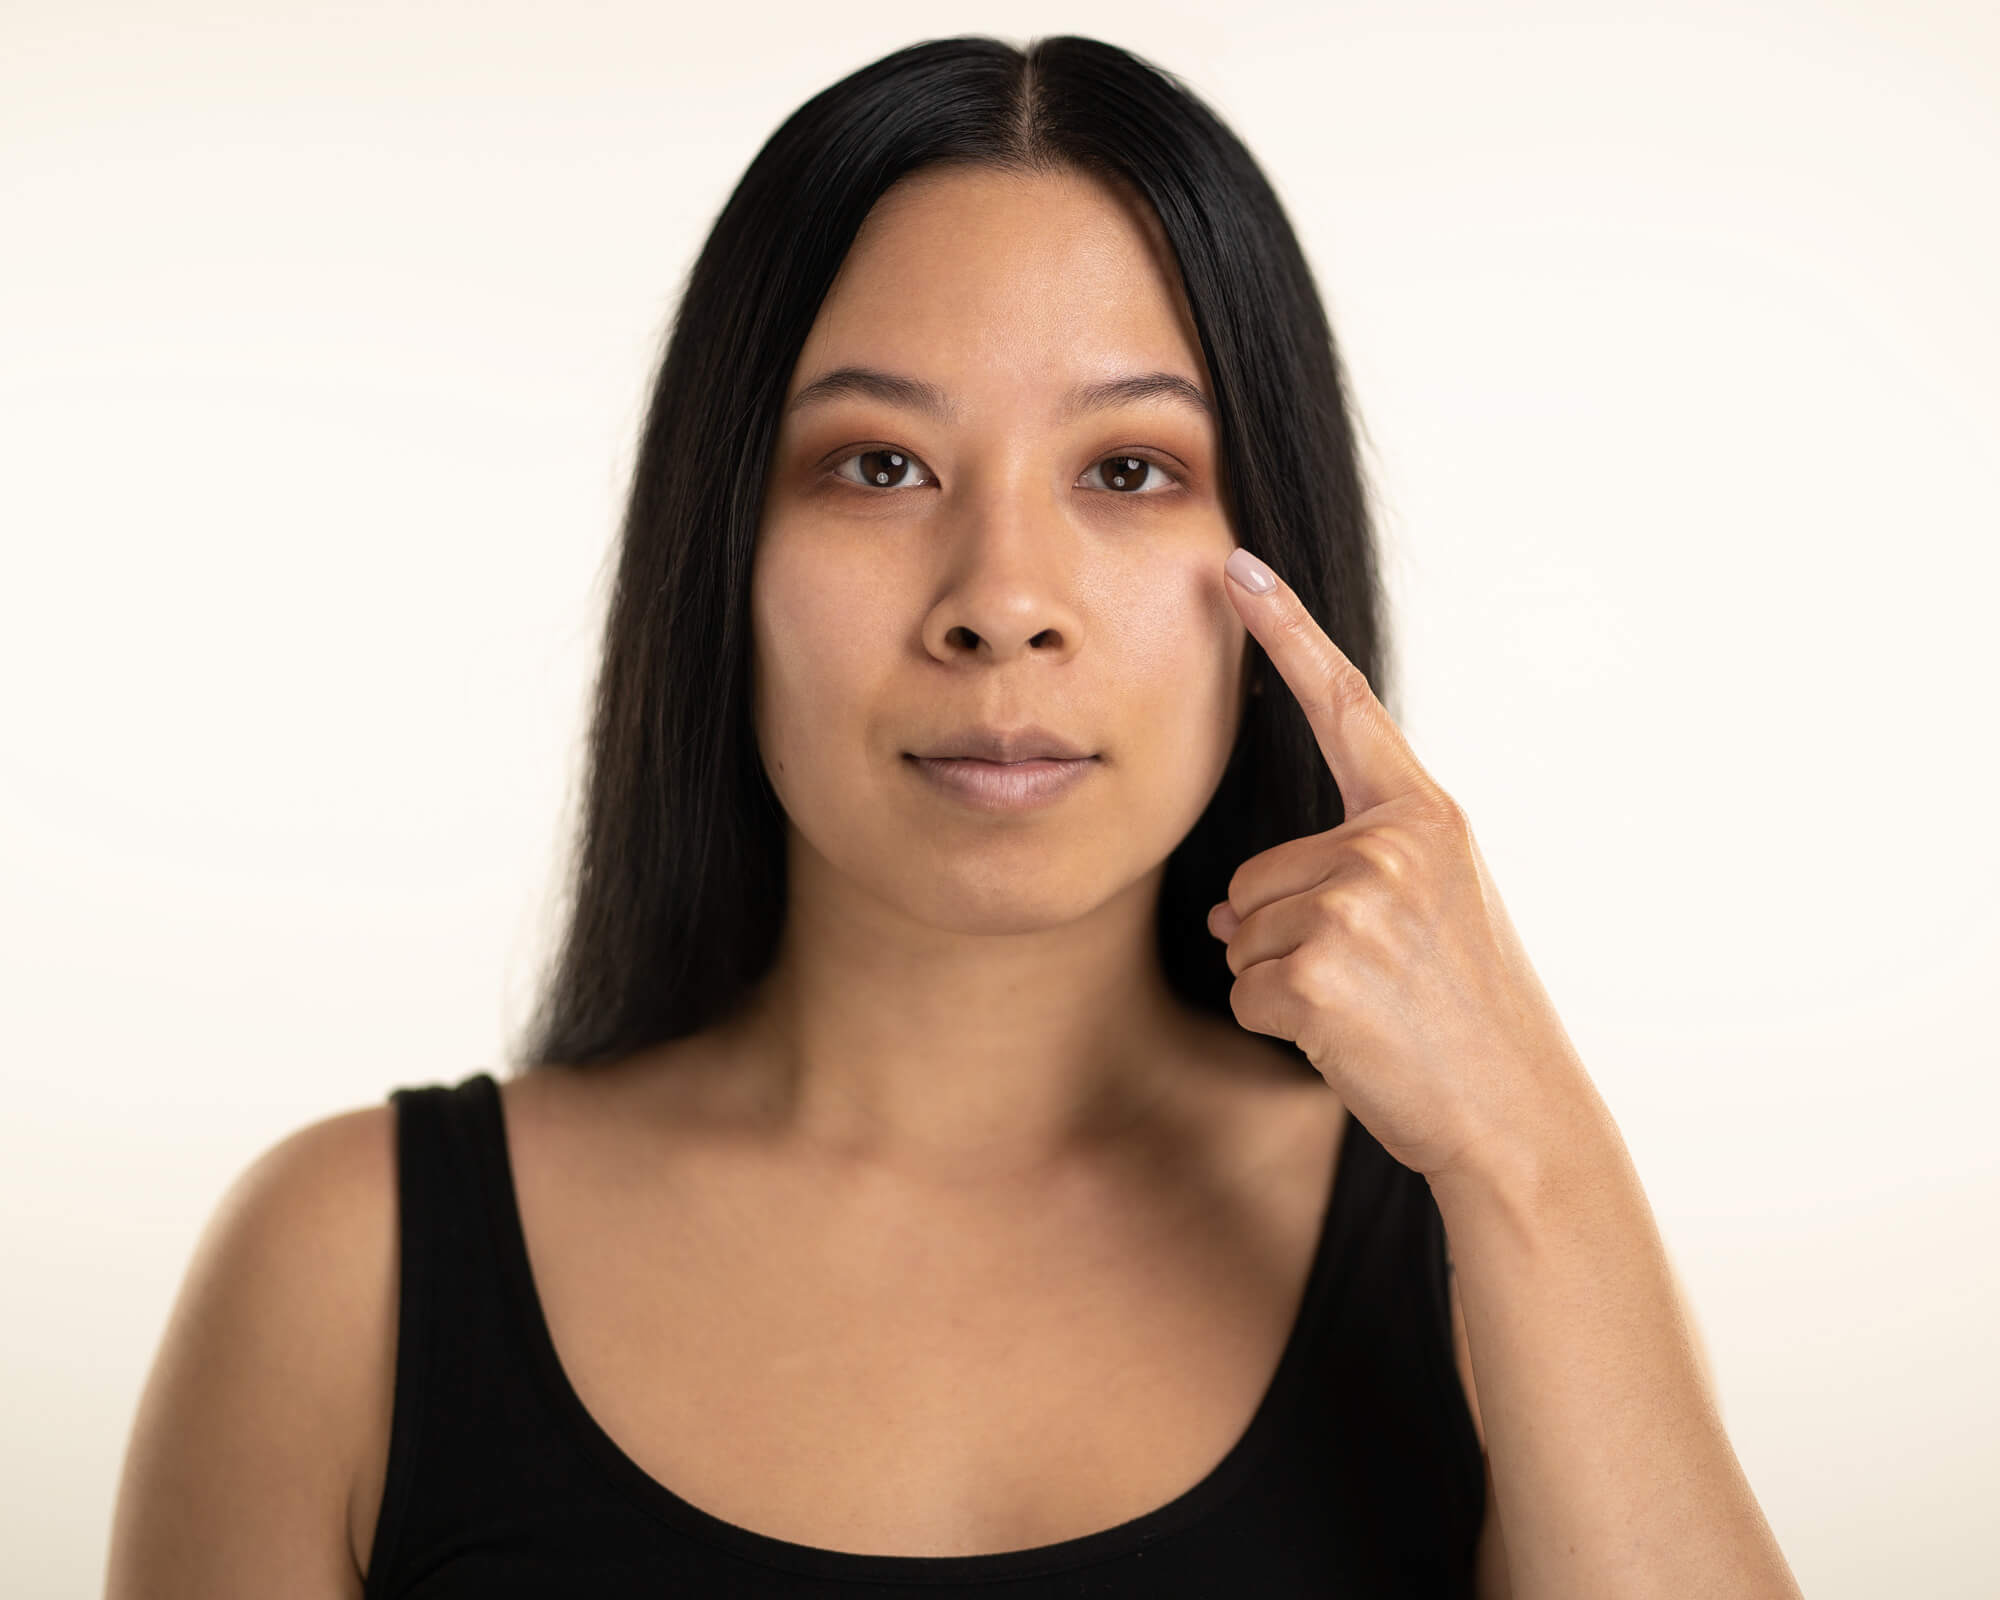
Tightlining is a makeup technique that focuses on applying eyeliner in the details of the upper lash waterline, and as they say, The Devil’s in the Details.
If you don’t know already, the waterline is the skin area that looks like a line, closest to the physical eye itself, between your lashes and your eyeball. Its purpose? Every time you blink, the lines of skin from the top lid and bottom lid touch and help drain eye water to the tear ducts.
Now you might be wondering, should I tightline even when I’m not doing a soft glam look?
Yes! I highly recommend this technique. It creates a thicker frame for your eye.
This helps your eyelashes look fuller, lifts the eyes and gives it focus, and defines the lash line by blending better with your mascara and false eyelashes.
How to Tightline: (A.K.A How to apply eyeliner to your upper waterline without stabbing your eye)
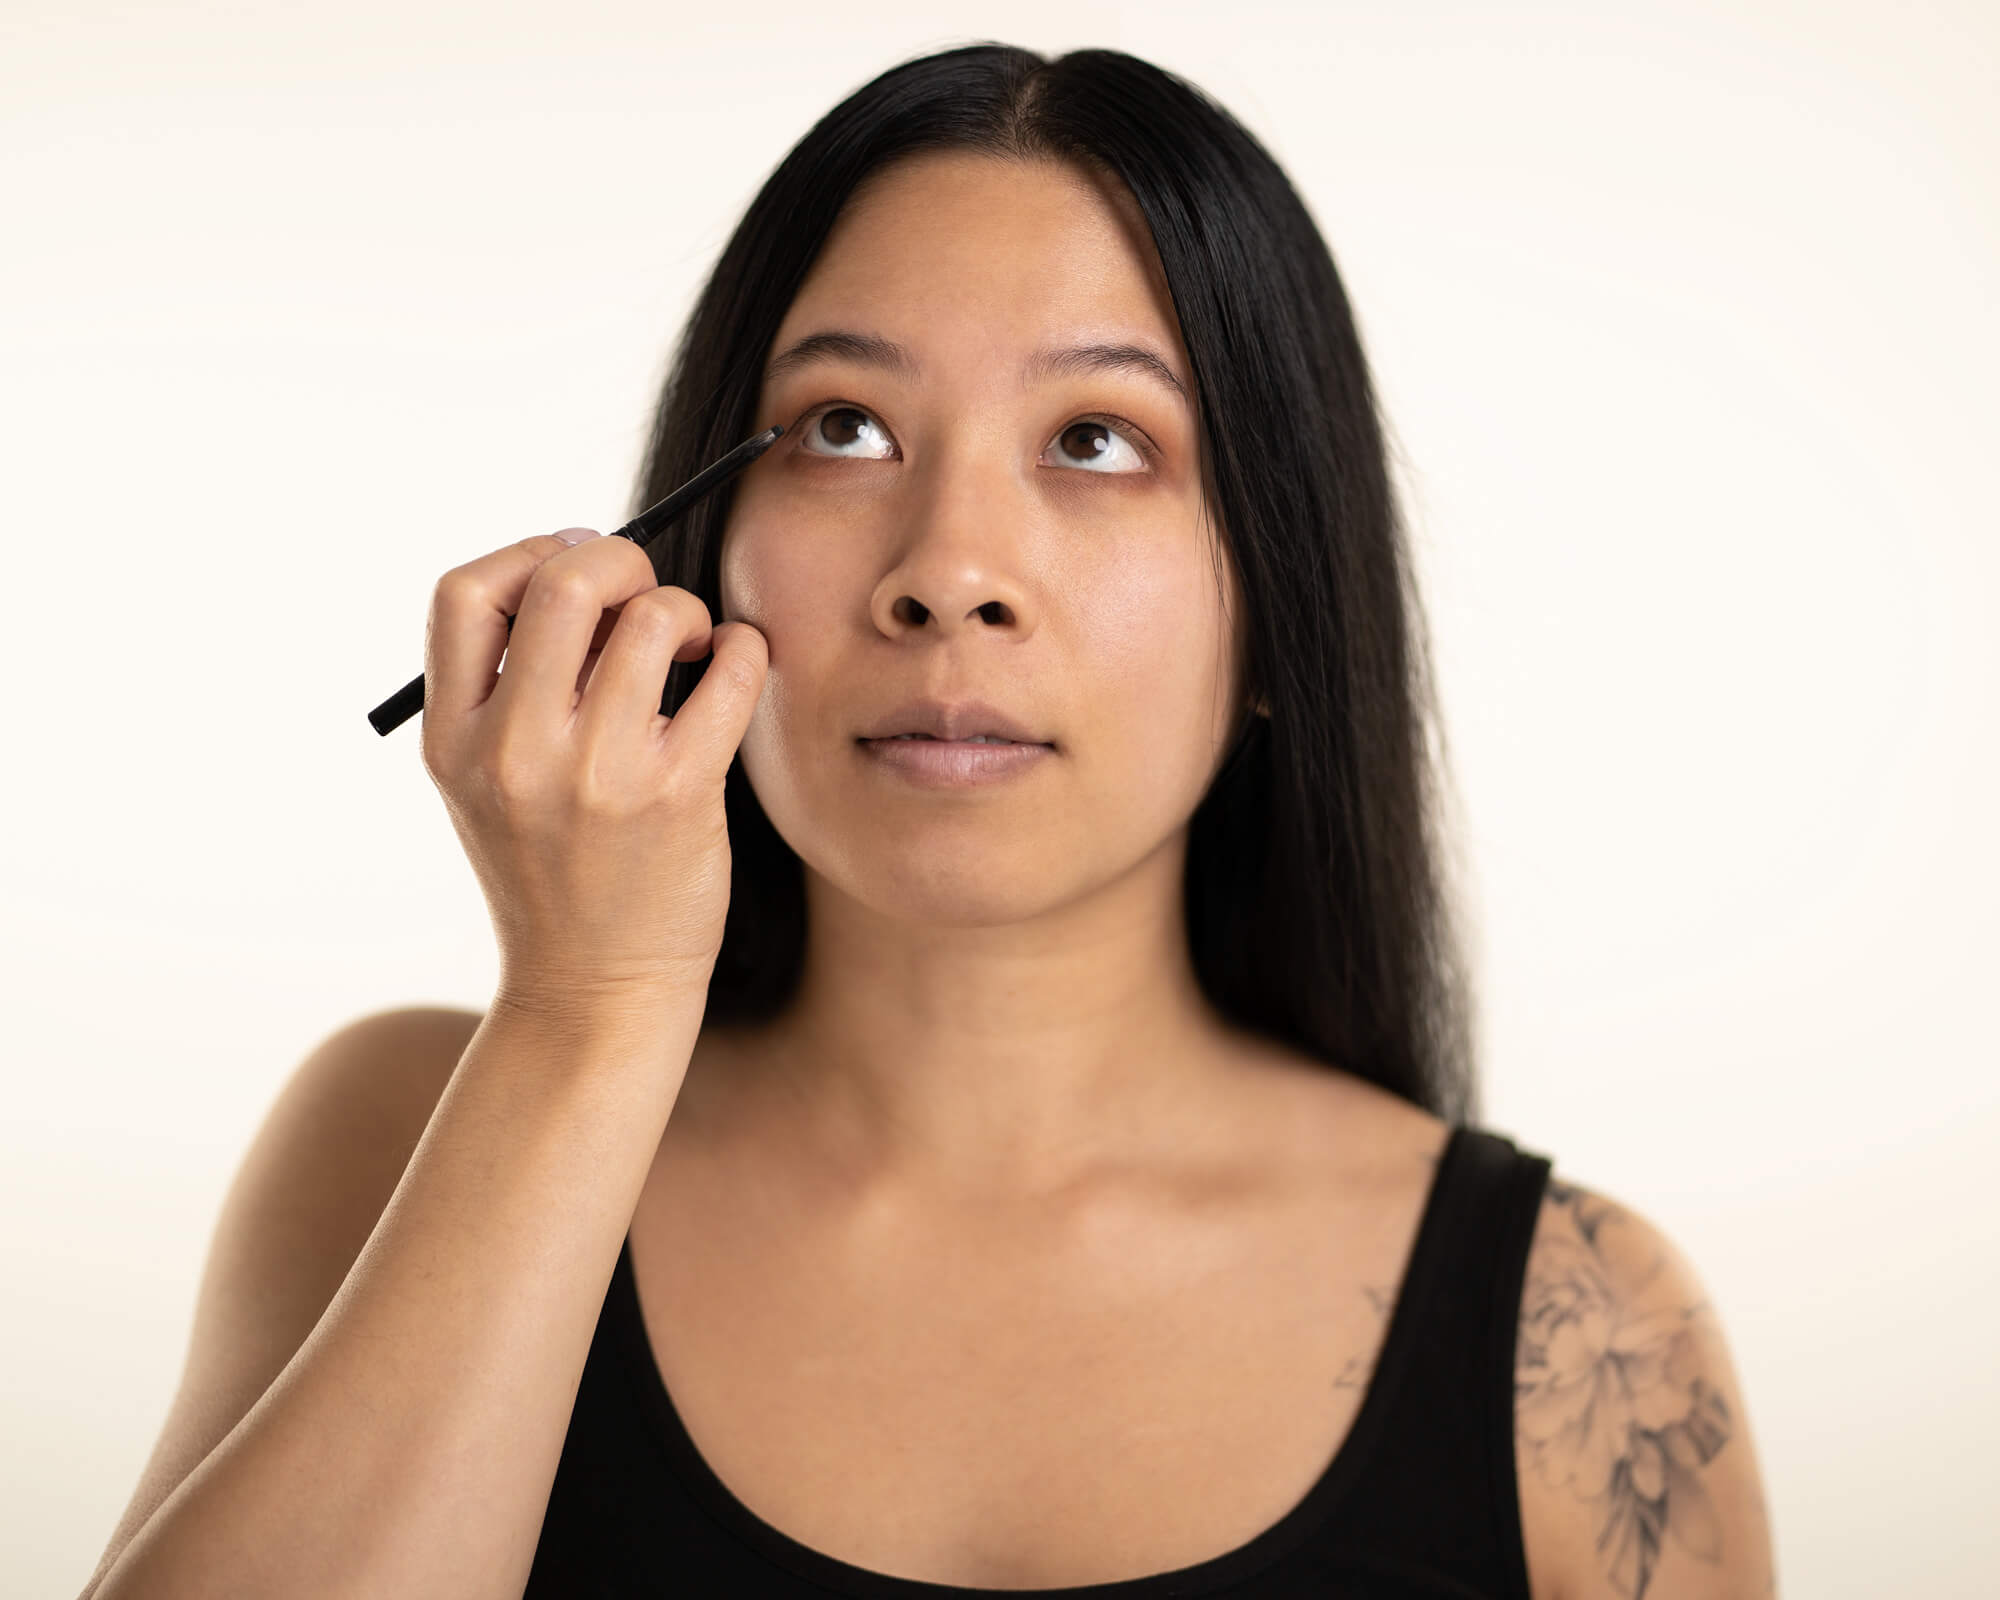
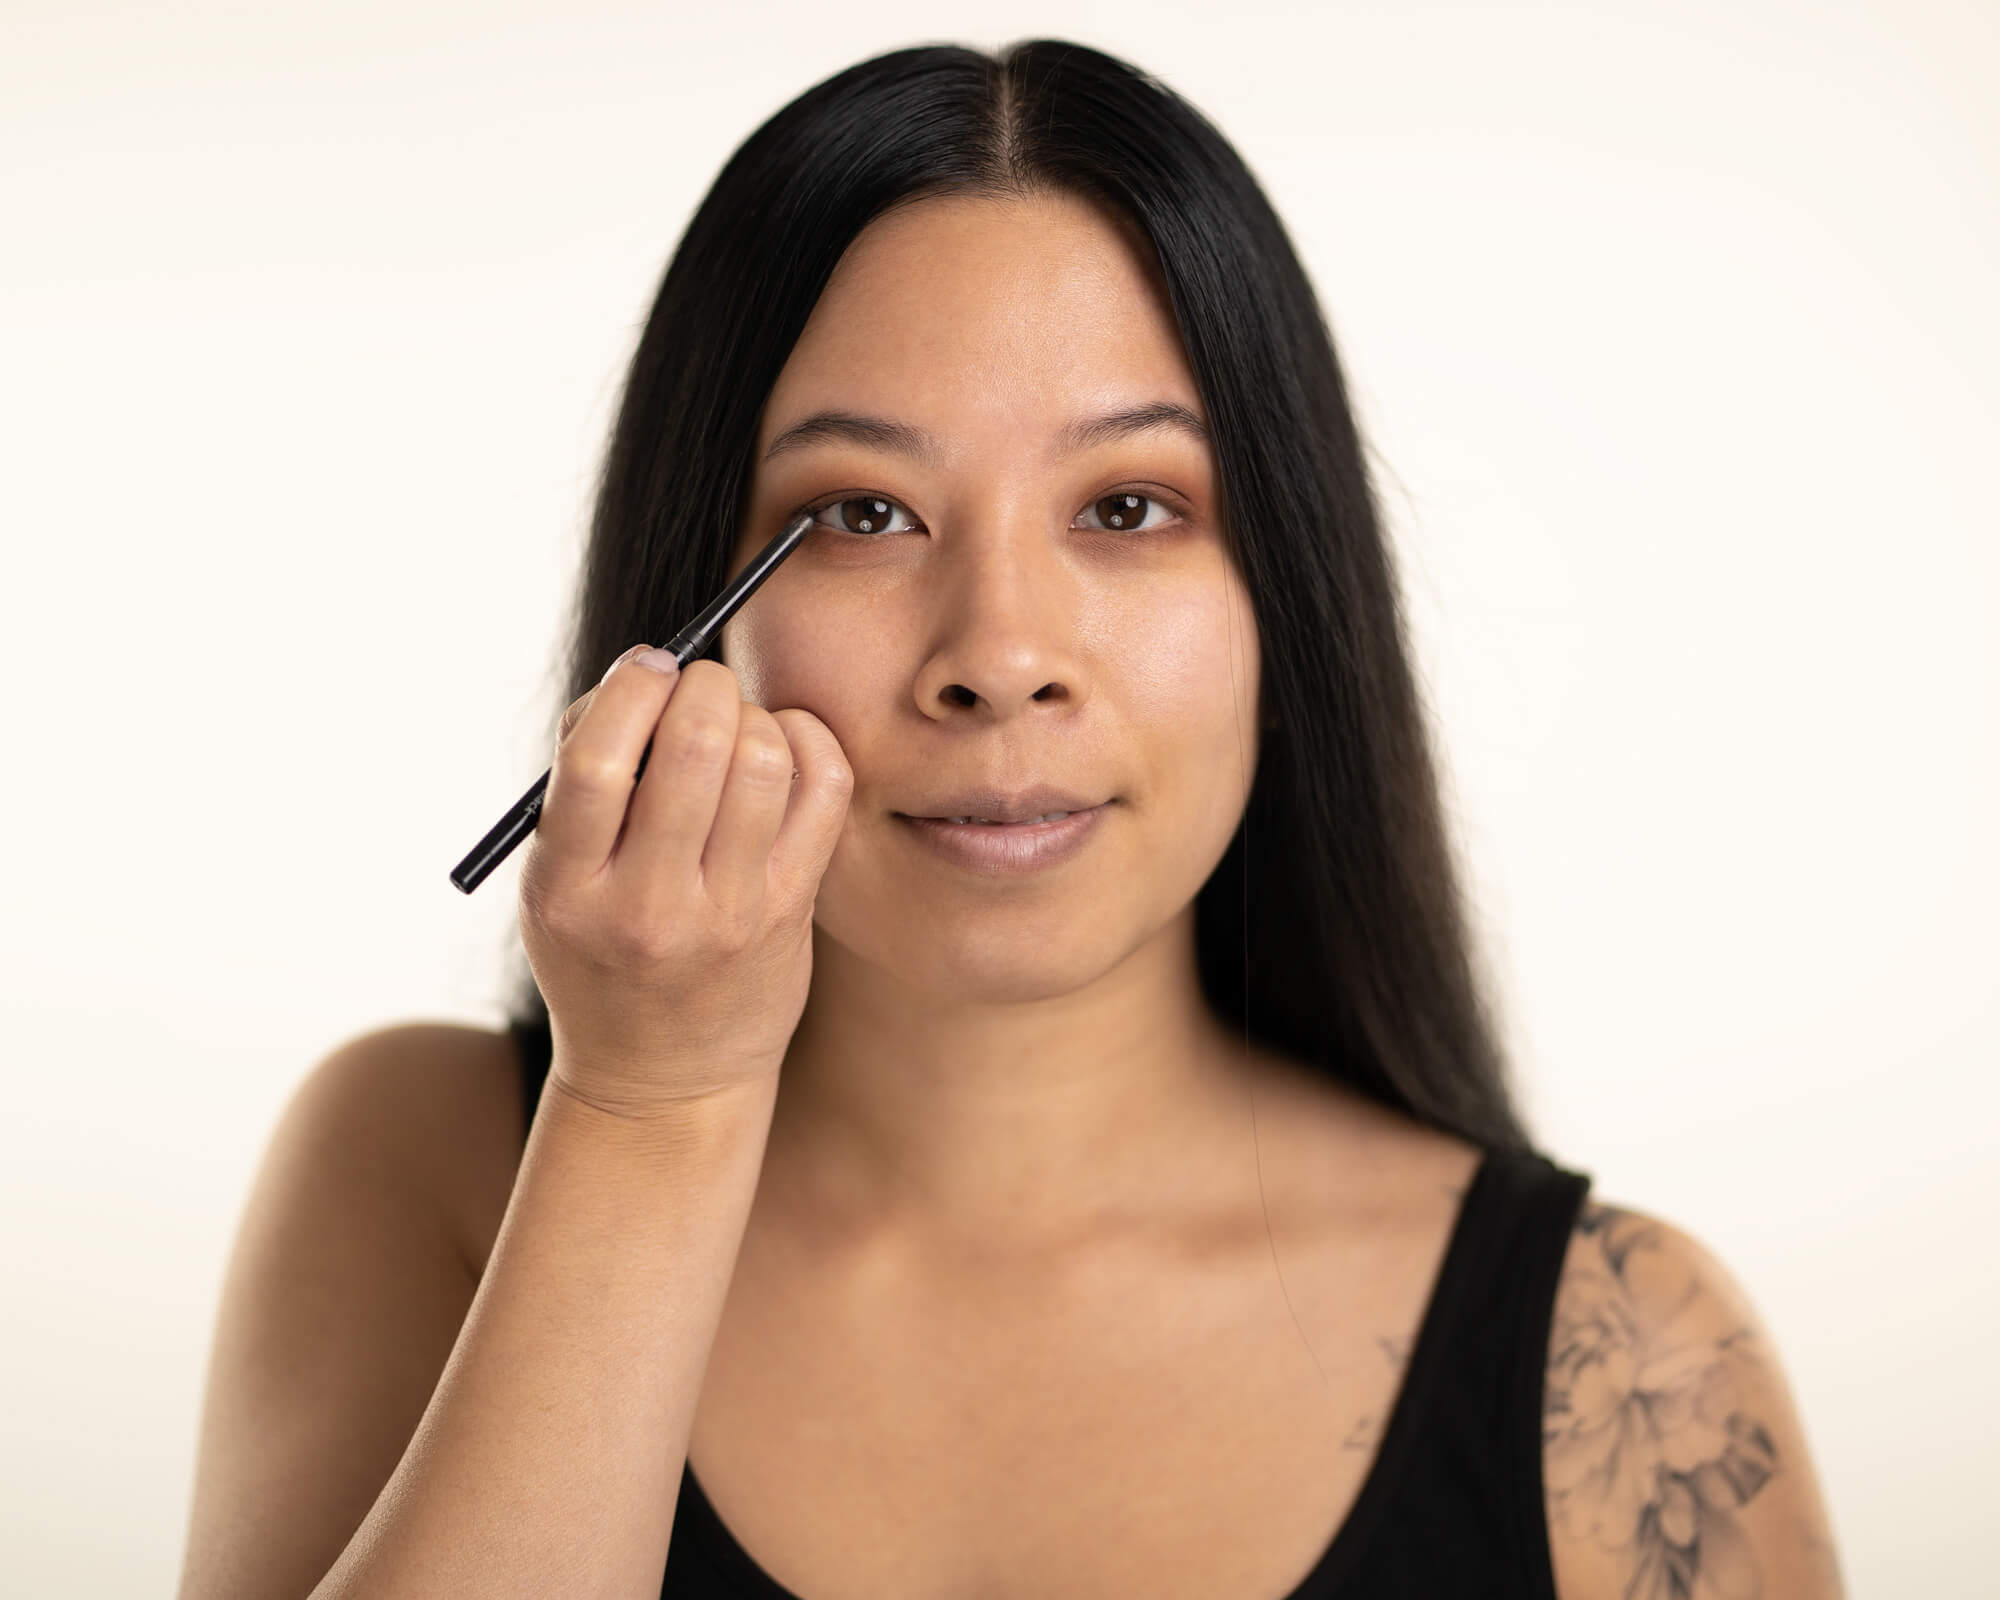
1. Keep your head straight ahead then tilt your chin up about an inch. Raise your eyebrows and open your eyelids wide to stretch the upper water line.
You can use your finger or powder puff to lift your lid upwards. Personally, I don’t like these methods because they touch the eyelid which, unless you have no eye makeup on, this can easily smudge your makeup.
2. Take your eyeliner and use minimal, tiny strokes until the area that you want is covered (tightlined).
Tip 1: Make sure the liner is sharpened for best results. Dull/short pencils make it harder to apply liner in delicate areas which makes it easier to poke your eye by accident.
Tip 2: If your eyes water a lot and waterproof liners just don’t work, set the liner with a matching pigmented eyeshadow colour with an angled liner brush. This locks in the liner formula by setting it with a dry powder.
Tip 3: Don’t ever use liquid liners to tightline as they have a high chance of going into the eye (which is not safe! Don’t always follow TikTok trends please!). Plus, liquid liners don’t like to stay on the water line because it’s already wet.
Tip 4: If you want top and bottom eyeliner in the waterline: close your eyes on the eyeliner tip, then move the liner back and forth. It sounds scary but it works like a charm!
Tip 5: If this whole tightlining technique makes you nervous, just use a pencil eyeliner on your lash curler band then curl your lashes for an easy tightline application.
Note: While some of these liners can be used for top, bottom and waterline, I recommend these products solely for being top performers in tightlining:
bareMinerals MINERALIST Lasting Eyeliner ($)
Cheekbone Beauty SUSTAIN Eyeliner Pencil ($)
Laura Mercier Longwear Crème Eye Pencil ($$)
KVD Beauty Cake Pencil Eyeliner ($$)
With Mascara, Without Curl or Lashes
With Mascara, With Wispy False Lashes
Soft glam makeup is all about achieving amazing focal points which frame and balance out the eyes and face. The glam in soft glam makeup look comes from the wispy, curled lashes around the eye area which draws attention.
“Act Like a Lady, Lash Like a Boss”
For lashes to look wispy and curled, you want them to have a spread out, long, overlapping “C” like shape.
If you are naturally born with these sorts of lashes, how lucky you are! For most people, I’d say that we need a little bit more support and love. False lashes, lash extensions, or lash lifts will help enhance this look.
How to Get the Curled Lashes of Your Dreams
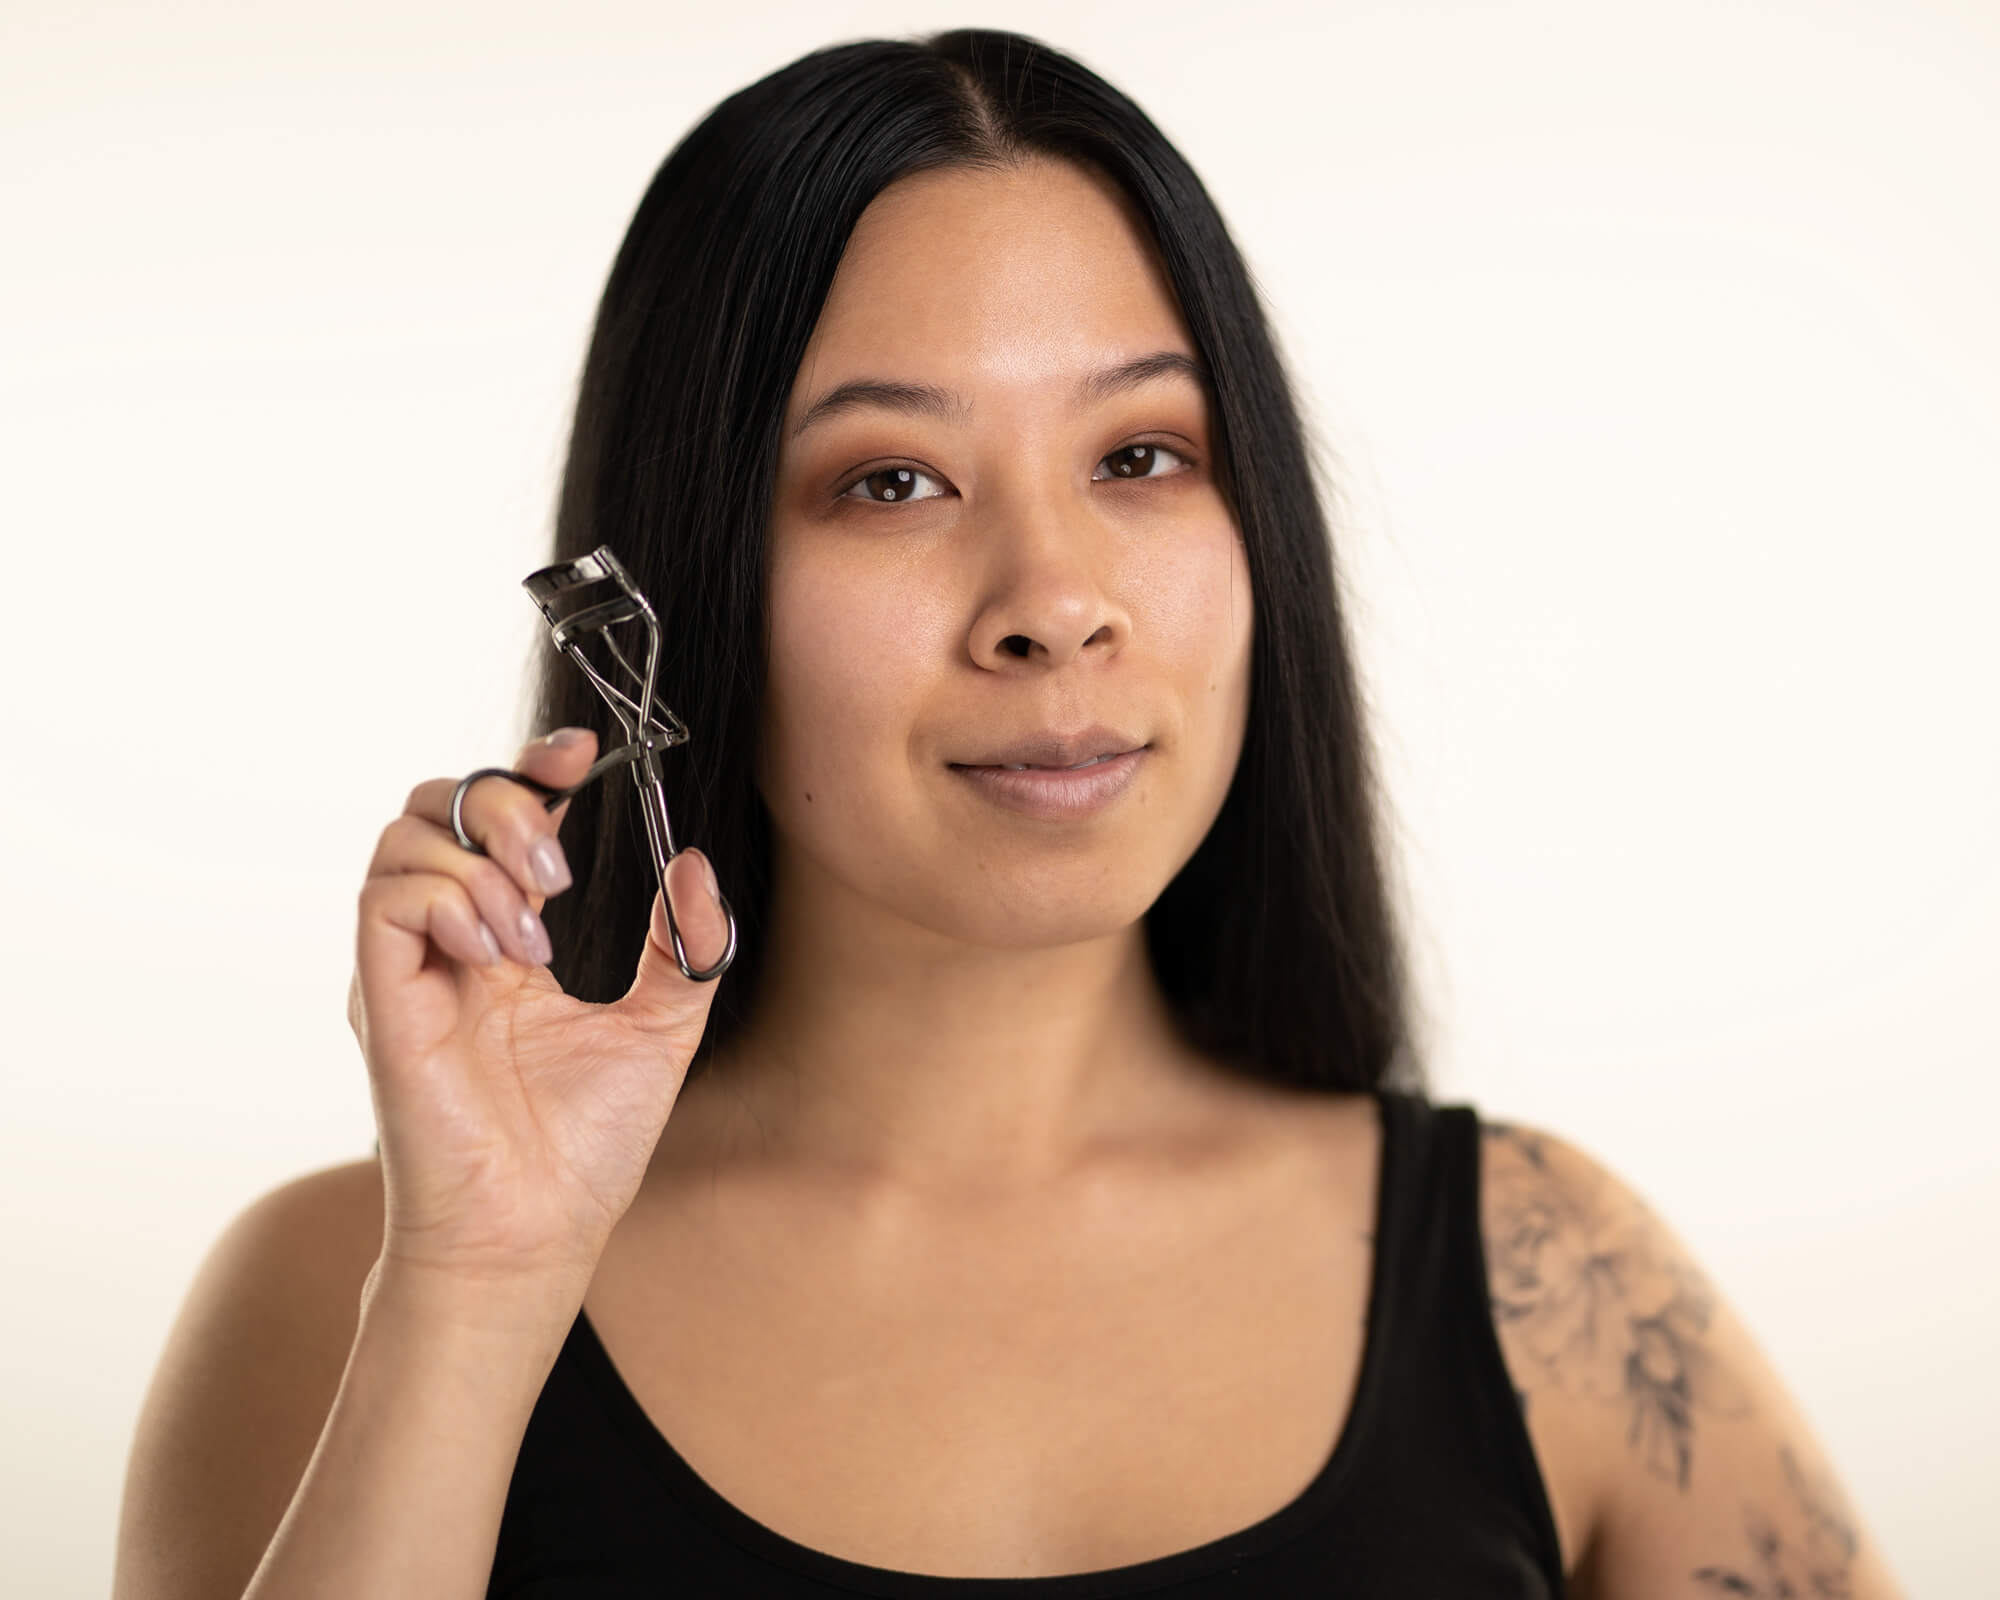
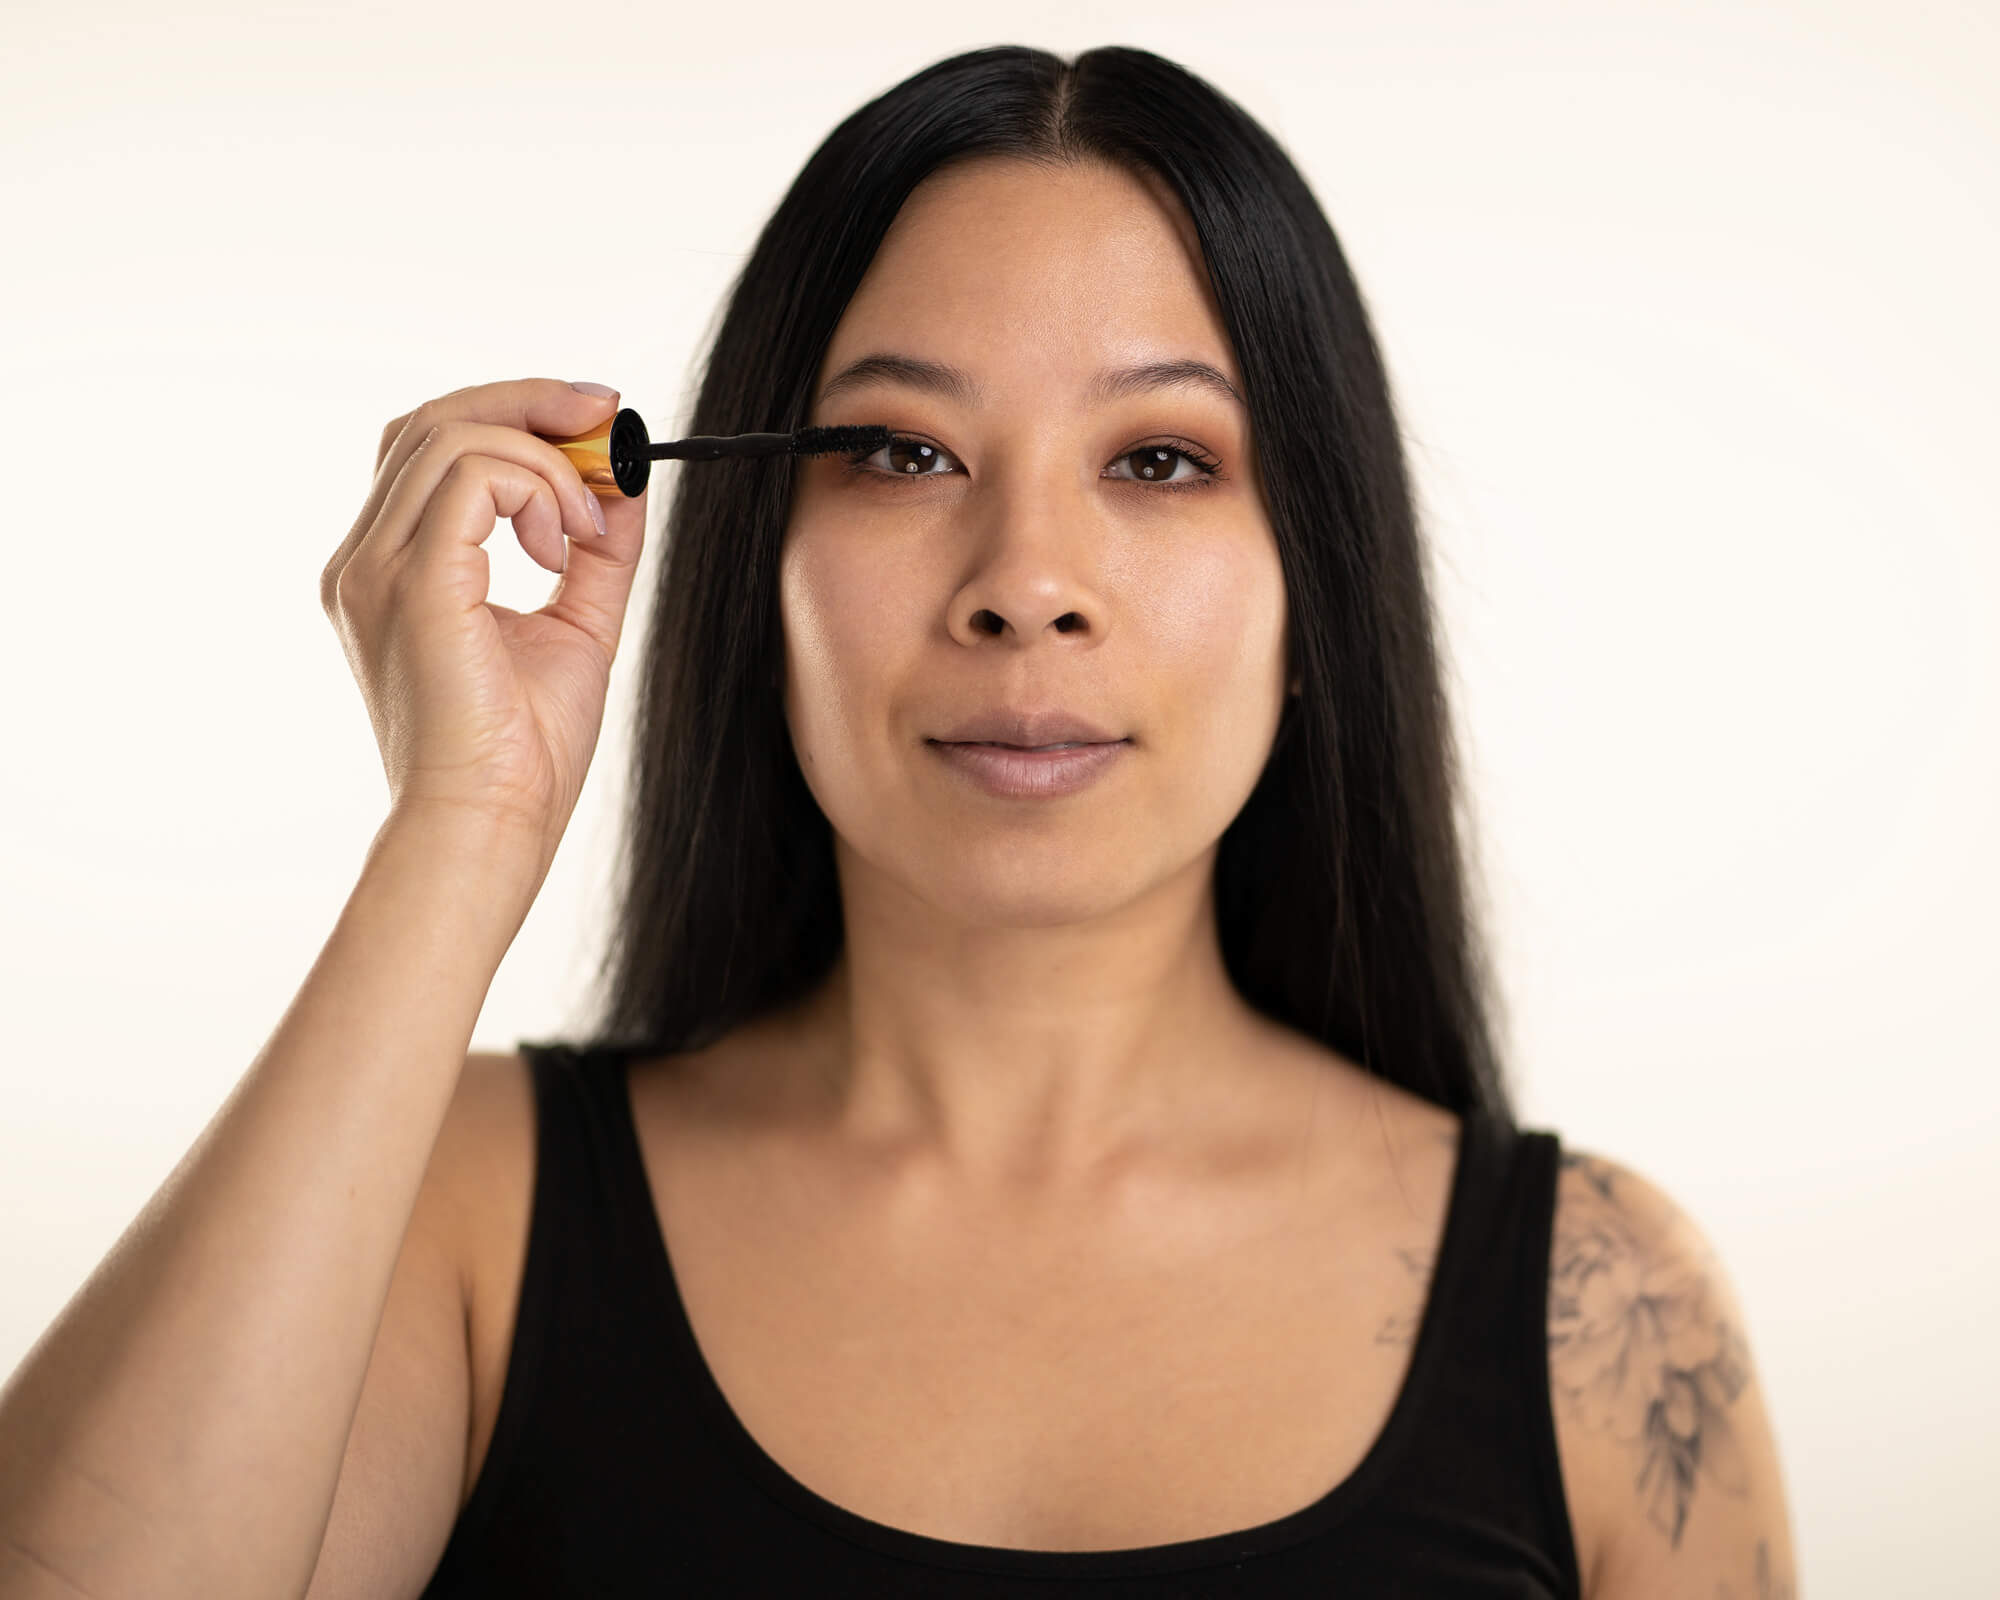
Using Your Natural Eyelashes:
- Double crimp your lashes with a lash curler.
Tip 1: When curling your eyelashes, look down while clamping. This gently stretches the lashes for maximum curl!! - Use 1 coat of lash primer with fibers to create length.
- Use 2 coats of mascara.
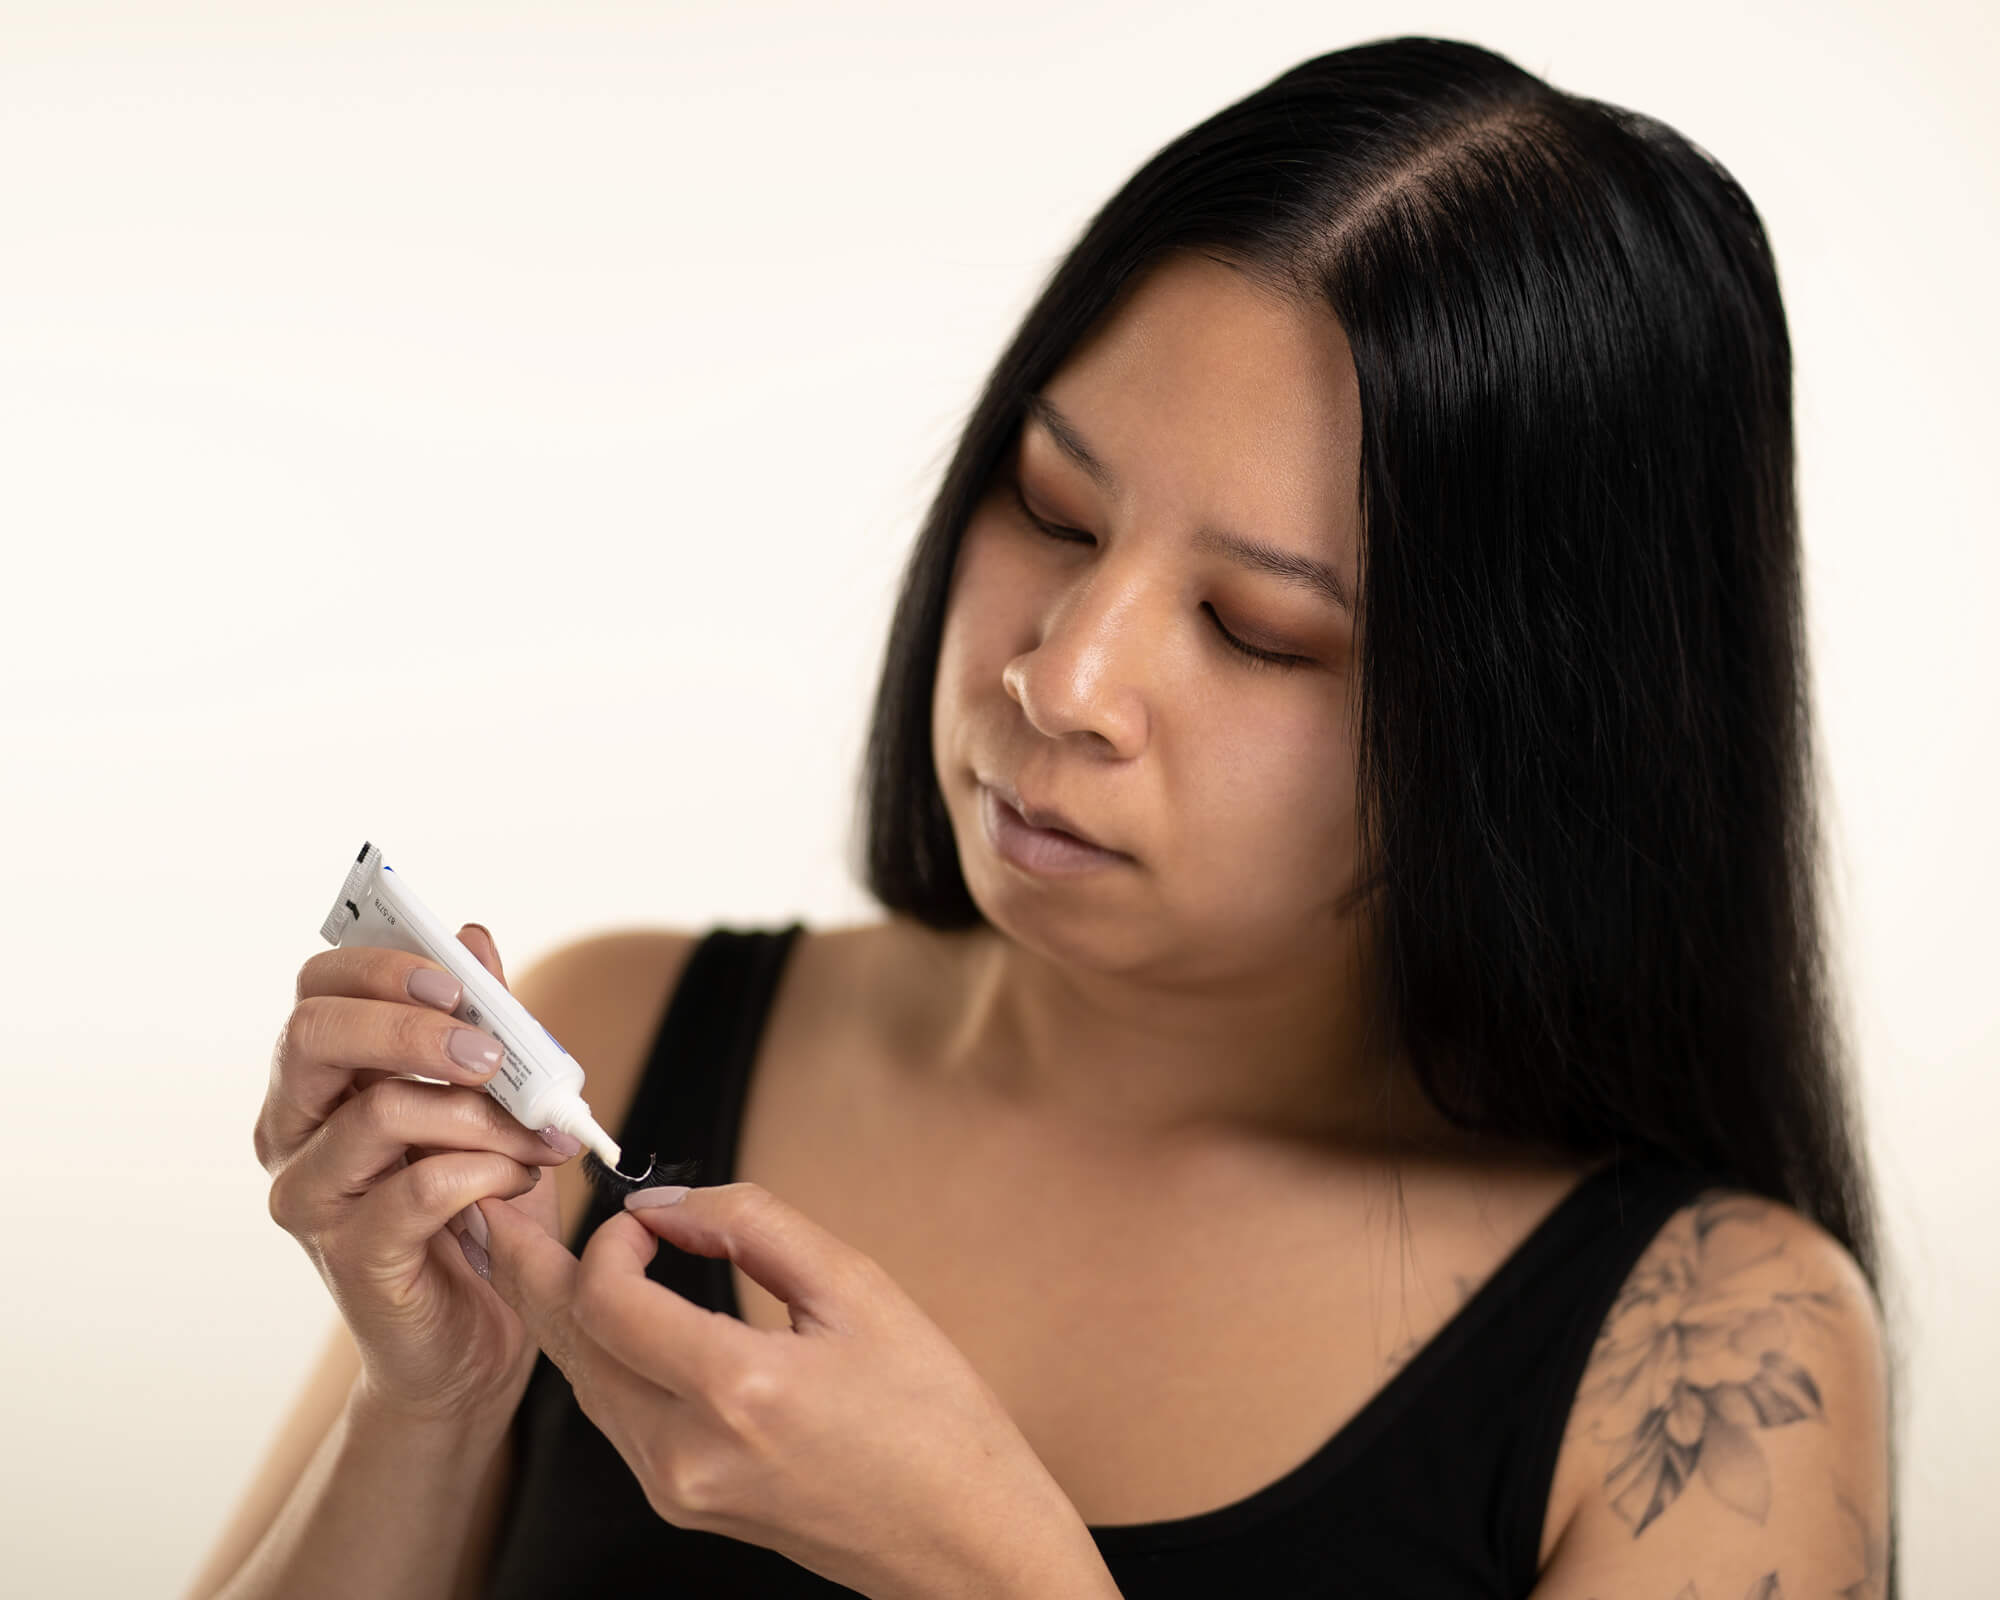
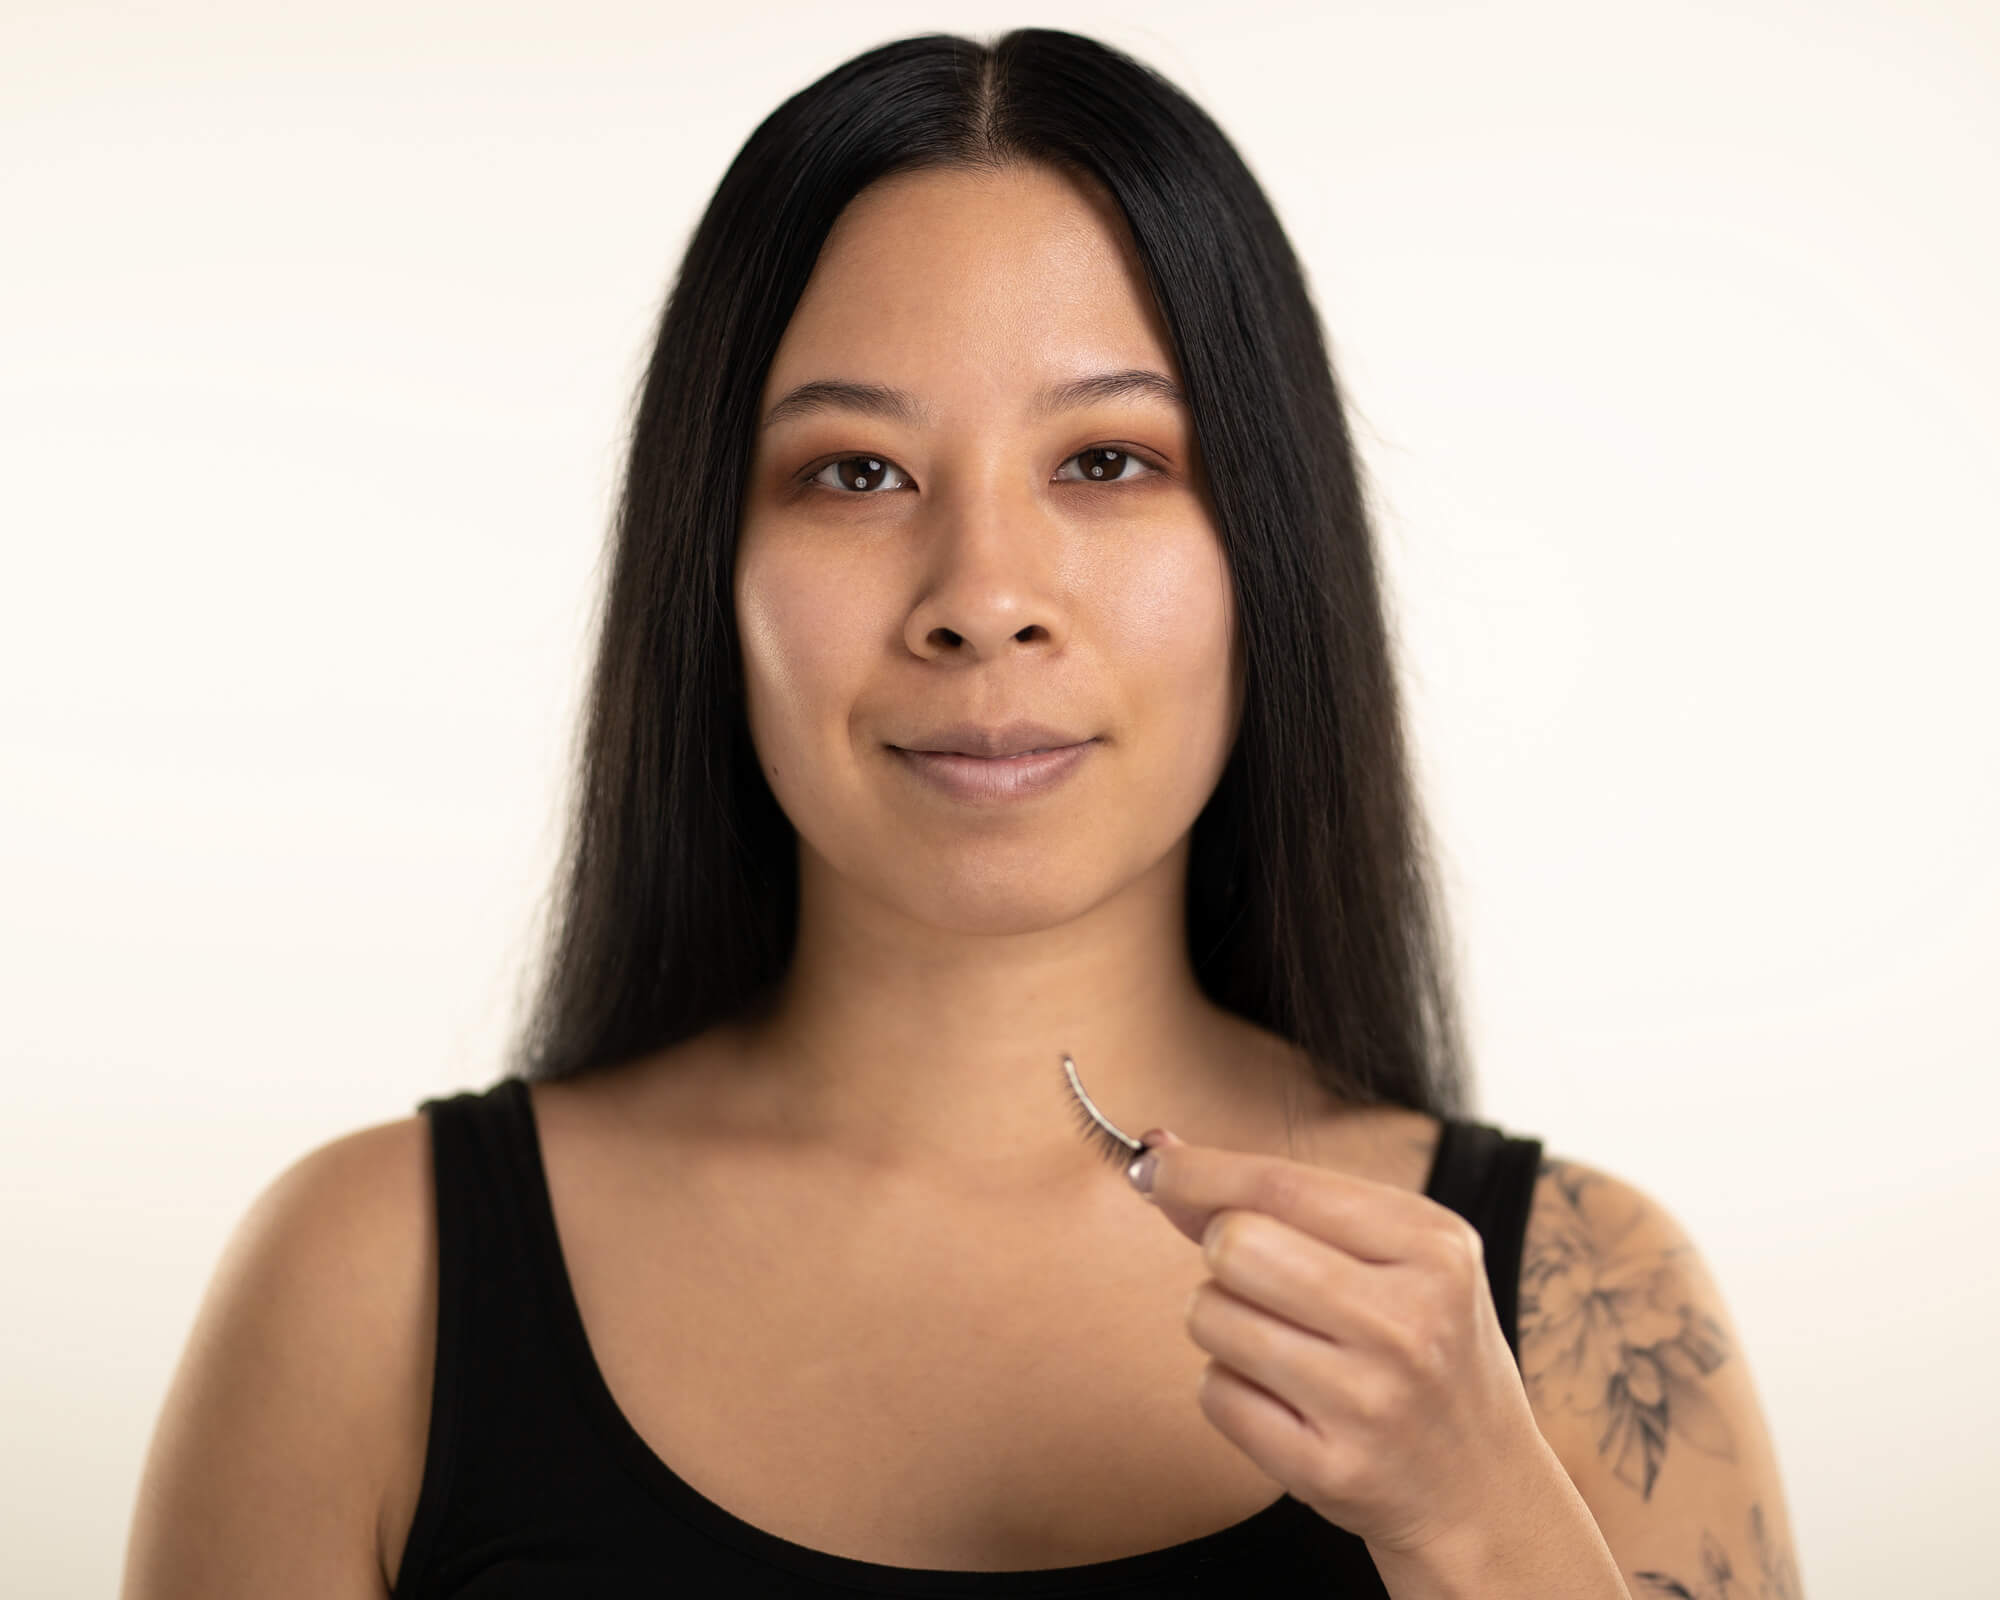
Using False Eyelashes:
1. Using your favorite lash glue, apply a floss-like strip on the band, wait for about 30 seconds to get tacky/semi transparent.
2. Tilt chin up then lift your brows up to stretch the lids. Use your head to turn left/right to stretch inner corners of the eyelids.
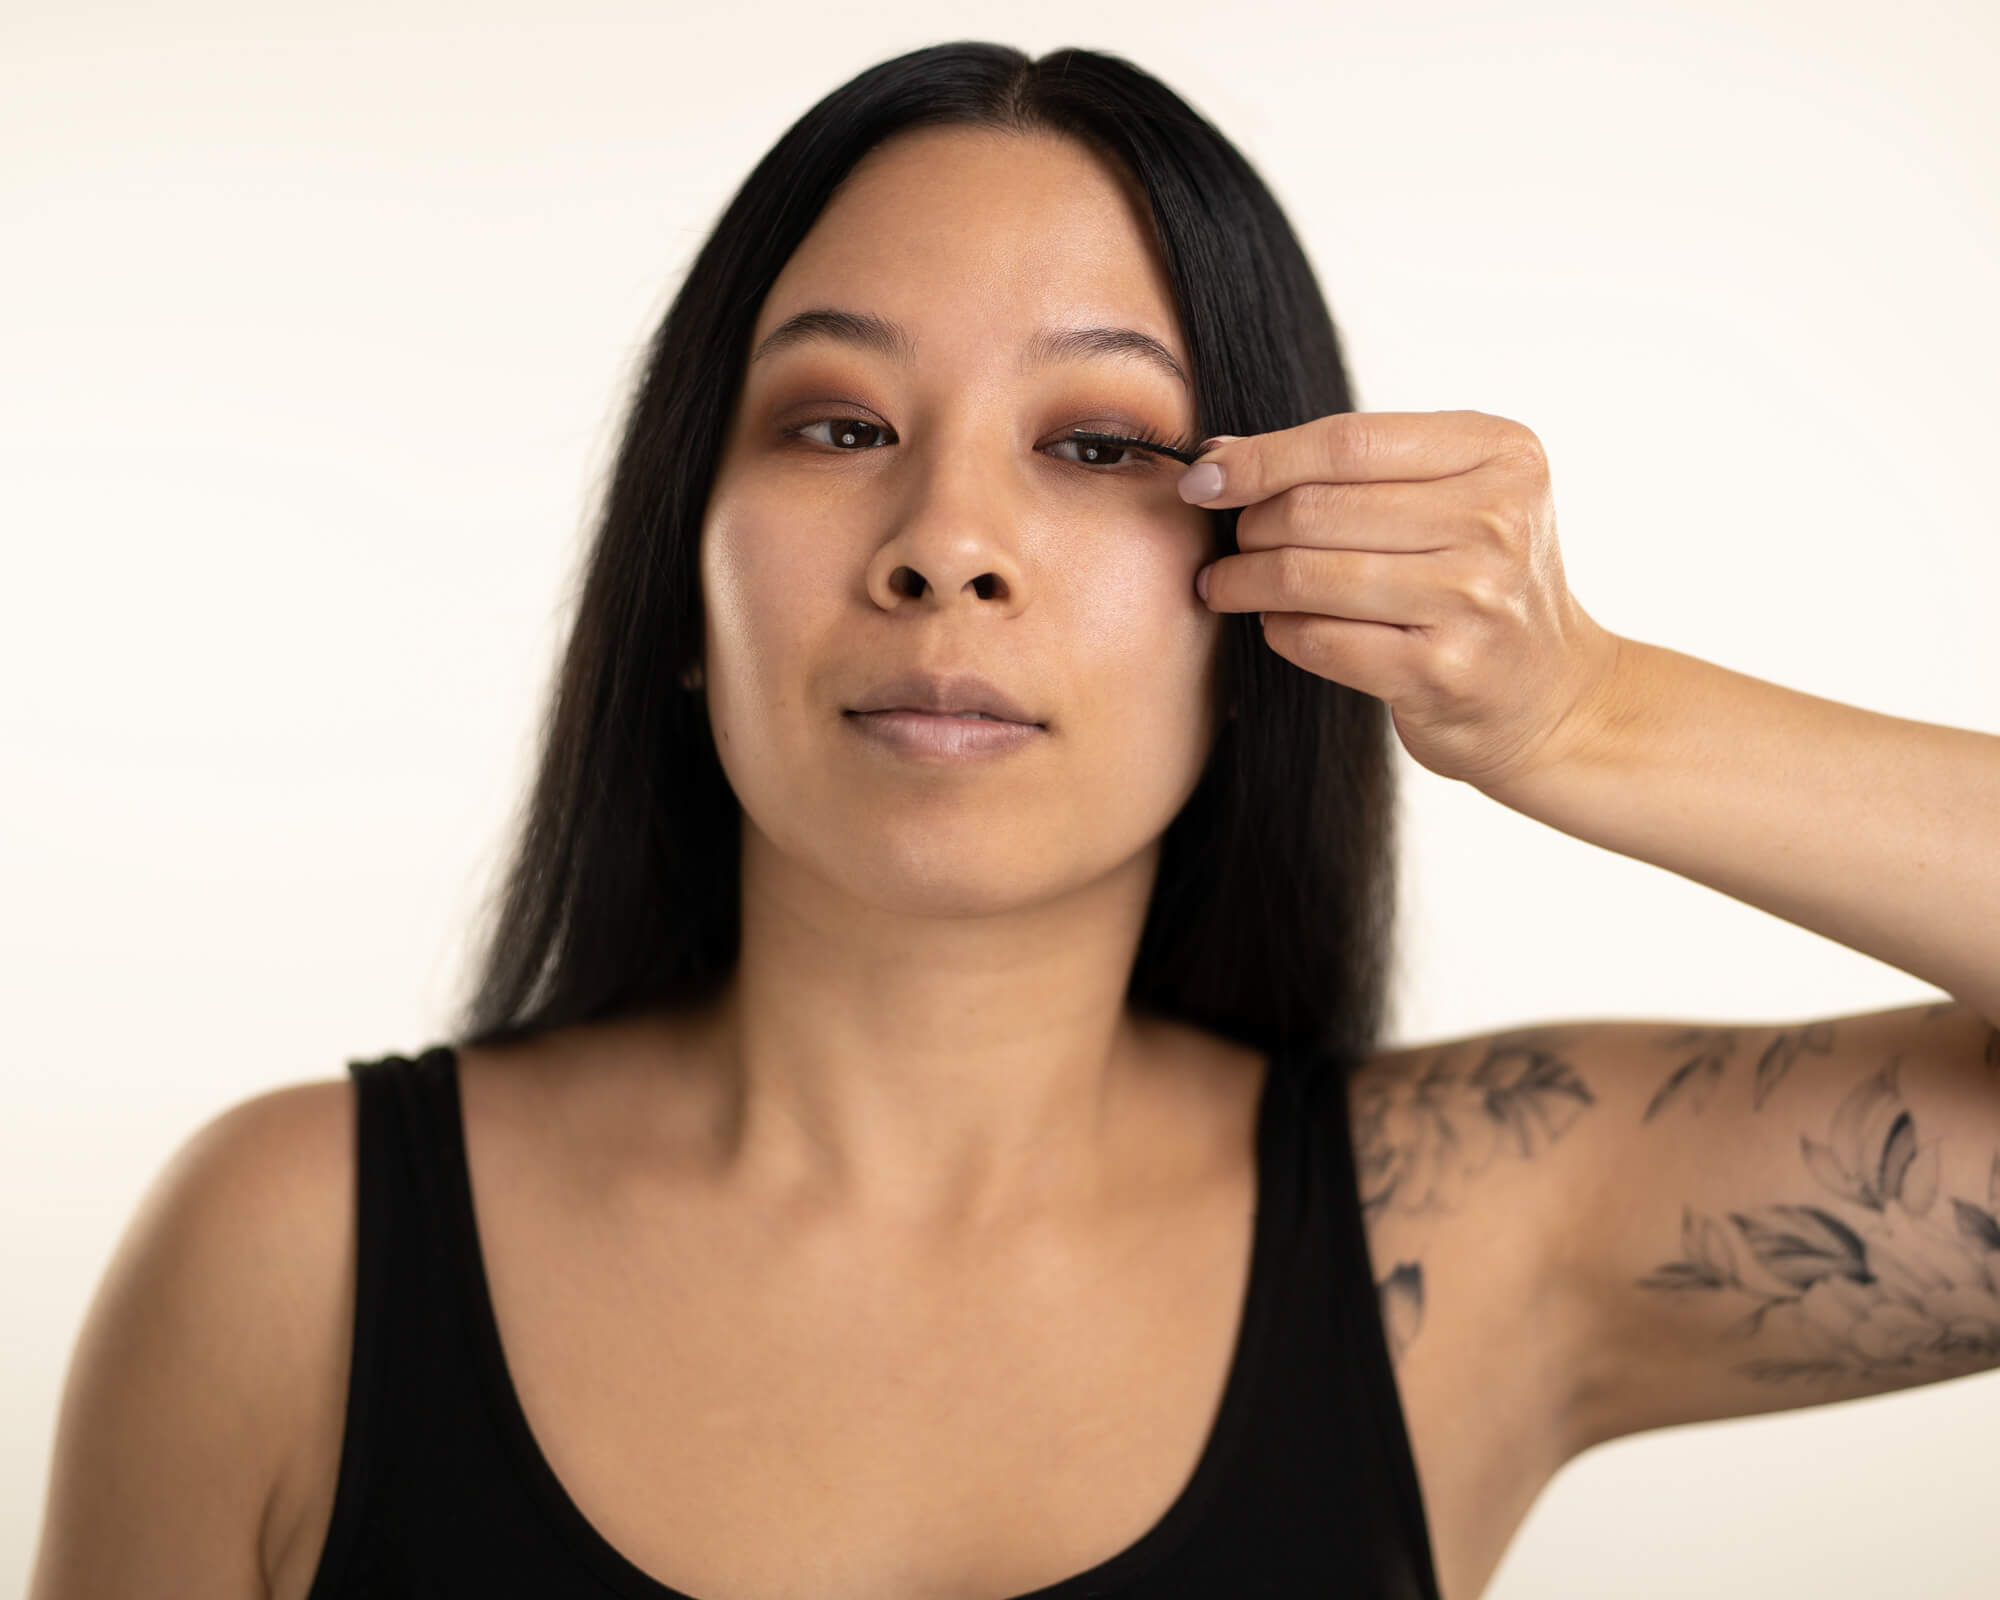
3. Use tweezers or fingers to apply. Then look down to fan the lashes dry with your hand.
4. Seal the lash glue with gel or liquid liner when dry to solidify the lashes.
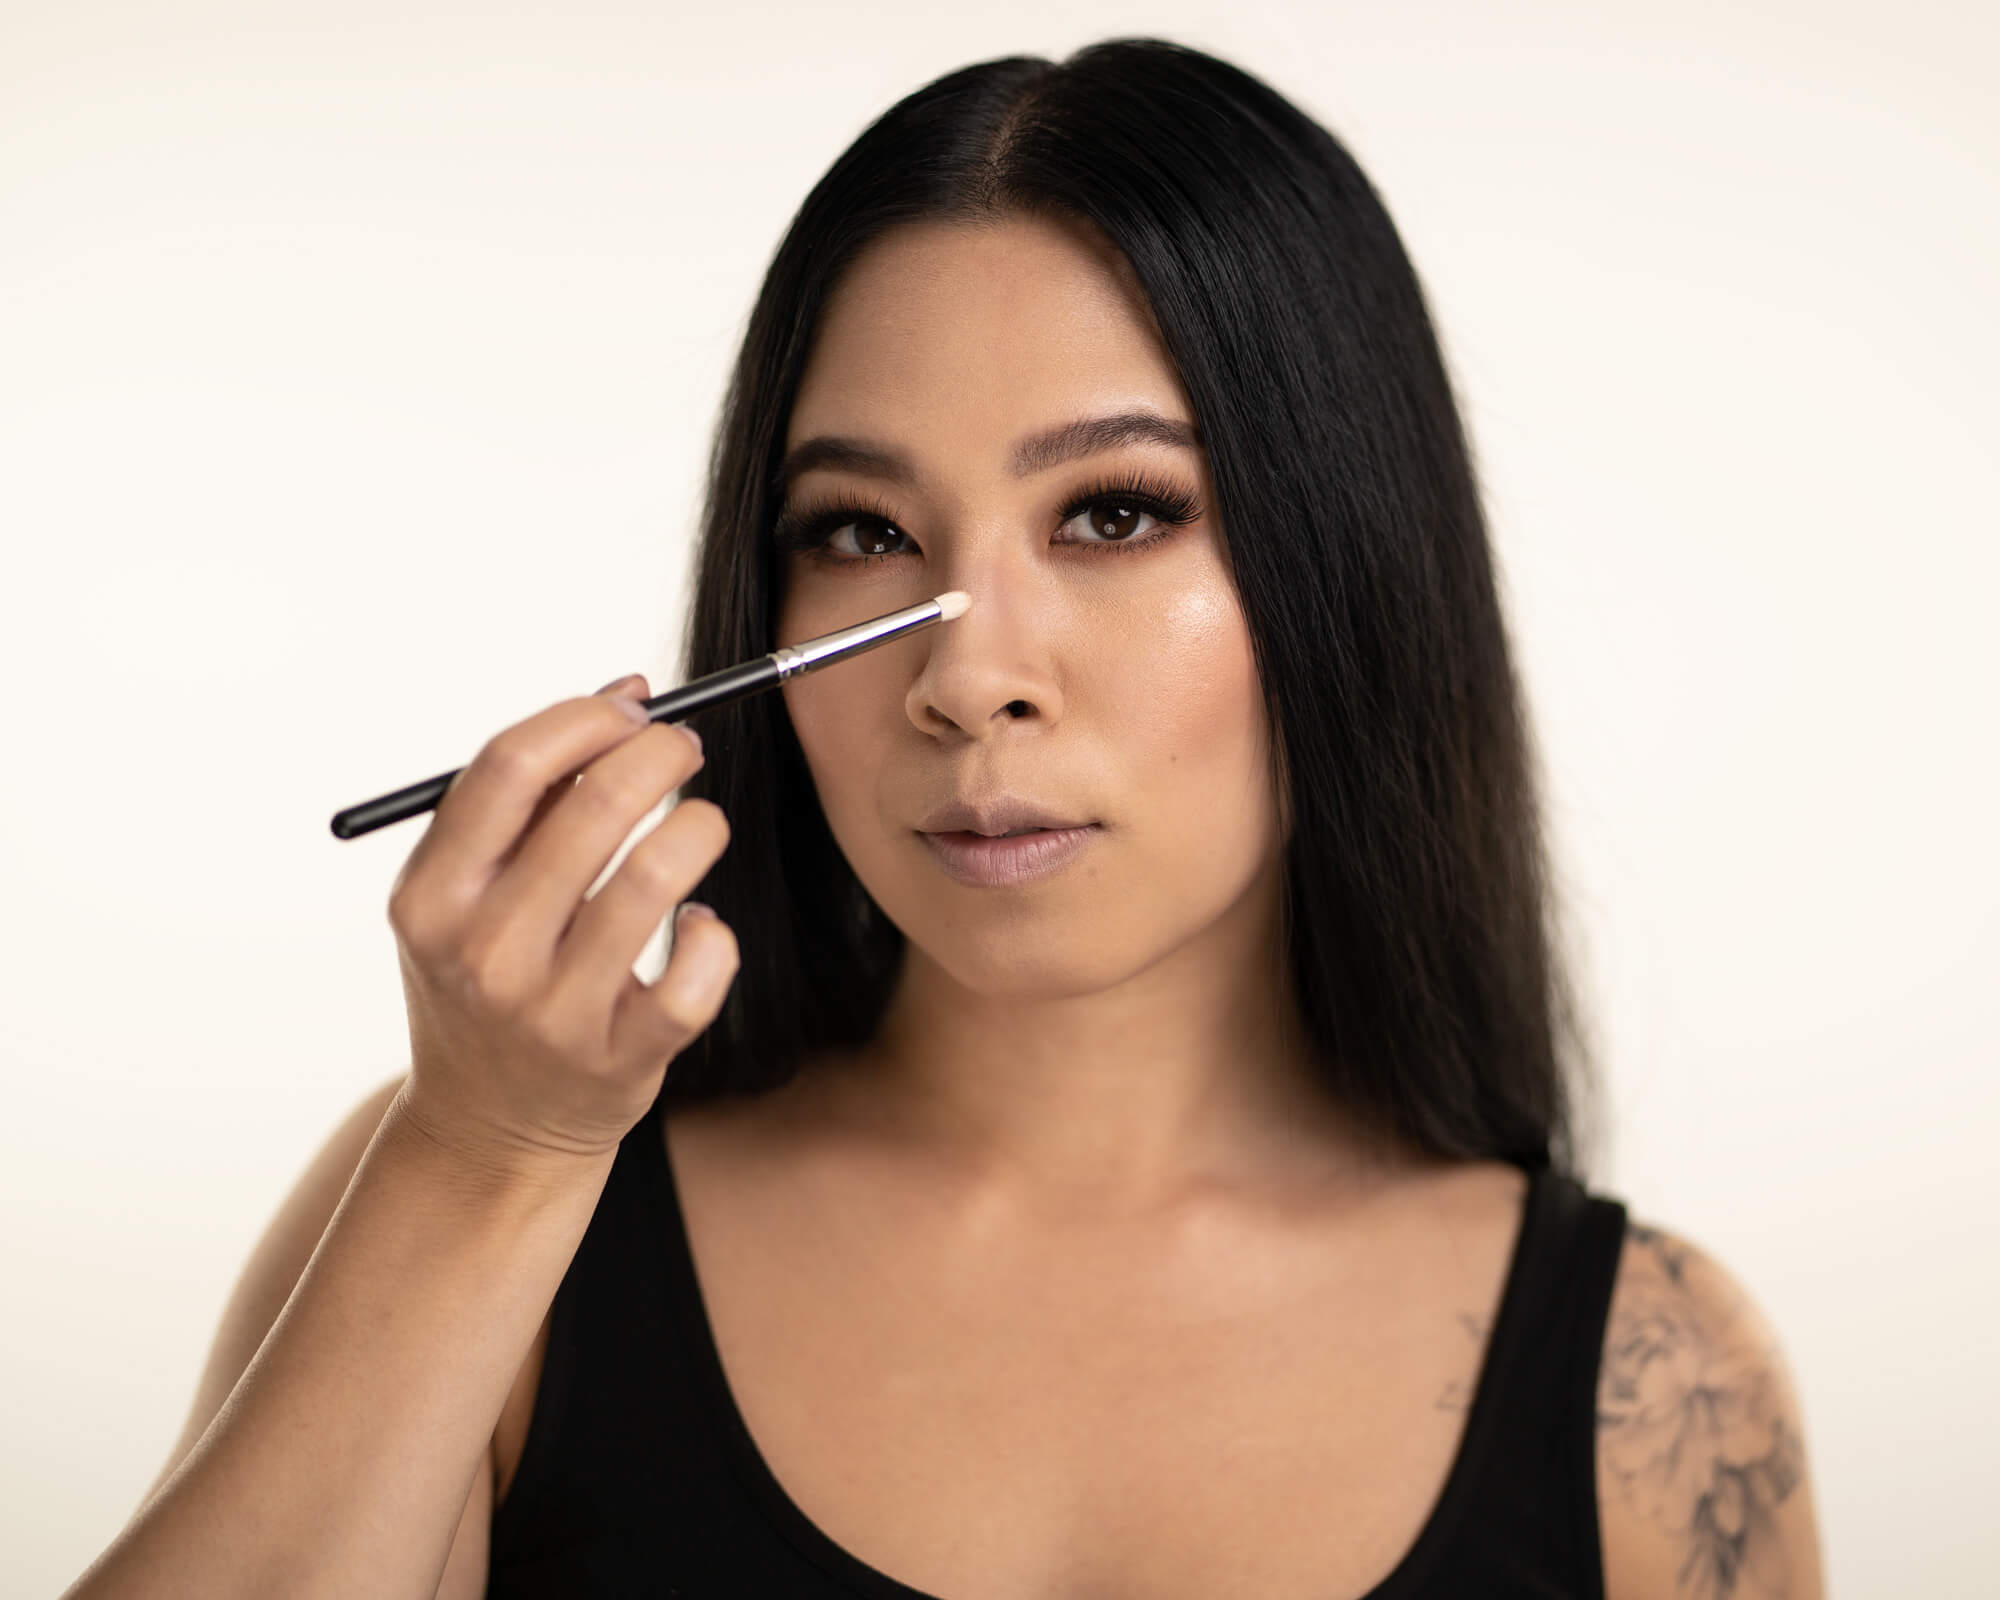
How your skin looks and feels prior to applying makeup is super important to create a flawless canvas. This always starts with the basics of your overall skin health.
Is your skin hydrated? How much water do you drink a day? How do you take care of your skin? These are all great questions to ask yourself before you even prep your skin to make sure you get the best results!
Here is my favorite water calculator to make sure that you are drinking enough to stay healthy.
For optimal results, pair your skin health with amazing products and techniques to make your ultimate soft and smooth skin (SSS). Your final look will feel more radiant and complete.
How to Apply Makeup Products to Create Naturally Flawless, Photoshopped Skin
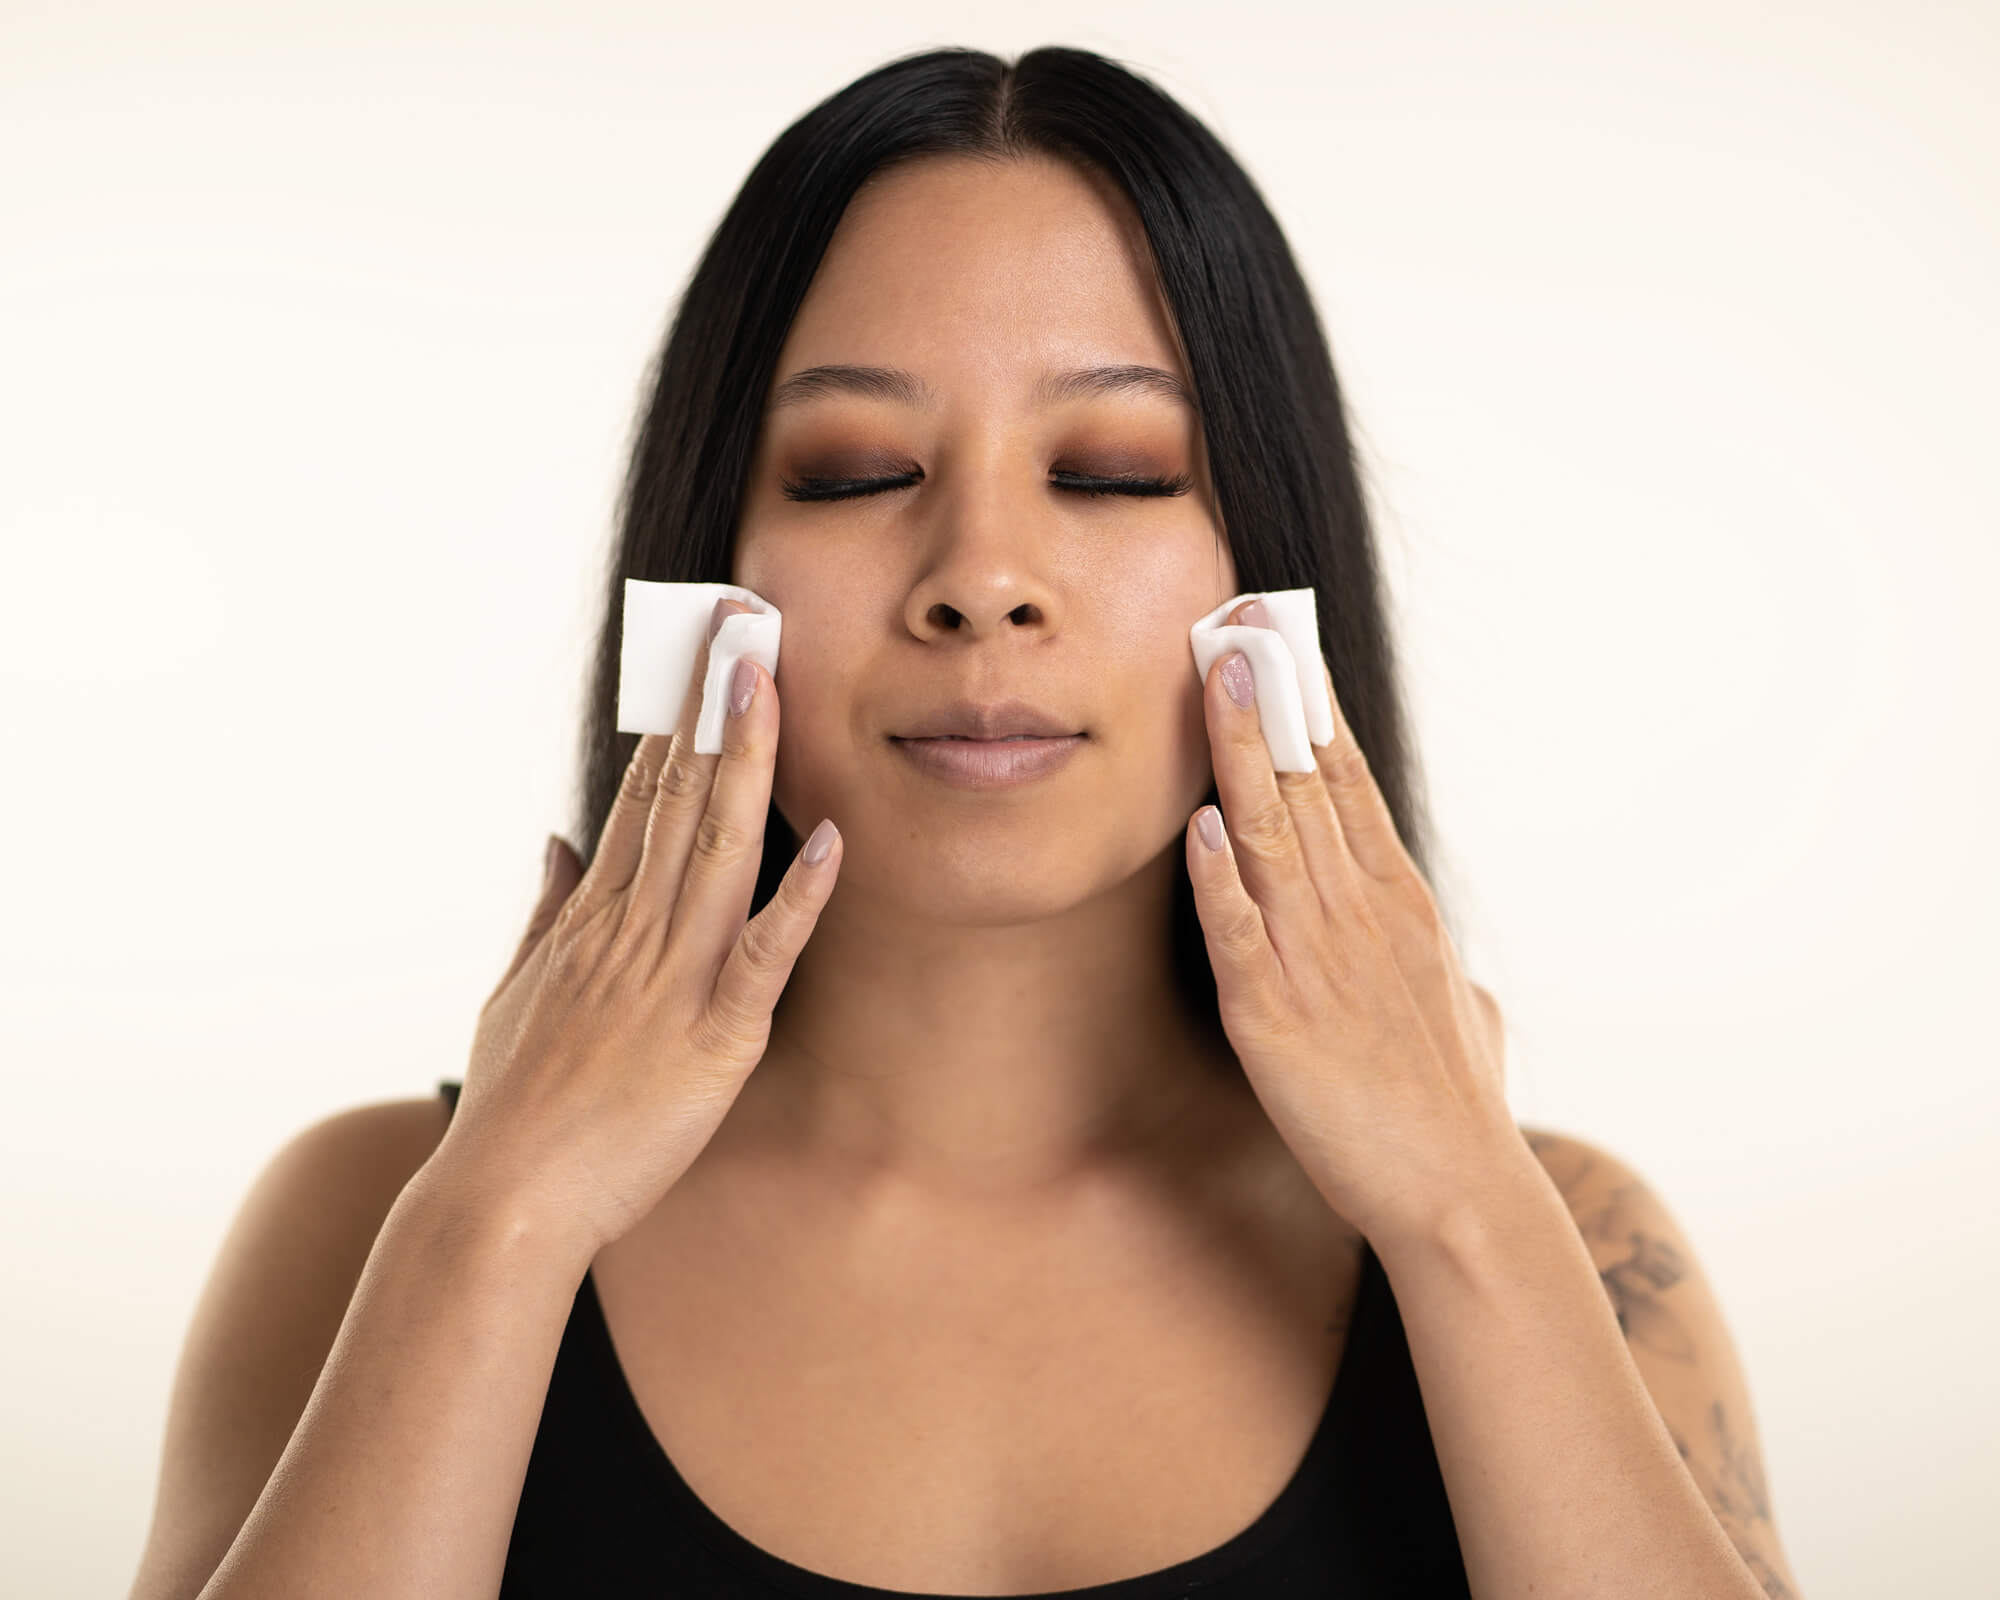
1. Use Micellar Water with a cotton pad to remove excess bacteria, free radicals, and dirt.
2. Apply matching concealer to hide redness and blemishes then add your foundation.
3. Use a layer of Blot Powder in the T-Zone to absorb oil throughout the day if your skin is oily.
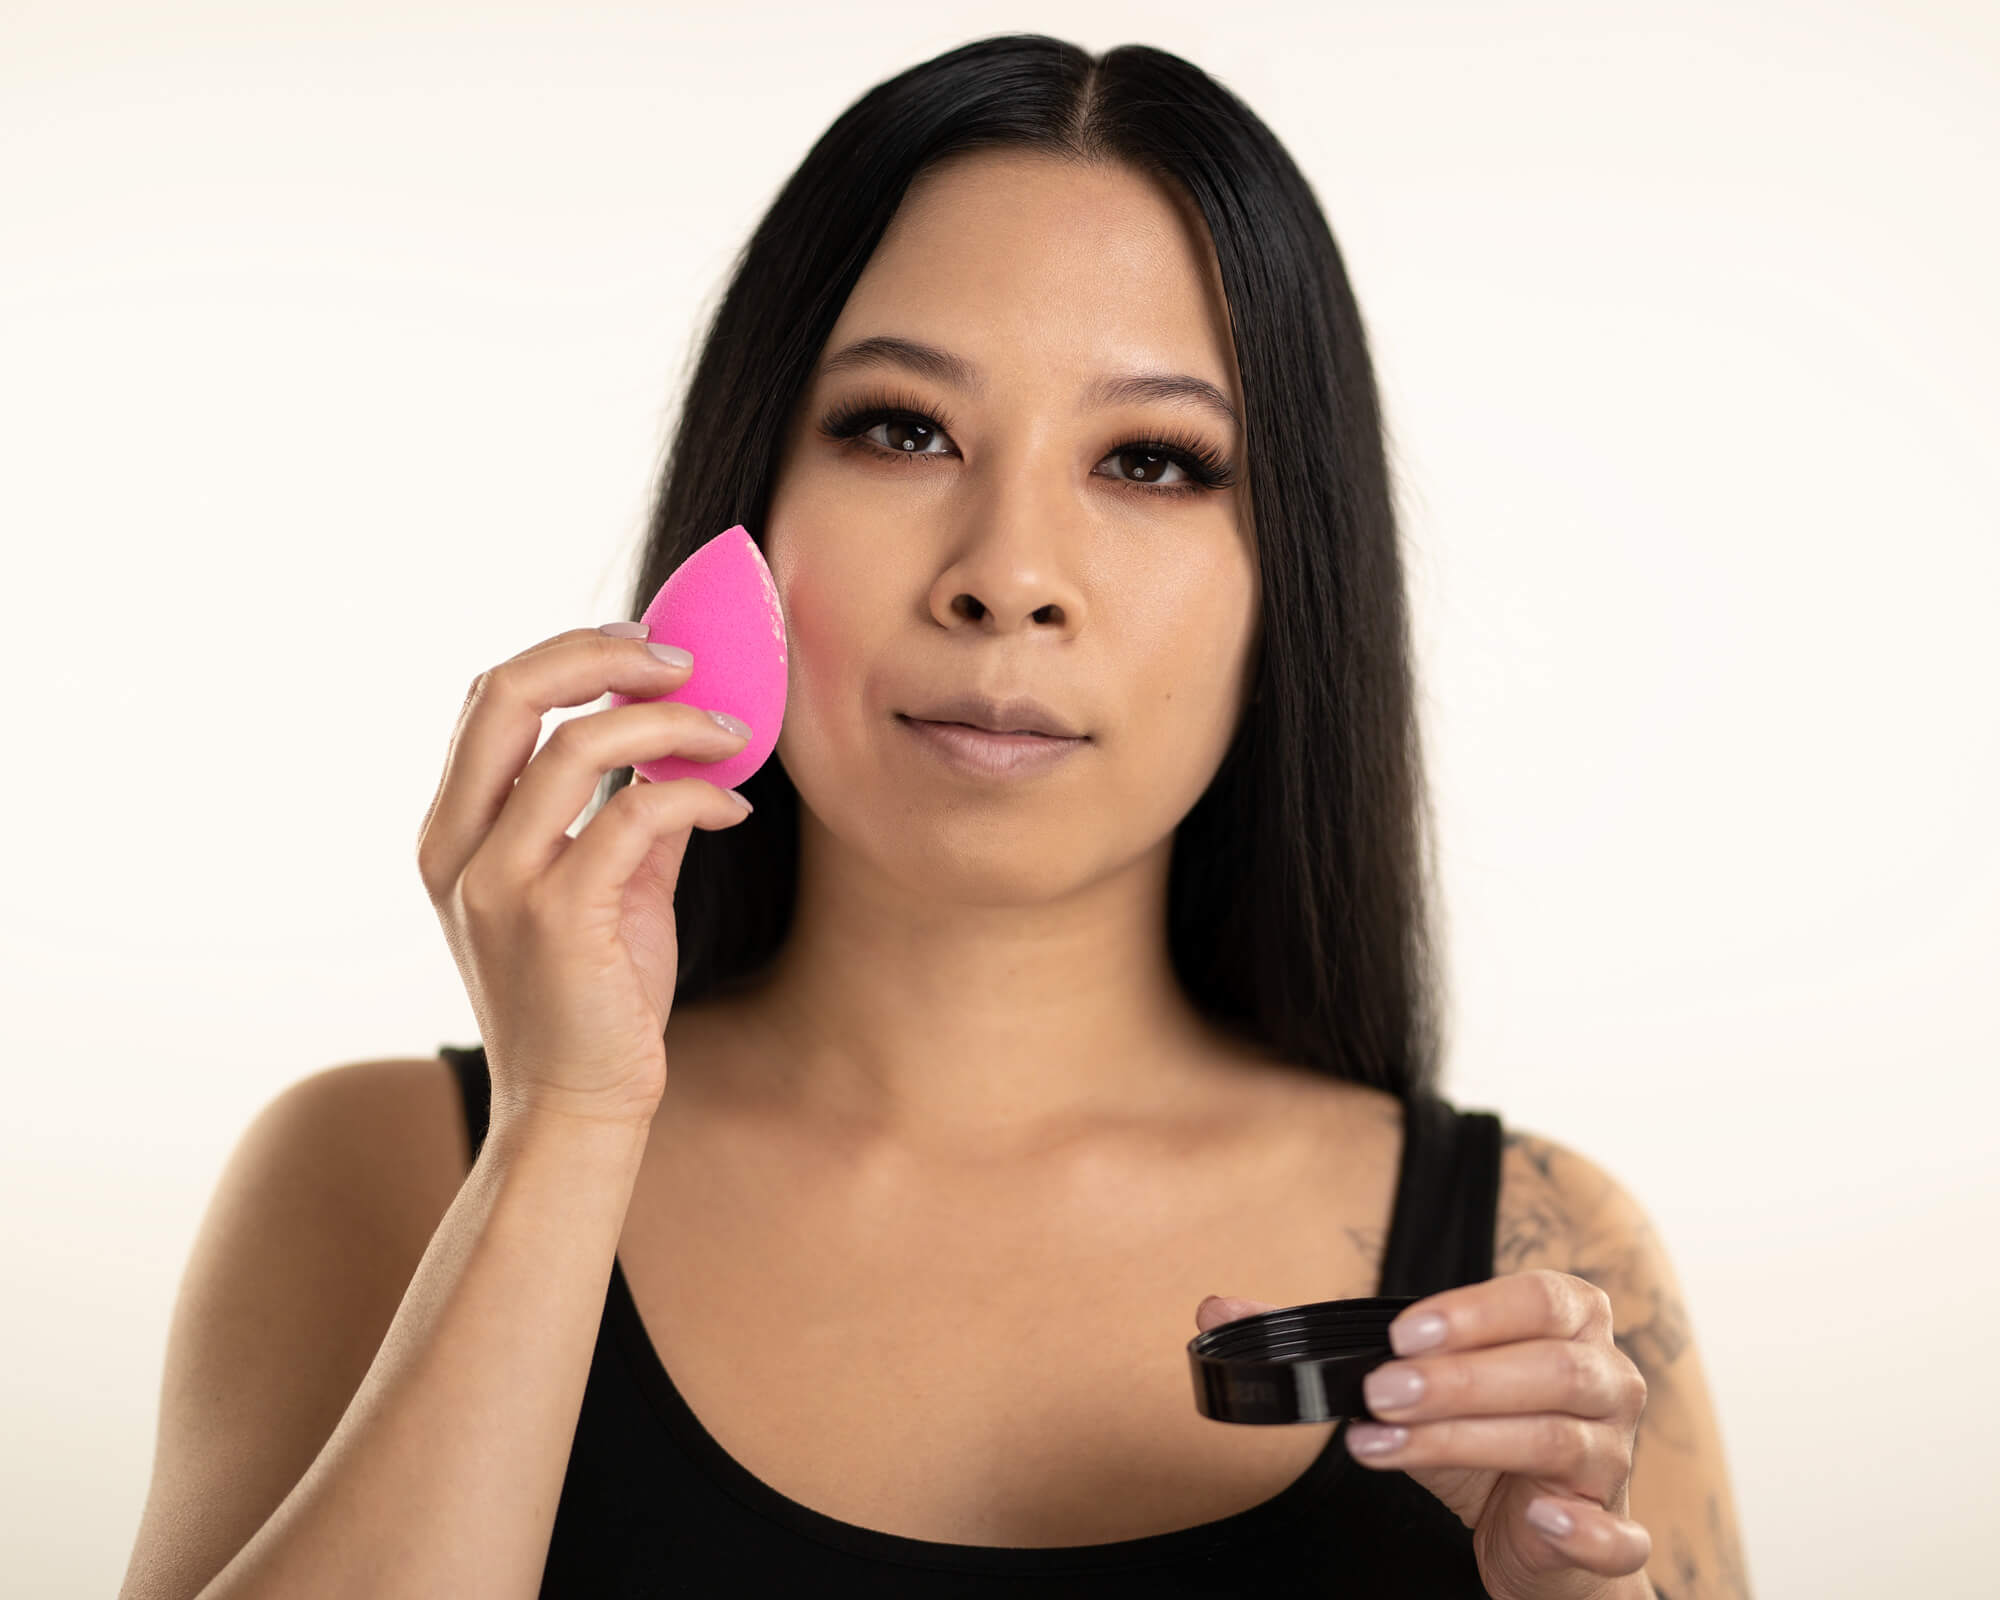
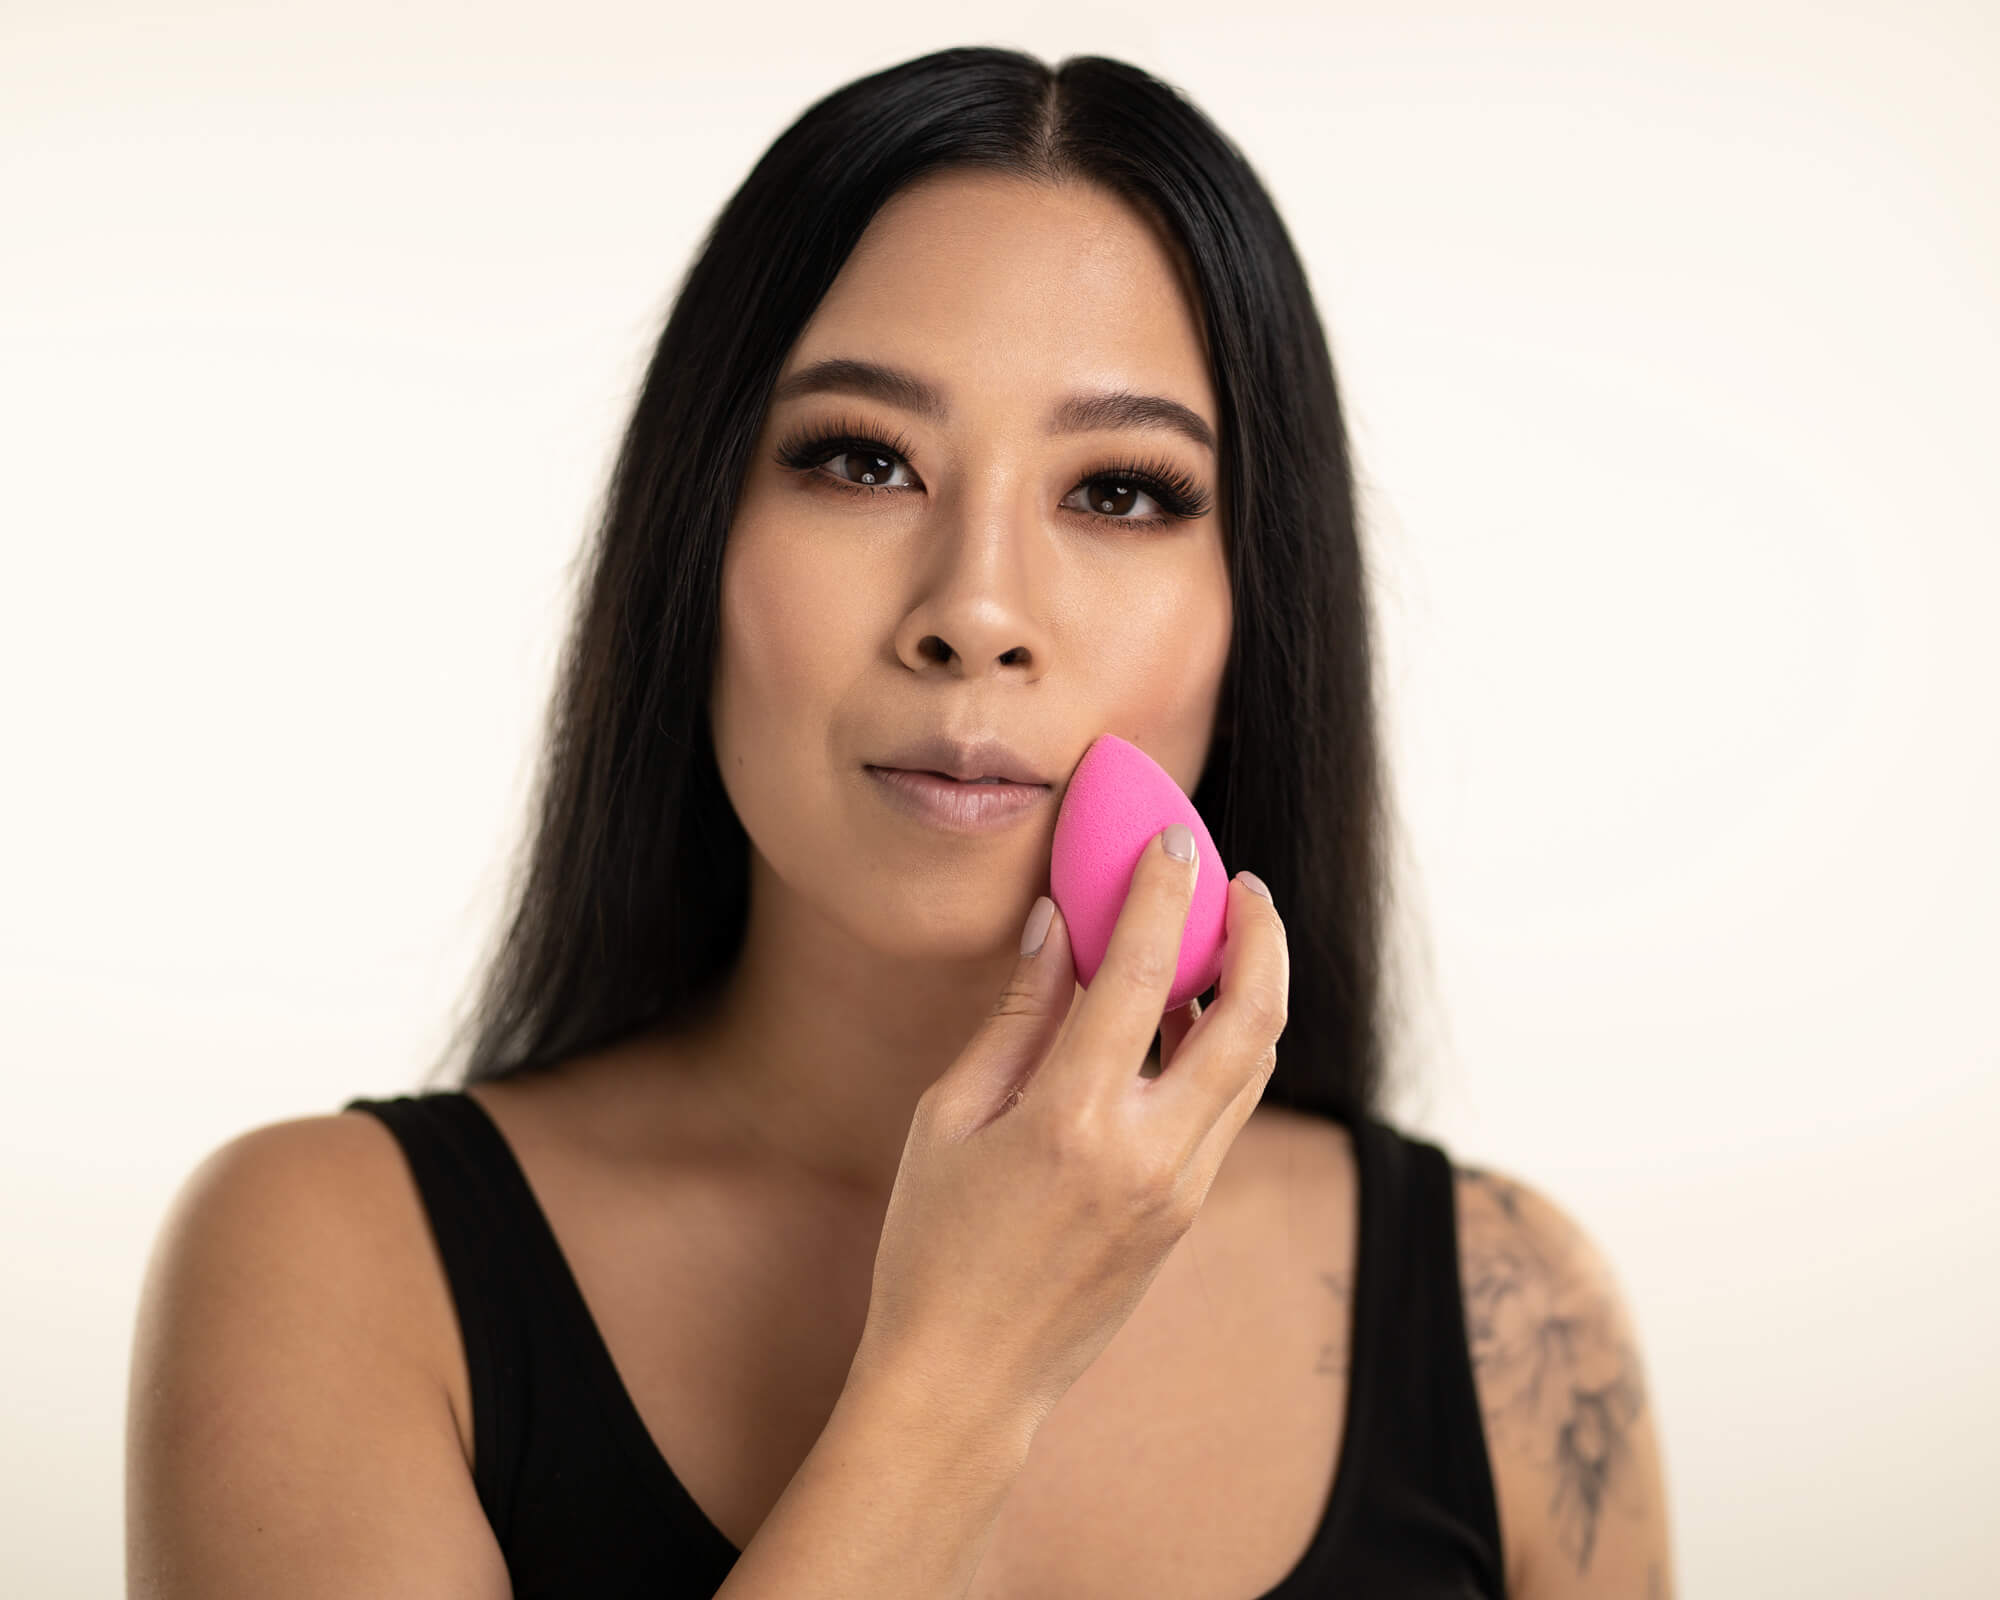
4. Use a damp beauty blender to apply setting powder to set and blur. (Optional: You can bake for a fuller celebrity look)
Tip 1: Skincare masks are a girl’s best friend: Use your favorite face mask and/or eye mask before makeup application to get the most out of your SSS.
Primer, Powder, Masks & Cotton Pads I Recommend:
MAKE UP FOR EVER Step 1 Primer Pore Minimizer ($-$$)
PREP + PRIME SKIN REFINED ZONE ($)
PAT McGRATH LABS Sublime Perfection Blurring Under-Eye Setting Powder ($$)
Laura Mercier Translucent Loose Setting Powder ($$)
Tata Harper Resurfacing BHA Glow Mask ($$$)
Shiseido Facial Cotton Pads ($)
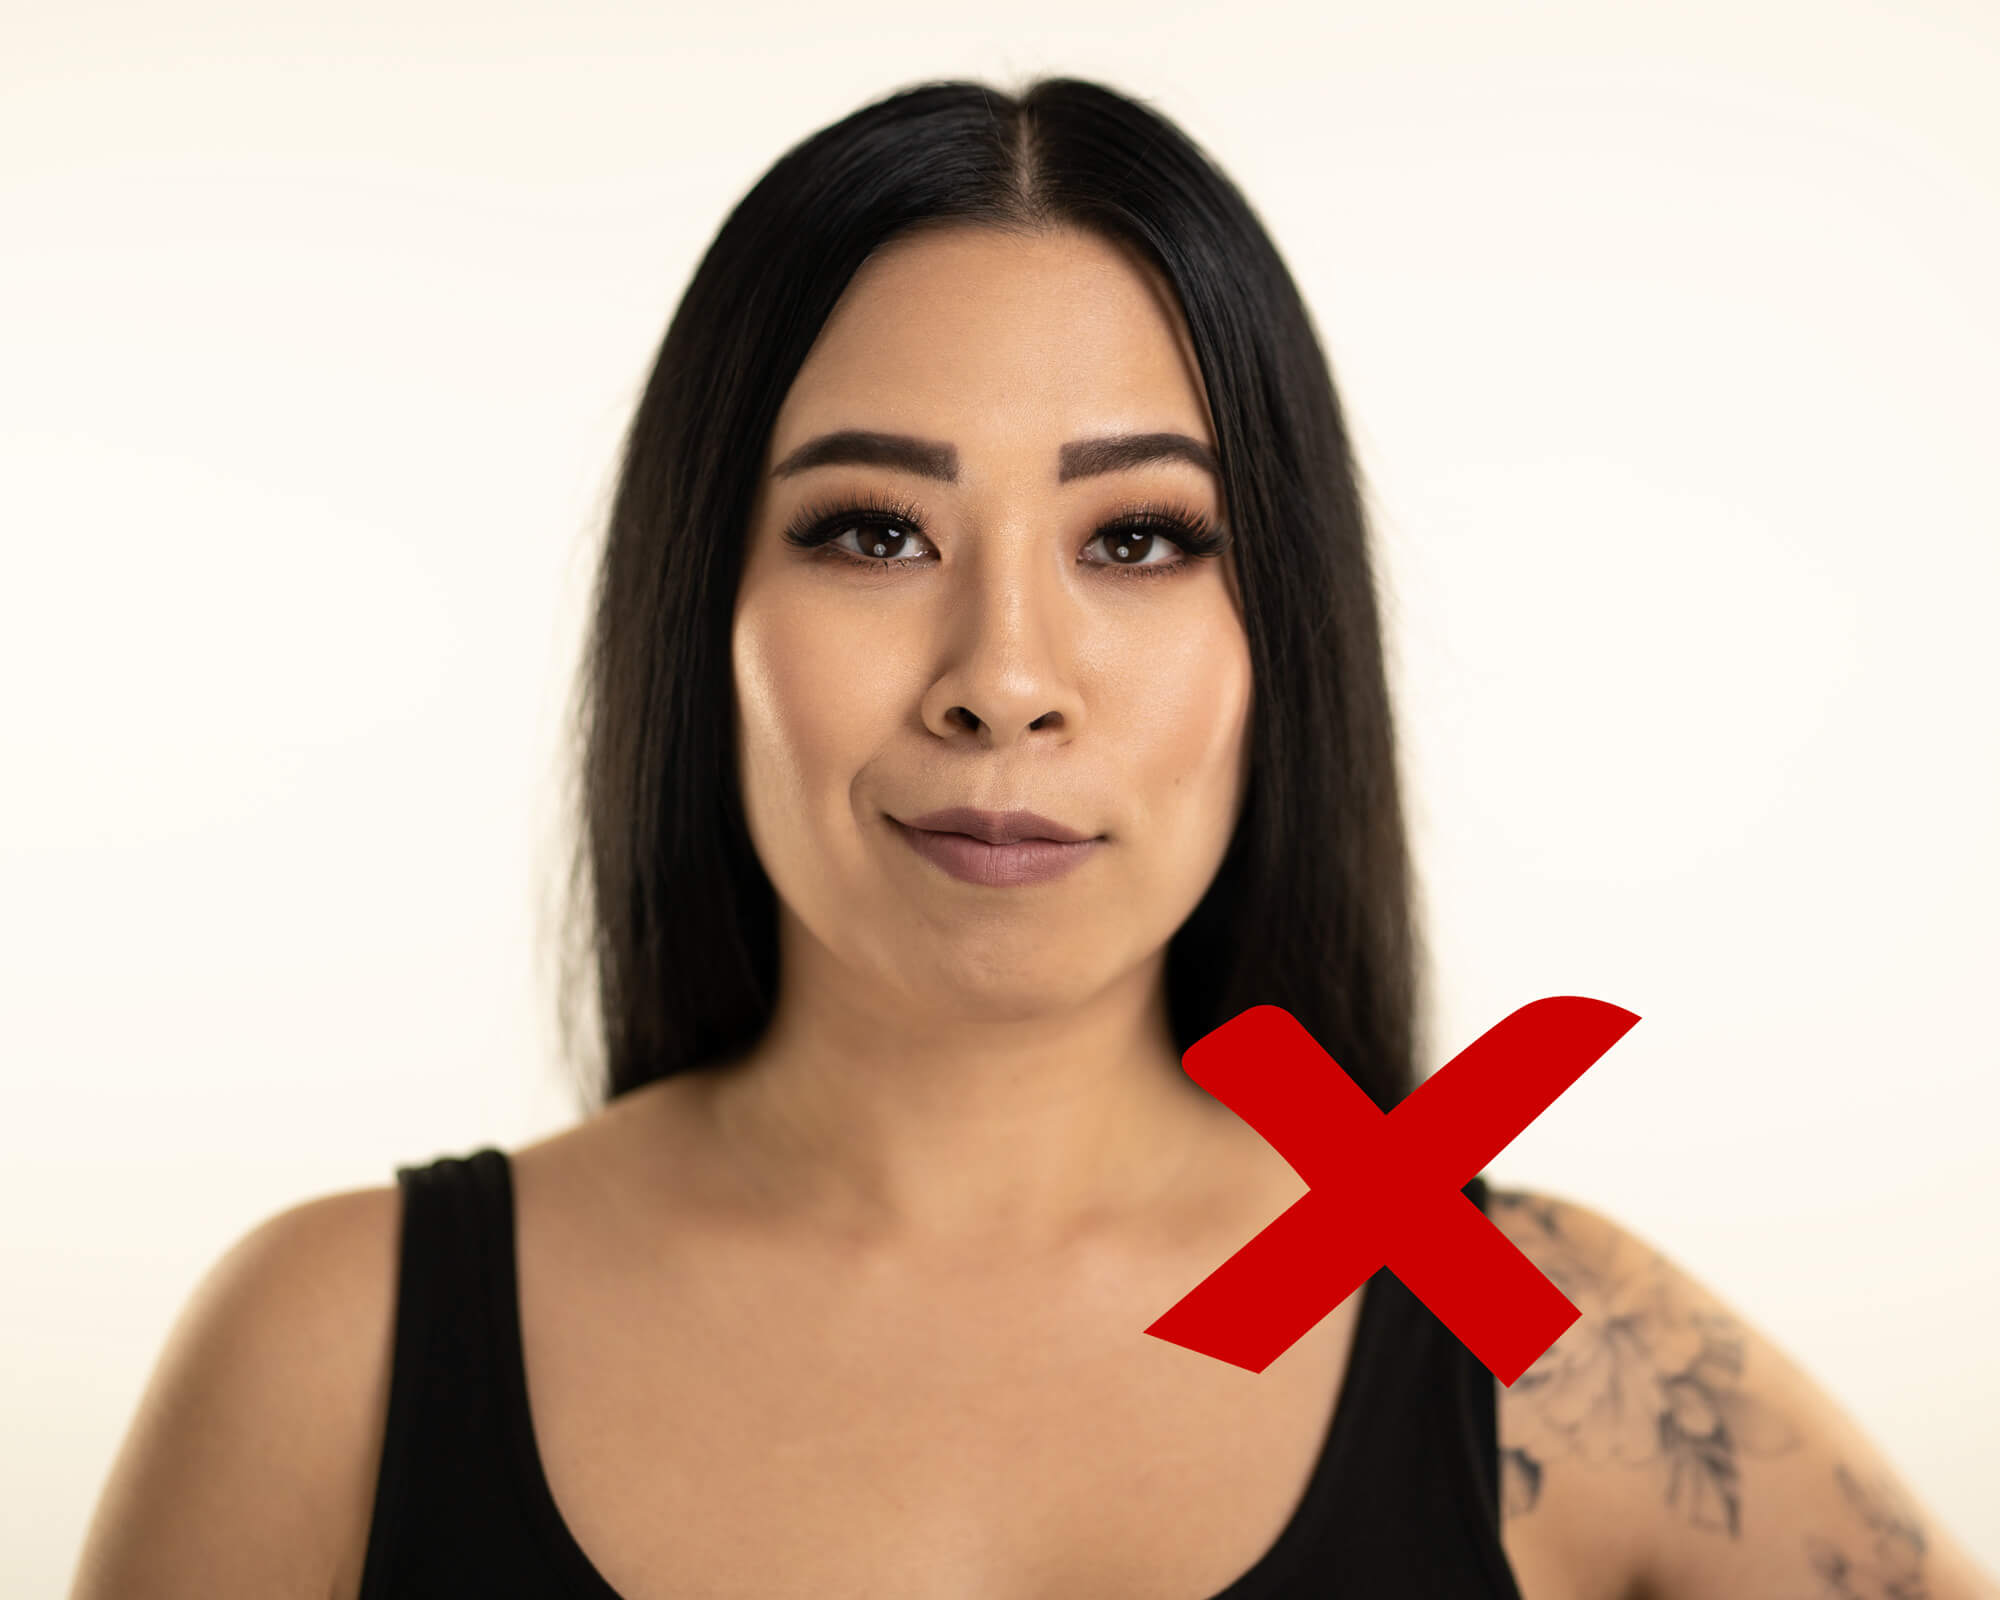
BAD, Blocky Eyebrow
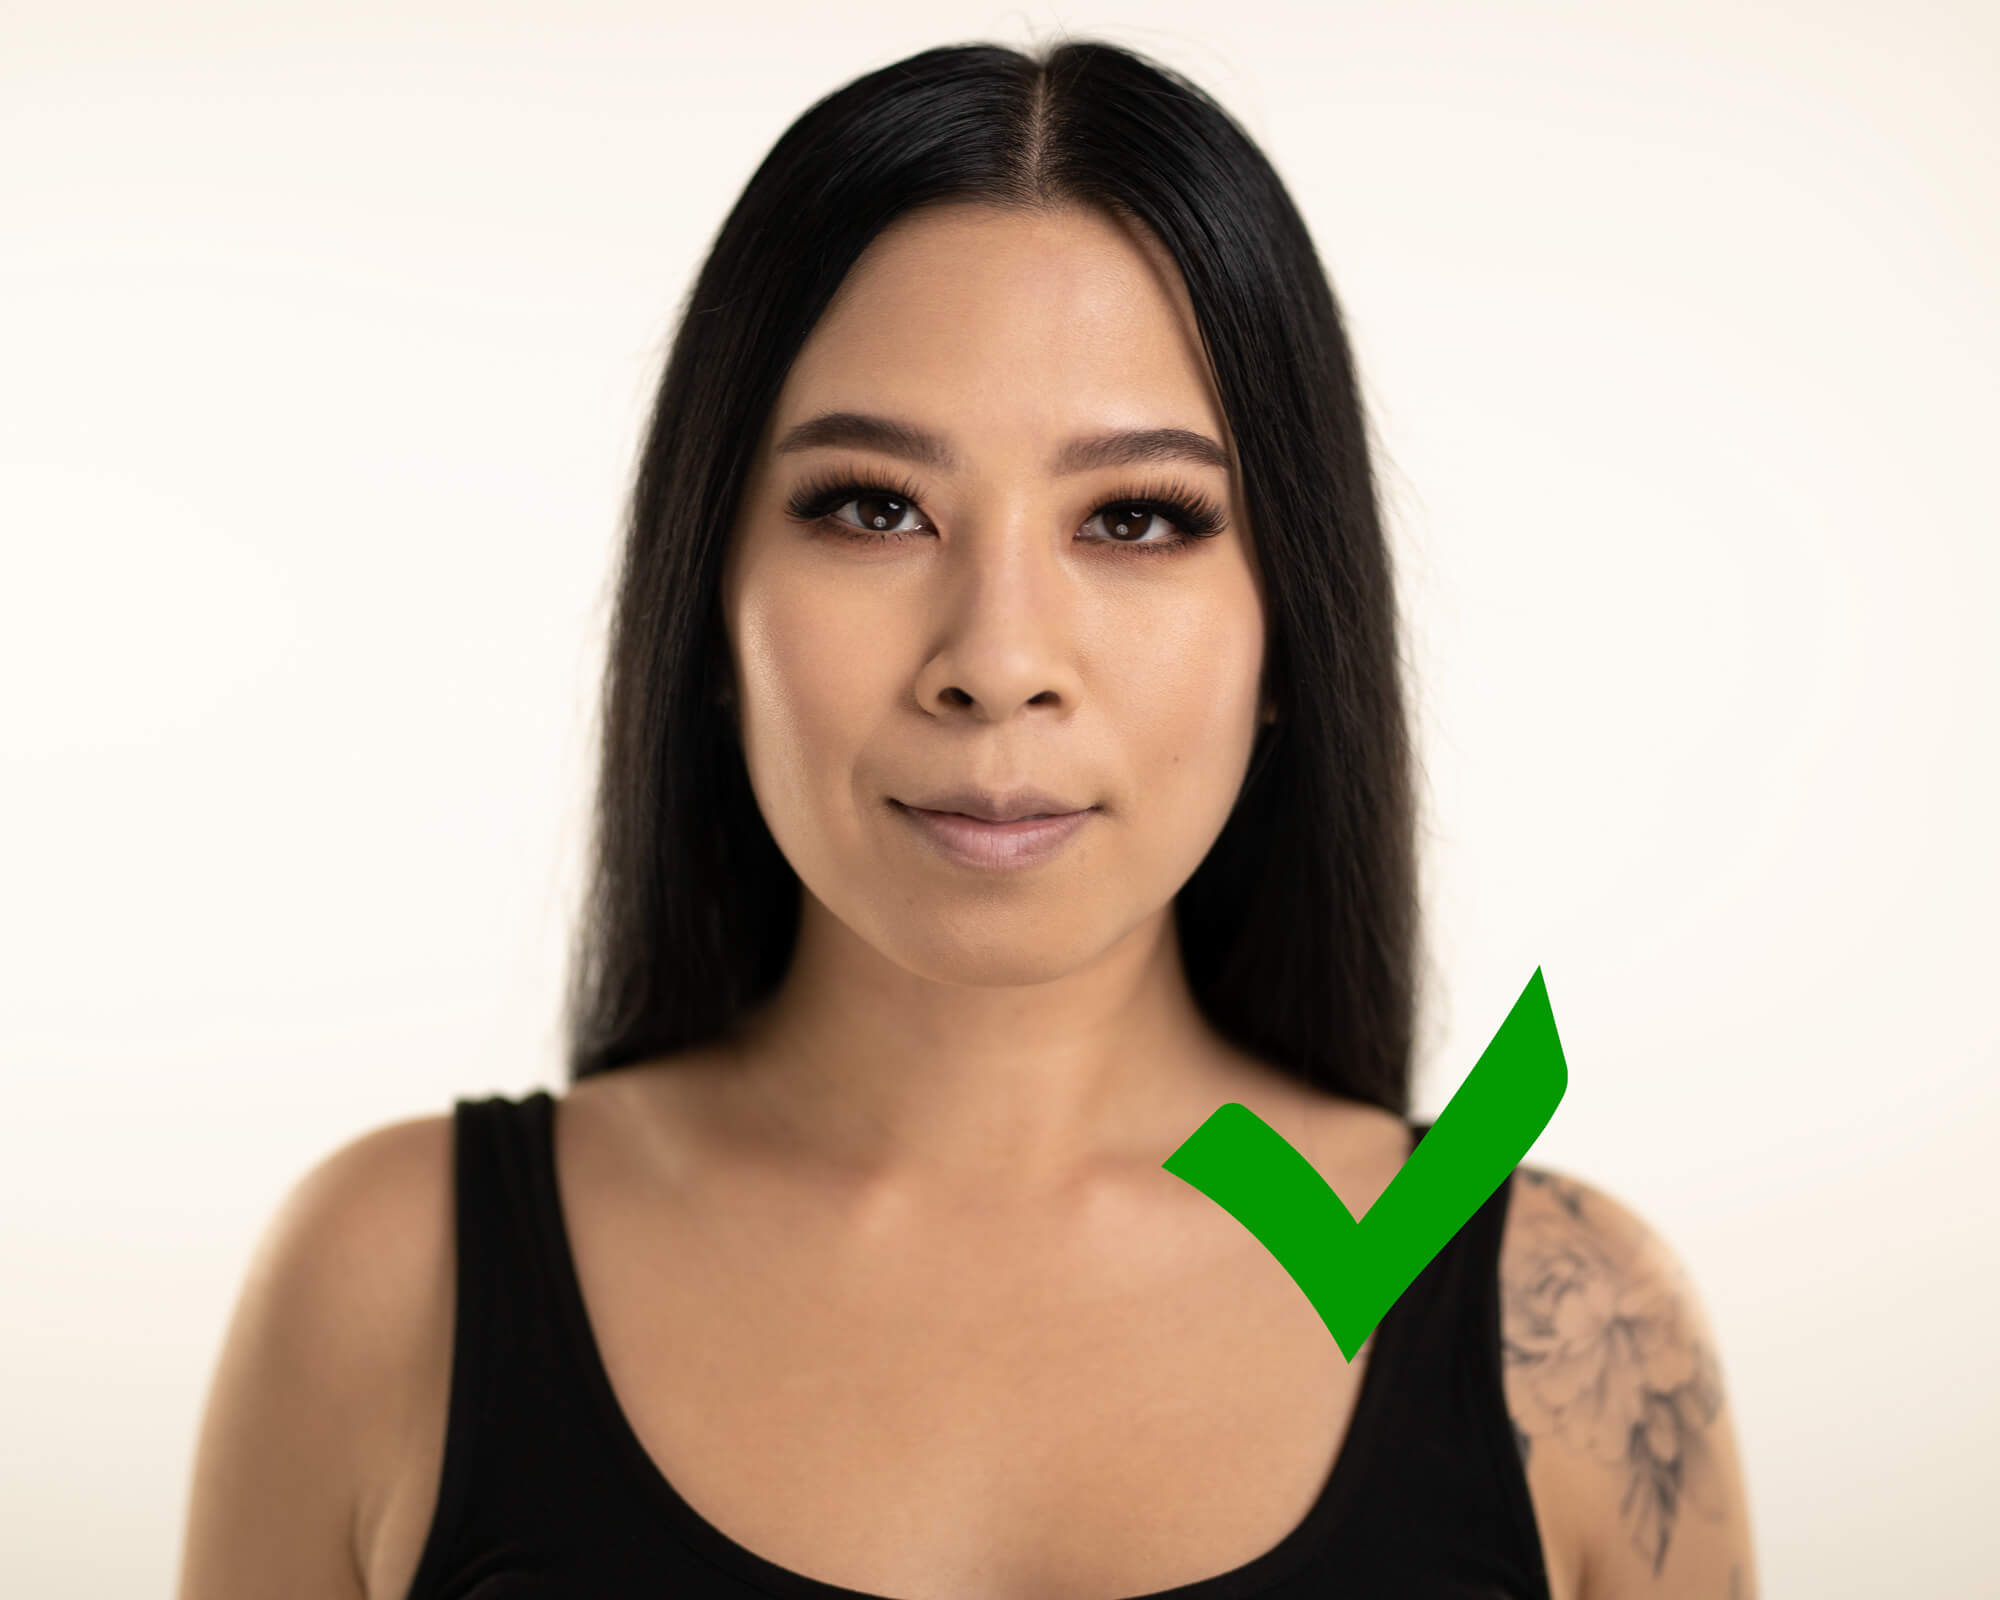
Great Defined Soft Glam Eyebrow
With the ever-growing social media platforms, eyebrow trends are coming and going faster than people can keep up with. It can be difficult to know if your eyebrow makeup habits are doing you a favor or not.
Mixing up your eyebrow habits to accentuate your eye look is super important. It’s way too common that people will wear little to no eye makeup and have dark, big, and blocky eyebrows.
Tip 1: If you are going bolder in the eyebrows, then go bold on the eyes to match. If the eyes are softer, then go soft on the eyebrows. This will keep your overall look balanced.
How to Create Eyebrows for Natural to Evening Makeup Looks

1. Apply concealer to “cut” around the eyebrows.
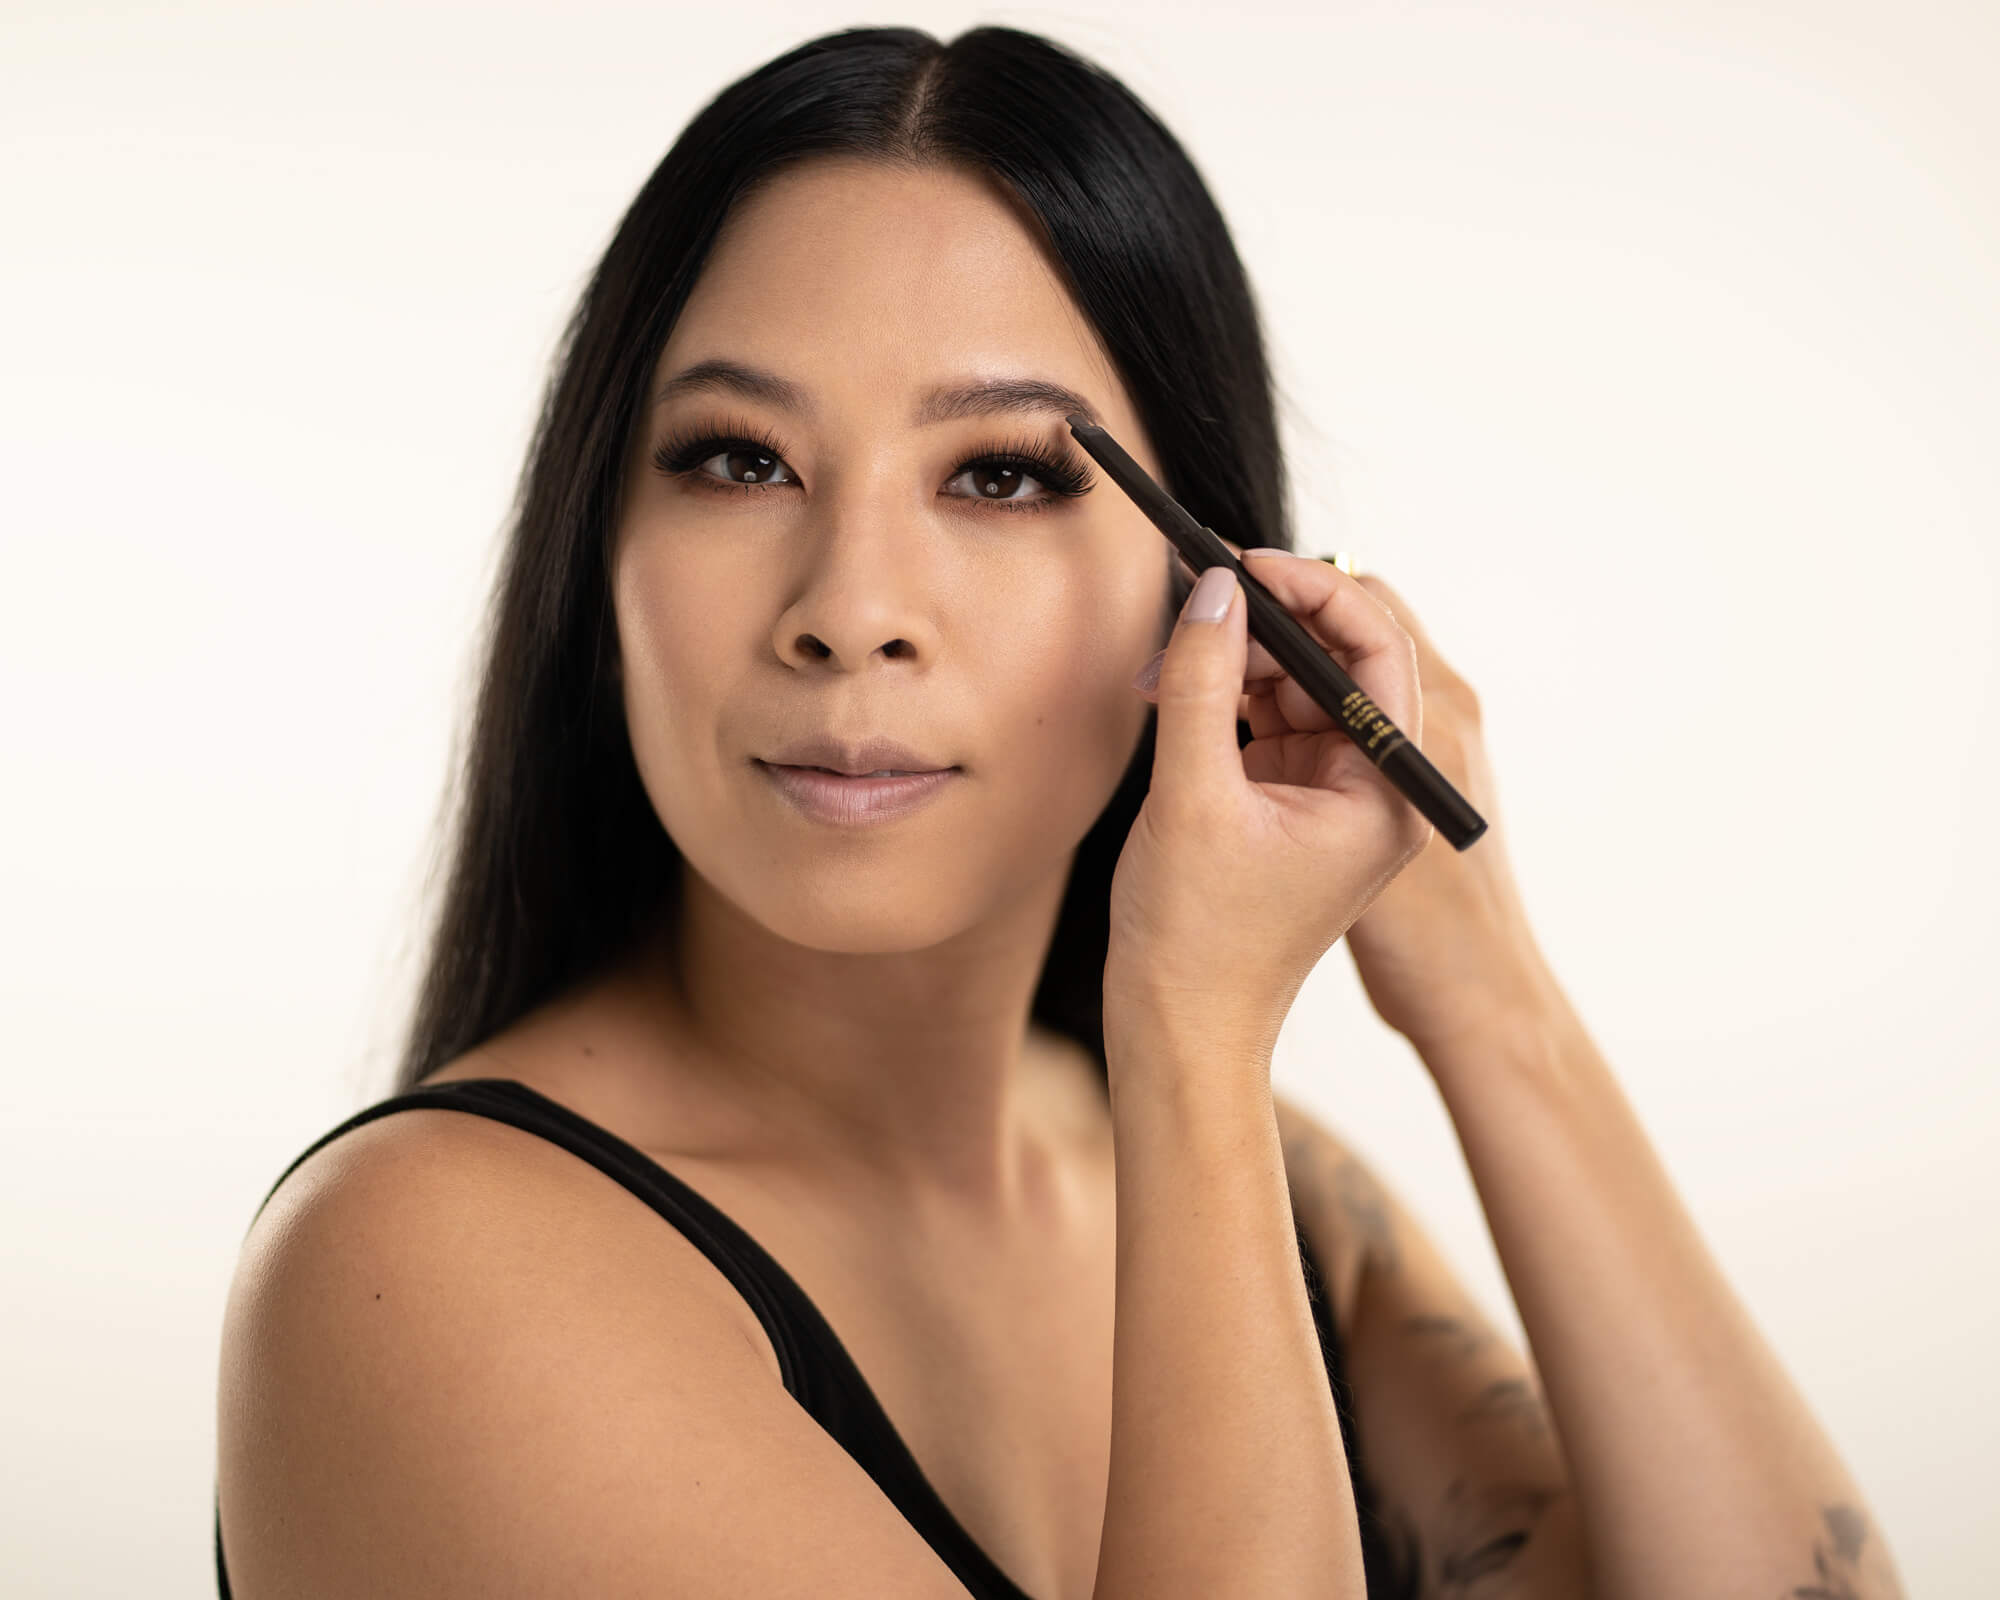
2. Use an angled brow pencil to outline and fill brows.

3. Use a spooly to soften the product and spread the colour evenly.
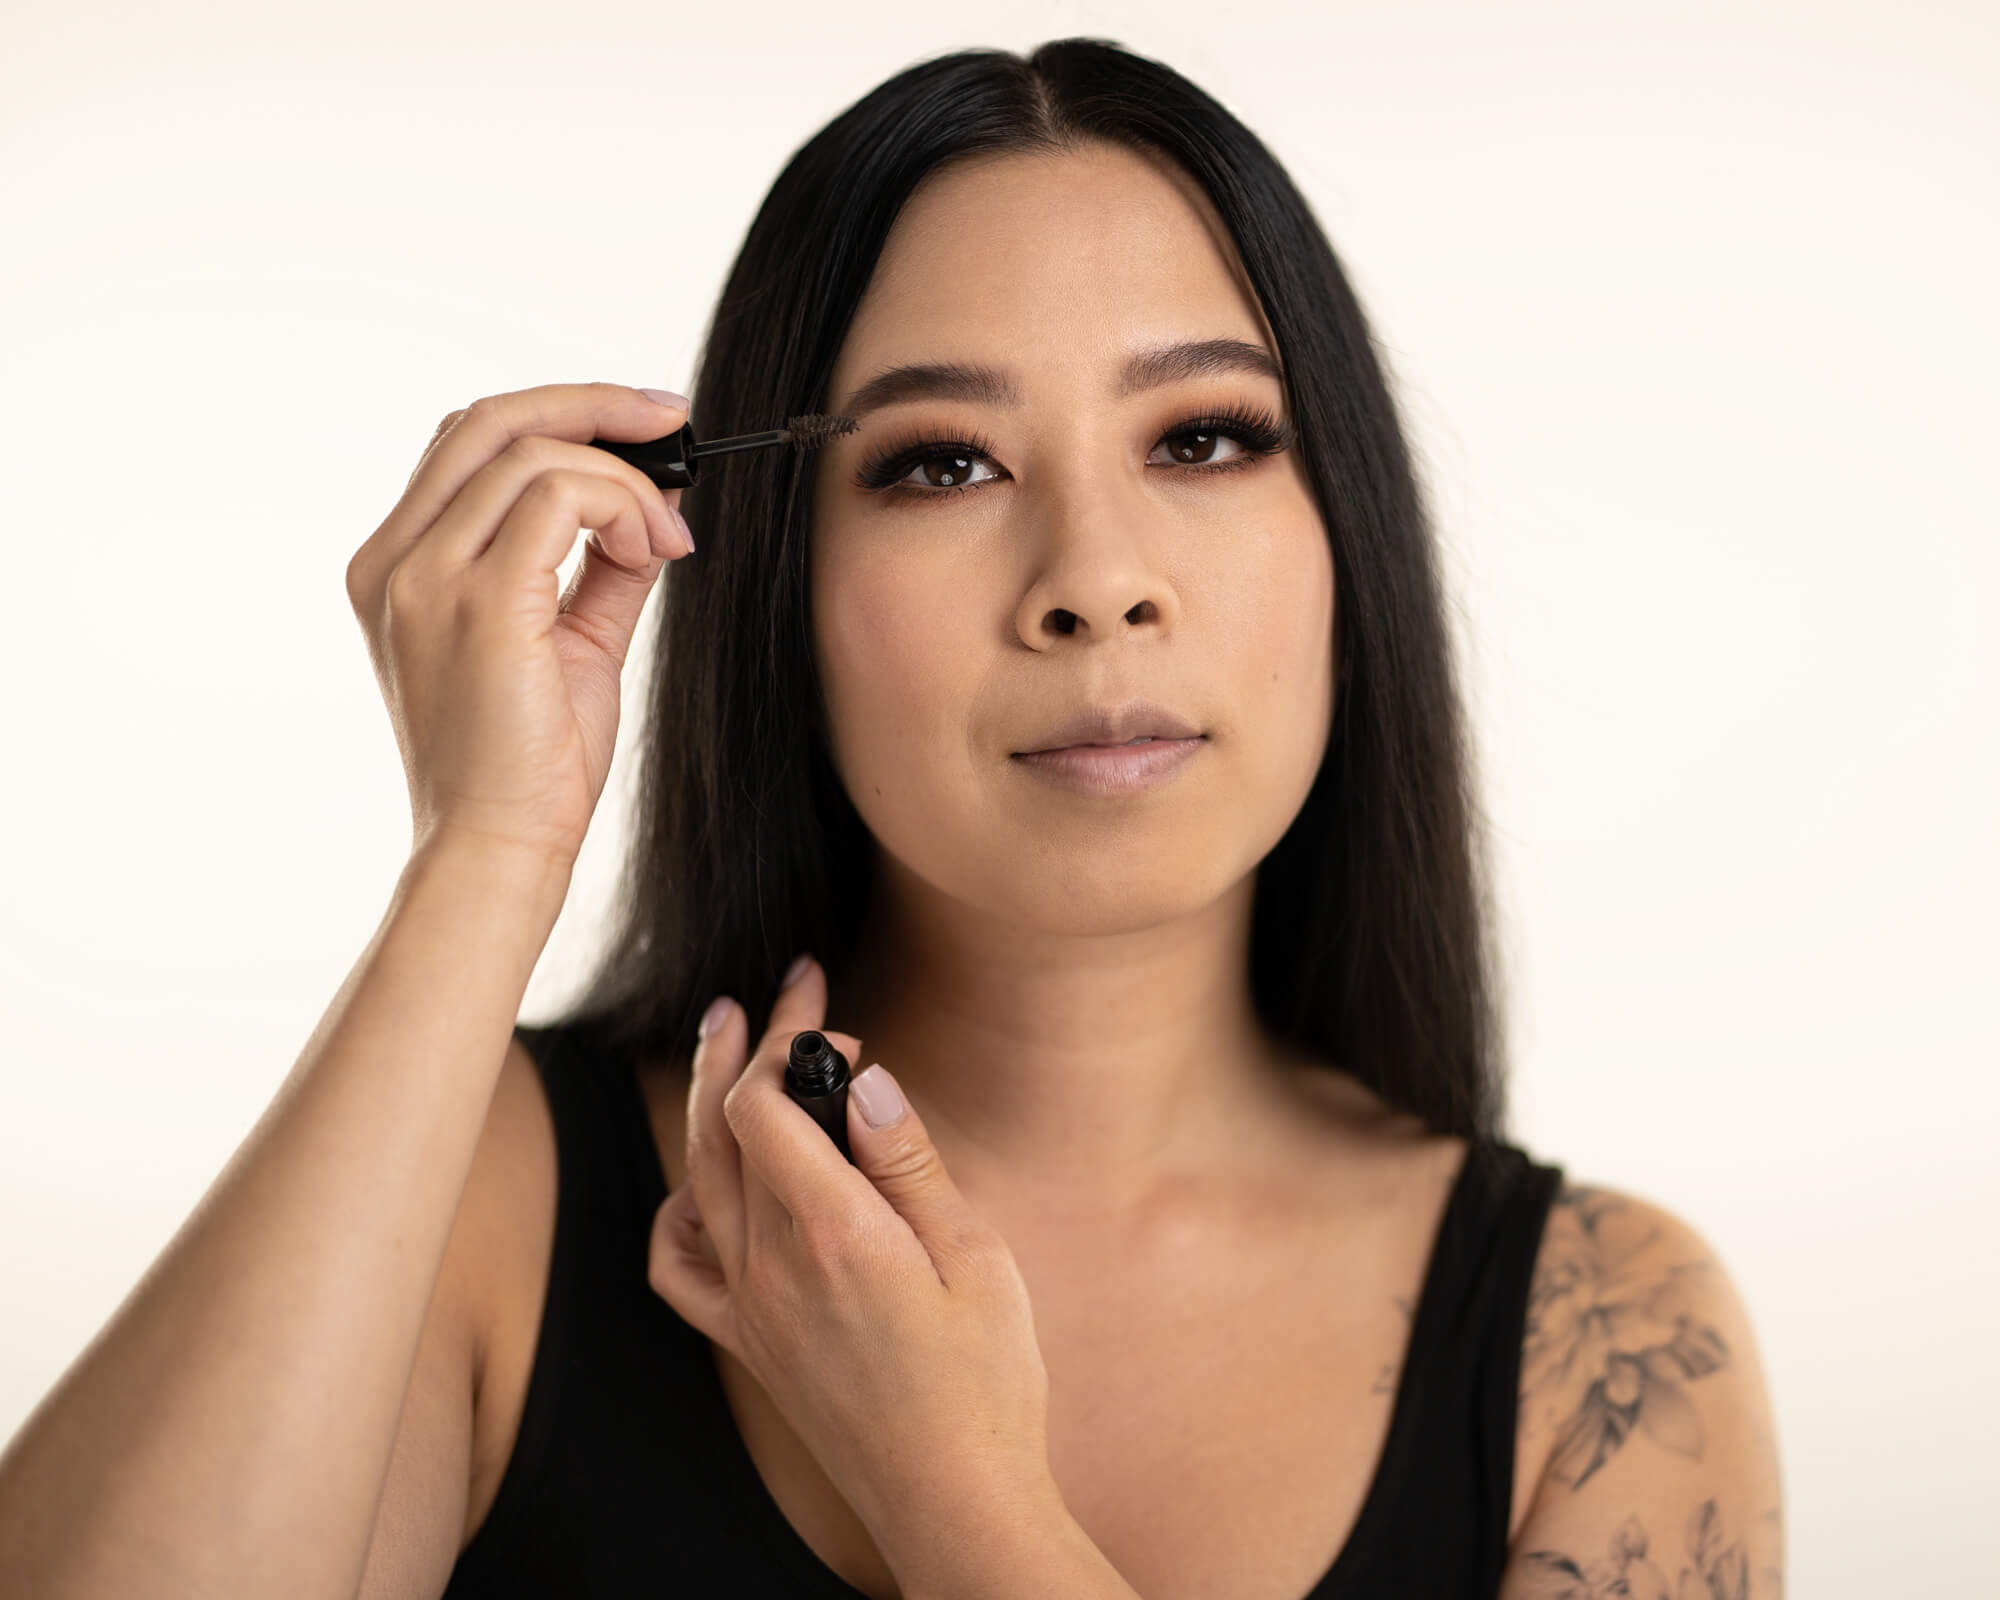
4. Apply brow gel to the brow hairs to define and control.
Need help with your Brows?
Check out my half hour personalized virtual lesson via zoom to teach you one-on-one!
- Know the best brow application fit for your facial features
- Review and polish your skills – learn how to create your most desired brow
- Bring symmetry to the face with proper brow application tailored to your lifestyle
Contrasting the face is a modern and flexible way of sculpting the face, a newer alternative to more traditional contouring. There are multiple ways to play with shadow and light and contouring is a specific way of applying makeup (inspired by drag queens) that doesn’t necessarily need to be done to achieve this soft glam look.
What’s the secret to high impact glam looks? To blend the skin using proper tools and methods to make sure that the products you use almost melt and blend seamlessly with one another.
Blending slightly darker colours and textures create depth, and applying highlights on the face makes the skin look effortless and flawless.
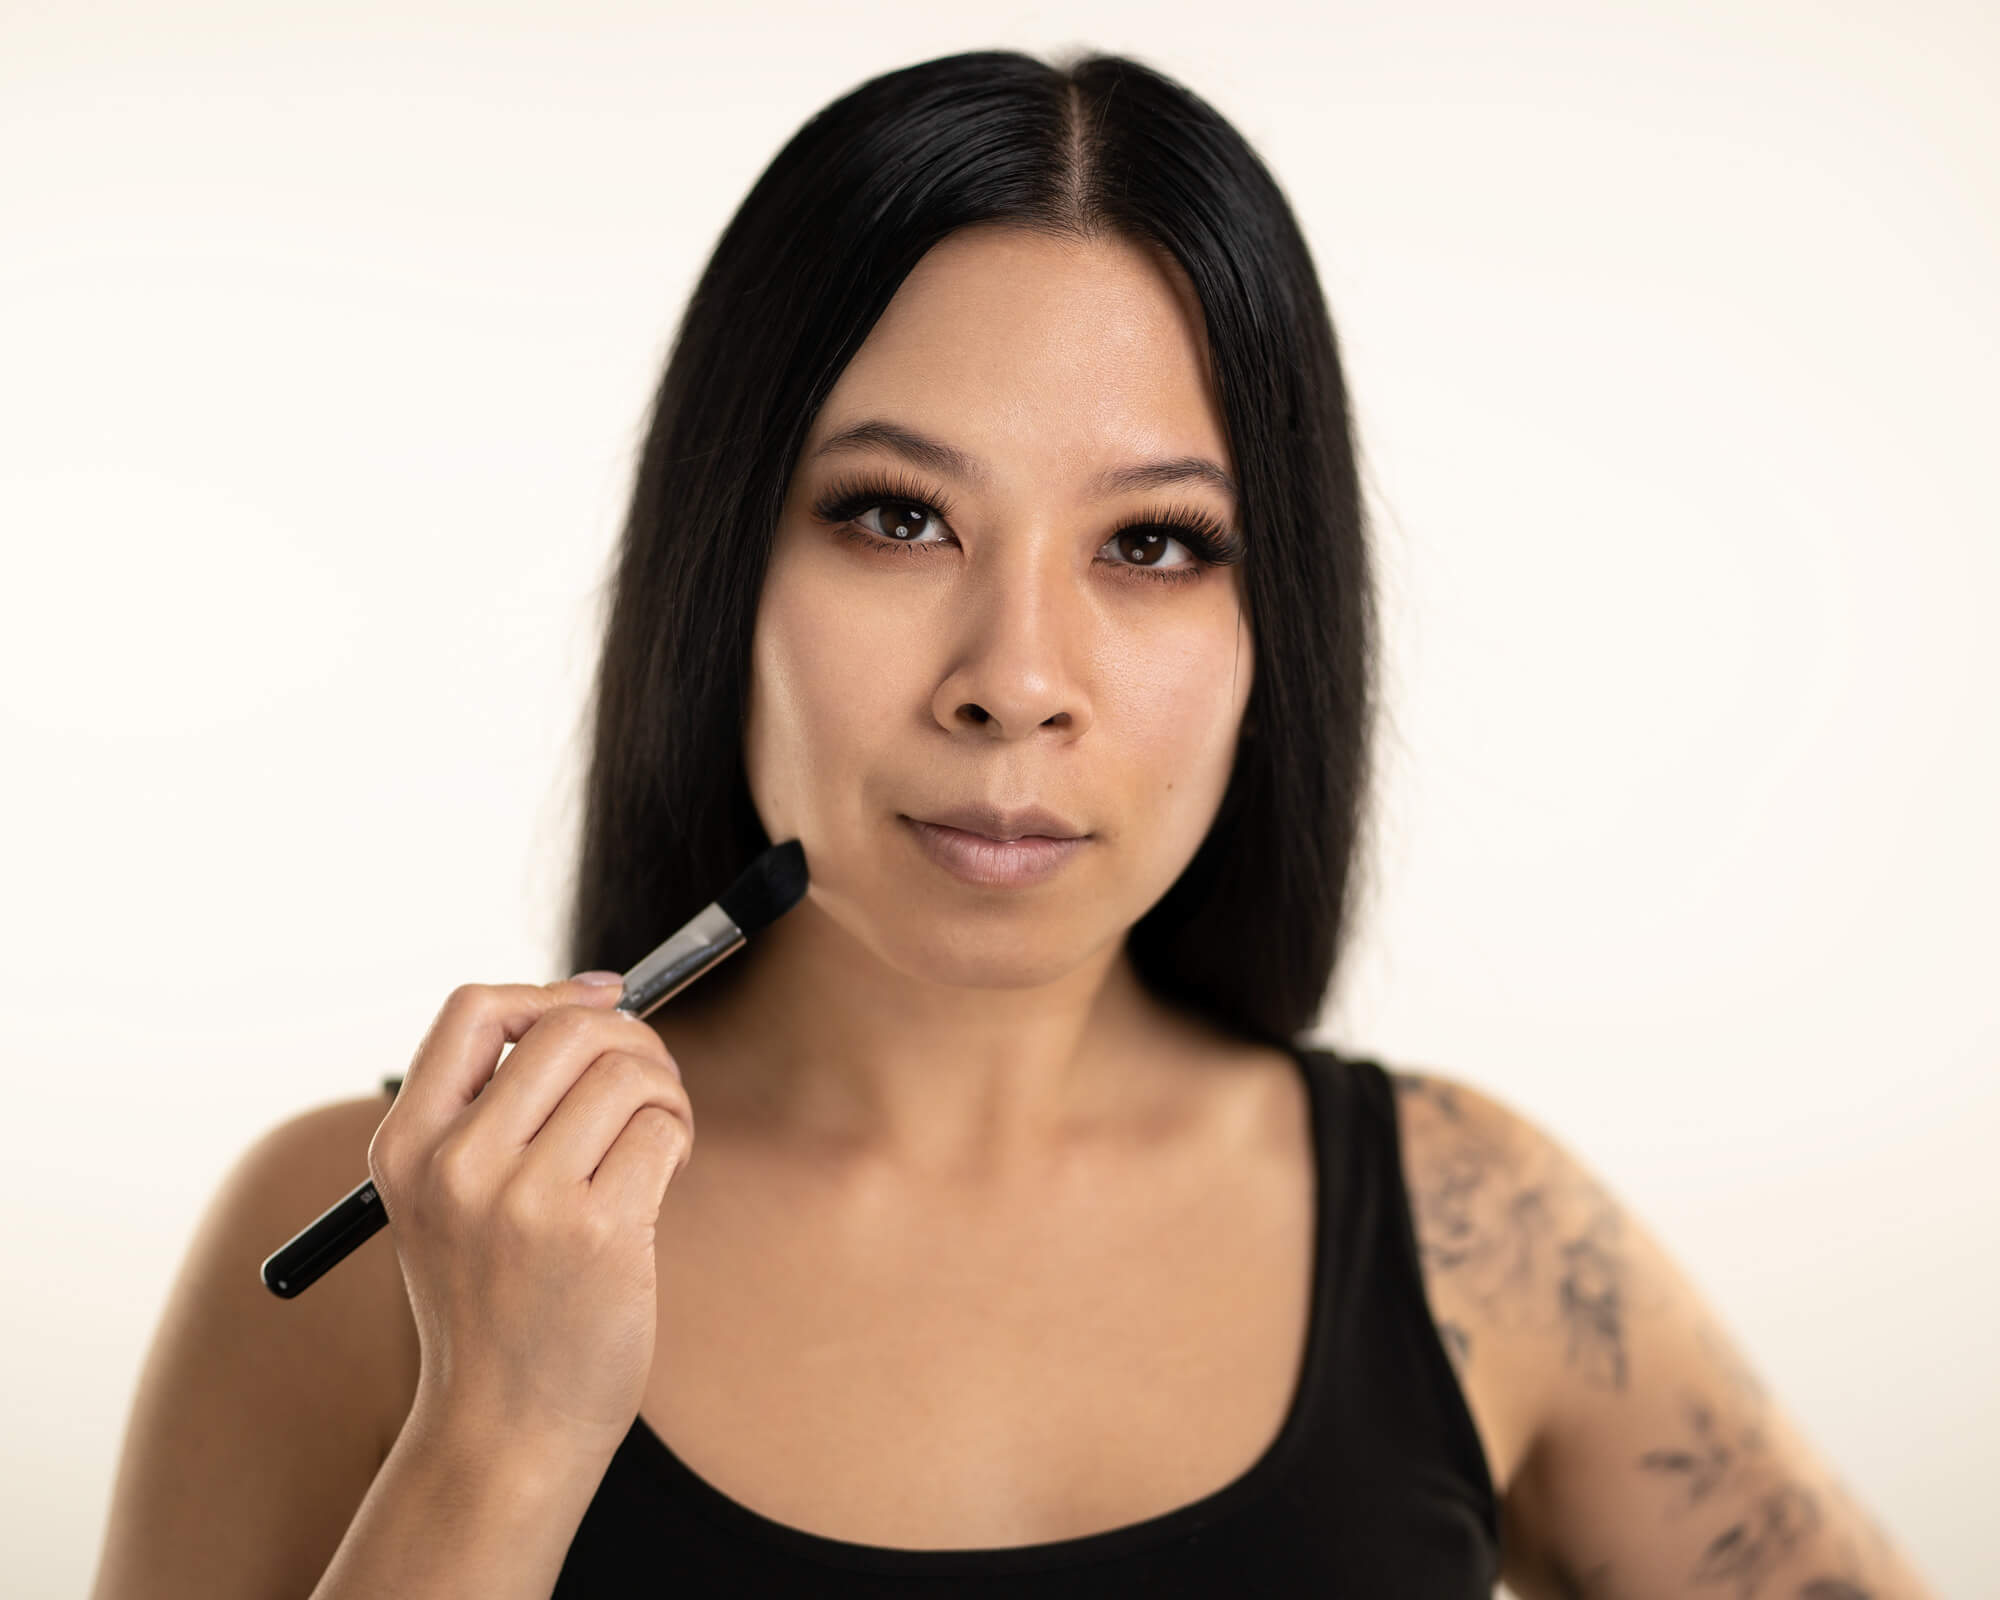
How to Create a Blended, Natural Contrasting Face

1. Add shape and shadow the face: Identify the hollow and natural shadowed areas and apply a darker makeup product in those indents.
2. Brighten and Light: Use a natural highlight cream, concealer, or powder to make the skin look brighter.
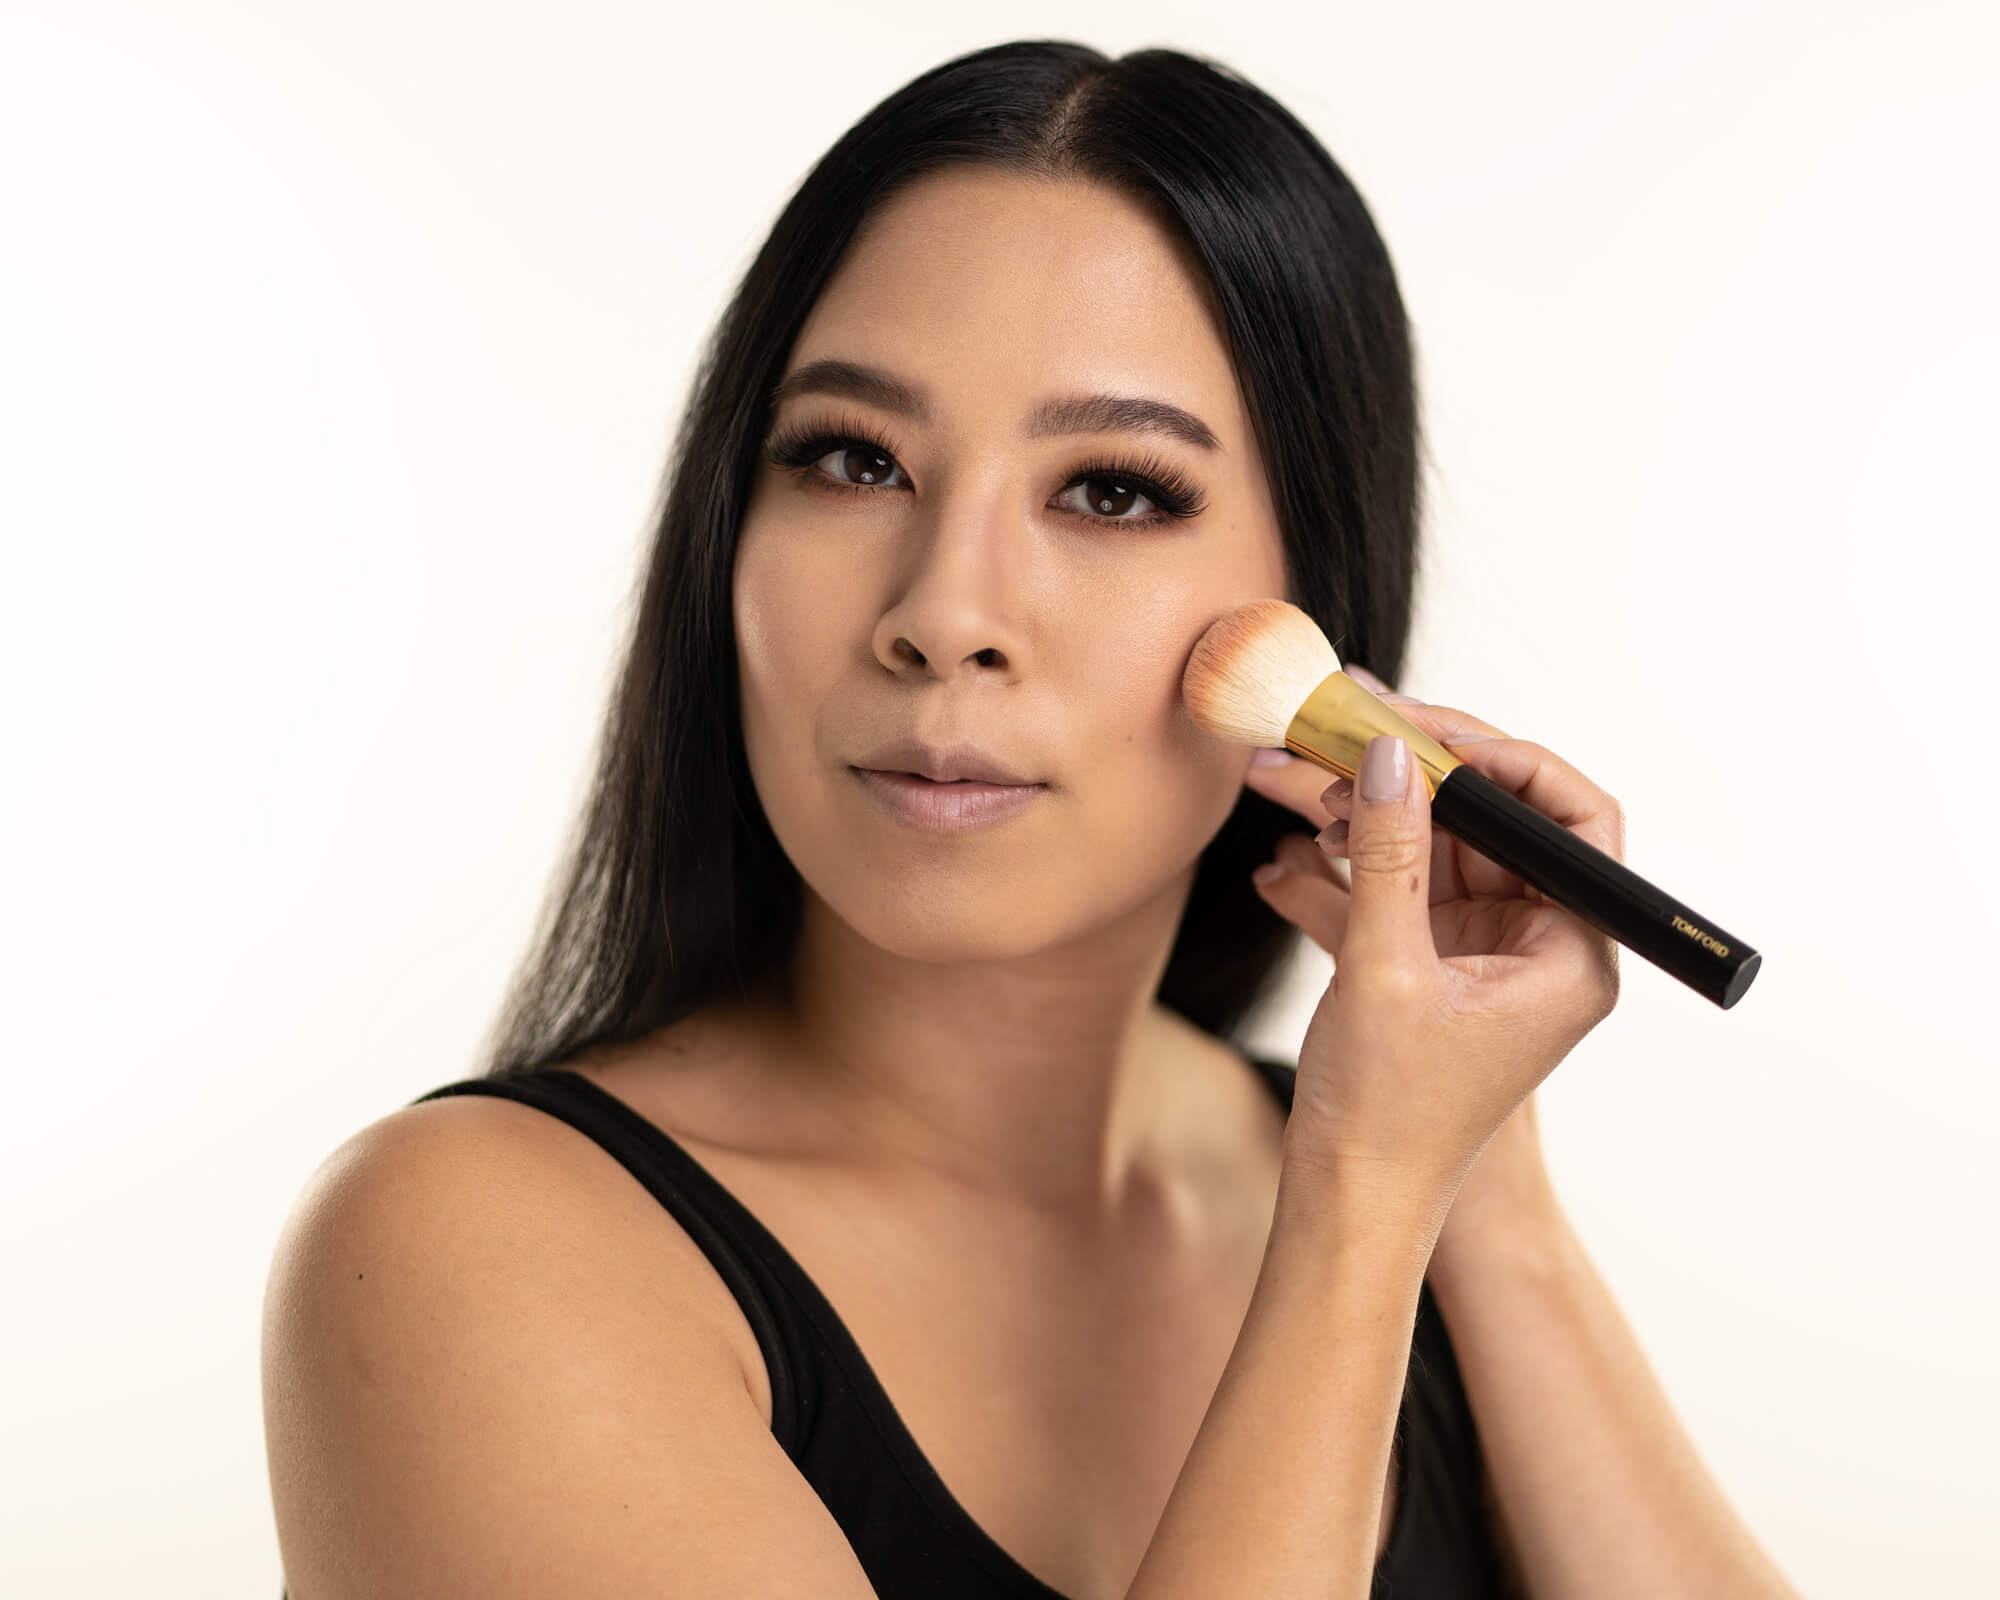
3. Apply a blush in an egg-like shape to lift the face and along the tip area of the nose.
4. Use a small brush to highlight the nose and use your ring finger along the “C” like plank of the cheekbone.
5. Apply bronzer to the face and neck, add extra to the areas that have been shaded.
6. Use a setting spray with the beauty blender to focus the setting product and to not get any creases or laugh lines!
Contour, Concealer, Highlight, Powder and Spray Products I Recommend:
KVD Beauty Shade + Light Refillable Powder Face Contour Palette ($$)
Too Faced Born This Way Super Coverage Multi-Use Concealer ($$)
Melt Cosmetics Digital Dust Highlight Gold Ore ($$)
Kaja Cheeky Stamp Blendable Blush ($$)
Kaja Play Bento Cream Bronzer, Powder Blush and Highlighter Sculpting Trio ($$)
MAC BLOT POWDER/PRESSED ($$)
LAWLESS Glam Guard Long-Wear Setting Spray ($)
The best way to finish your (almost) completed look is with the perfect lip. Creating a dimensional lip look using different textures and shades will help make your lips look HD and plump.
Begin by ensuring your lips are well moisturized and hydrated. Lip masks exist and are well worth the extra step in your skincare routine to work on that delicate skin area overnight.
How to Create Full Dimensional Lips

1. Overline the lip area with lip balm.
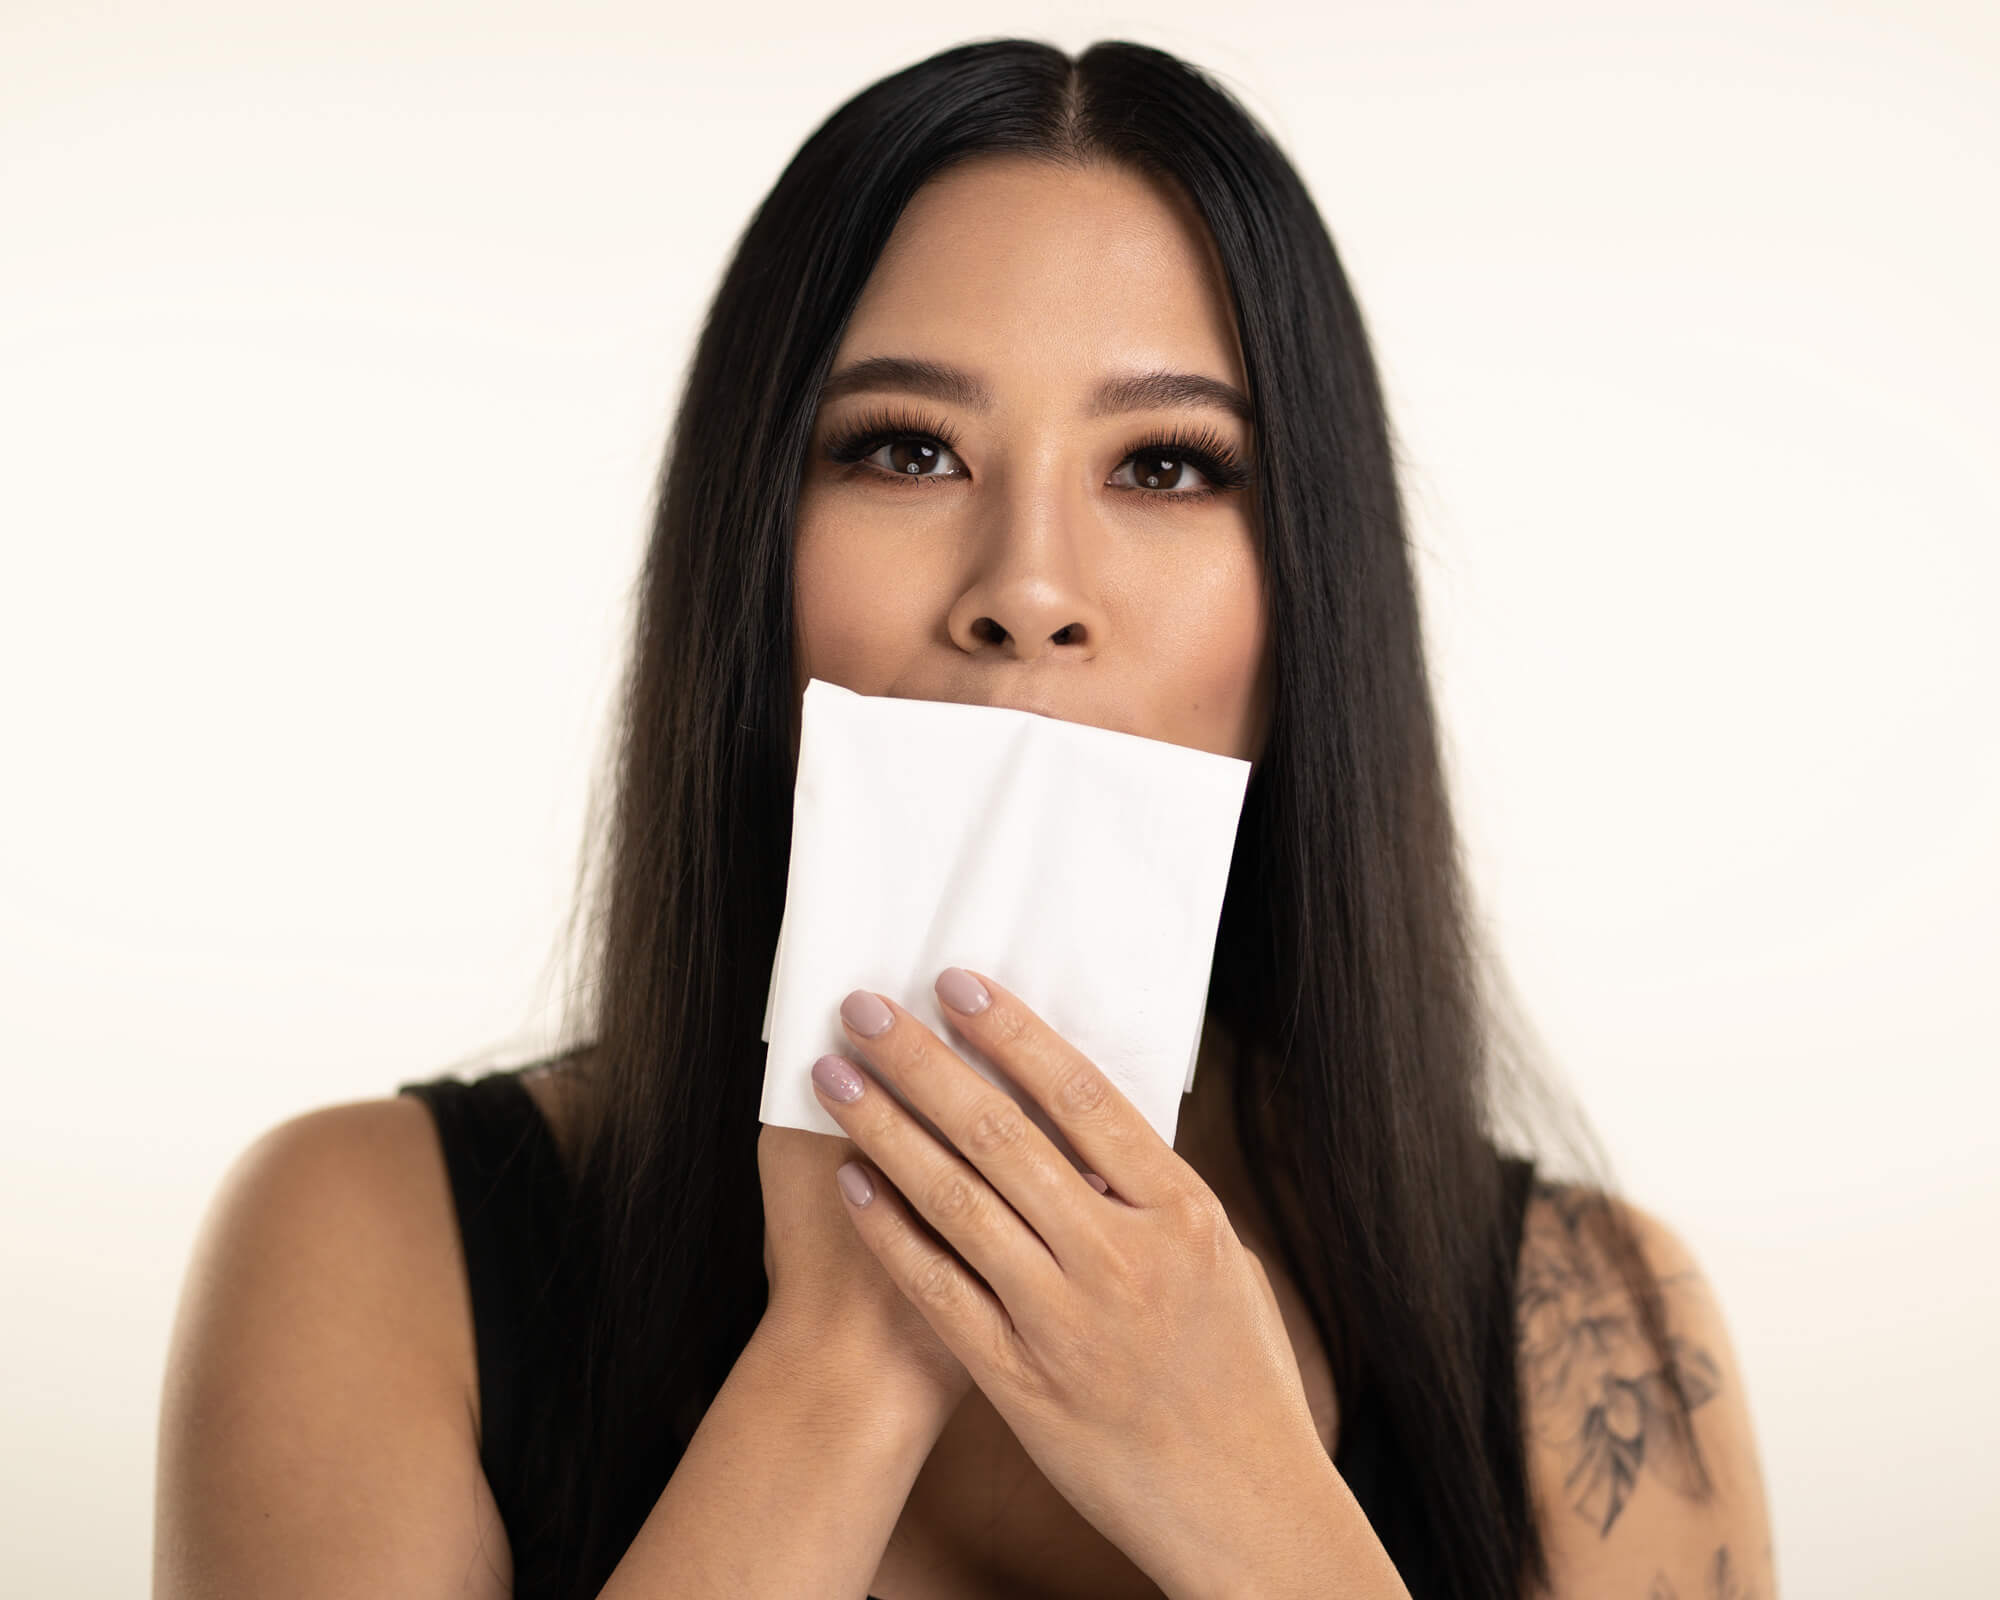
2. Use a tissue to blot off extra product.
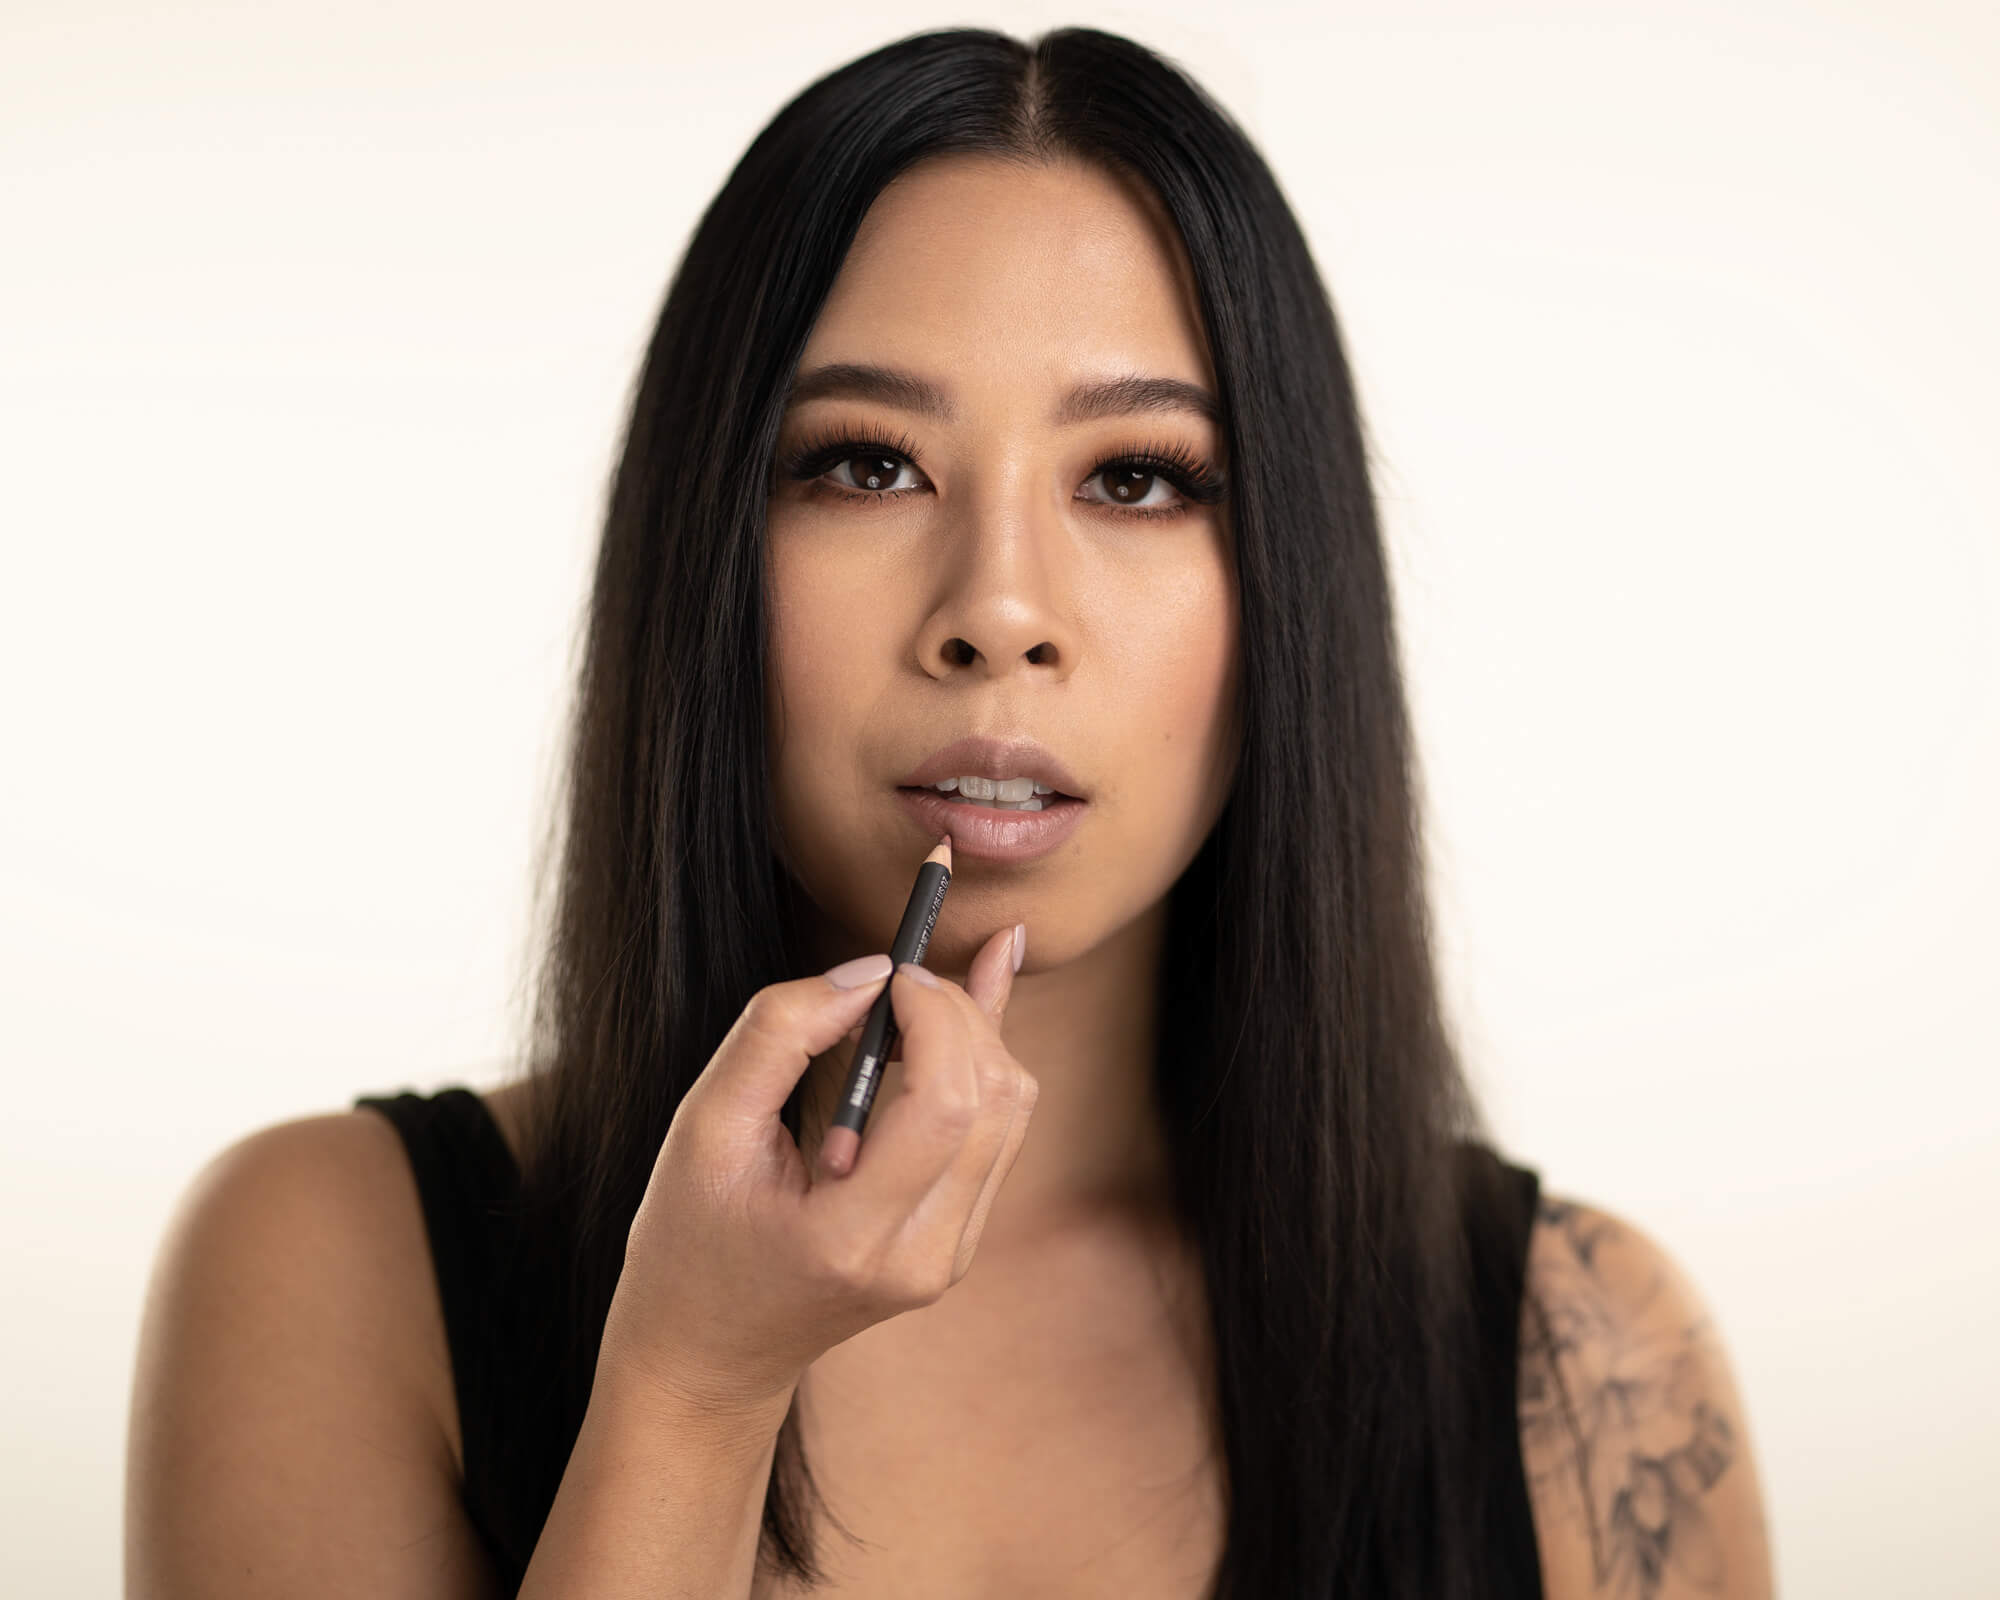
3. Use a nude lip pencil with a deeper tone than your lip stock around the lips and inside the lip area.
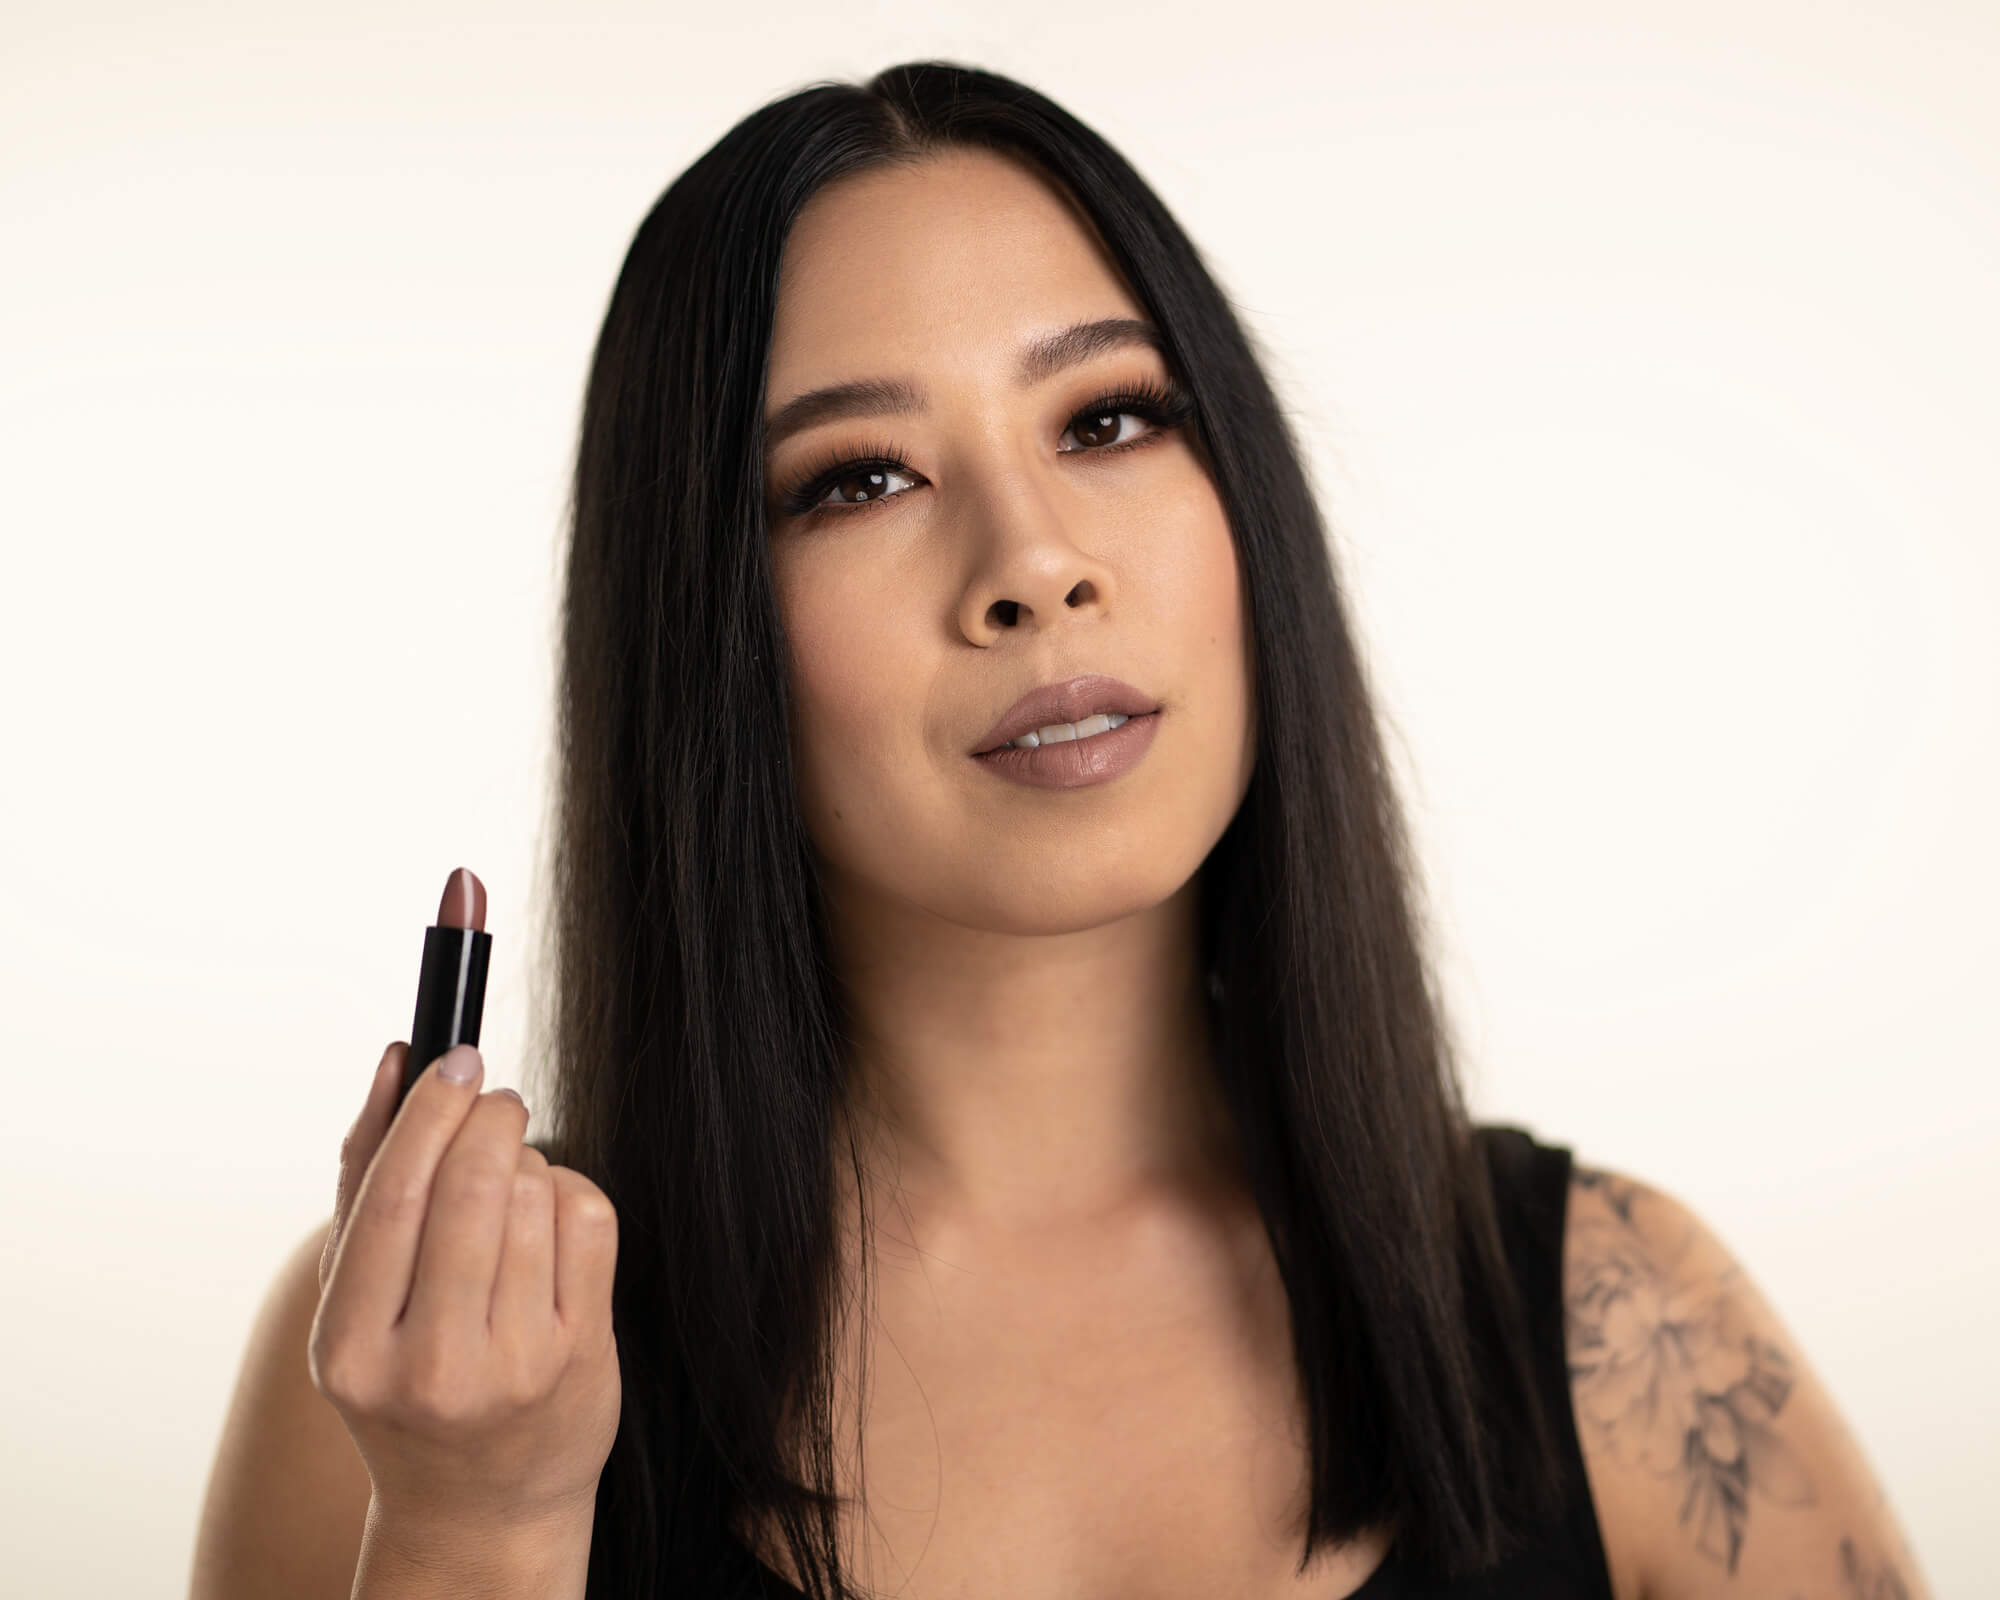
4. Use your lipstick or liquid lipstick of choice for blending.
5. Lip gloss is optional. It doesn’t matter what kind of finish it is as long as your lips look hydrated.
Lip Balm, Lip Liner and Lipstick I Recommend:
Jack Black Moisture Therapy Lip Balm SPF 25 ($)
CLINIQUE Quickliner™ For Lips Lip Liner ($)
Charlotte Tilbury Matte Revolution Lipstick: Very Victoria ($$)
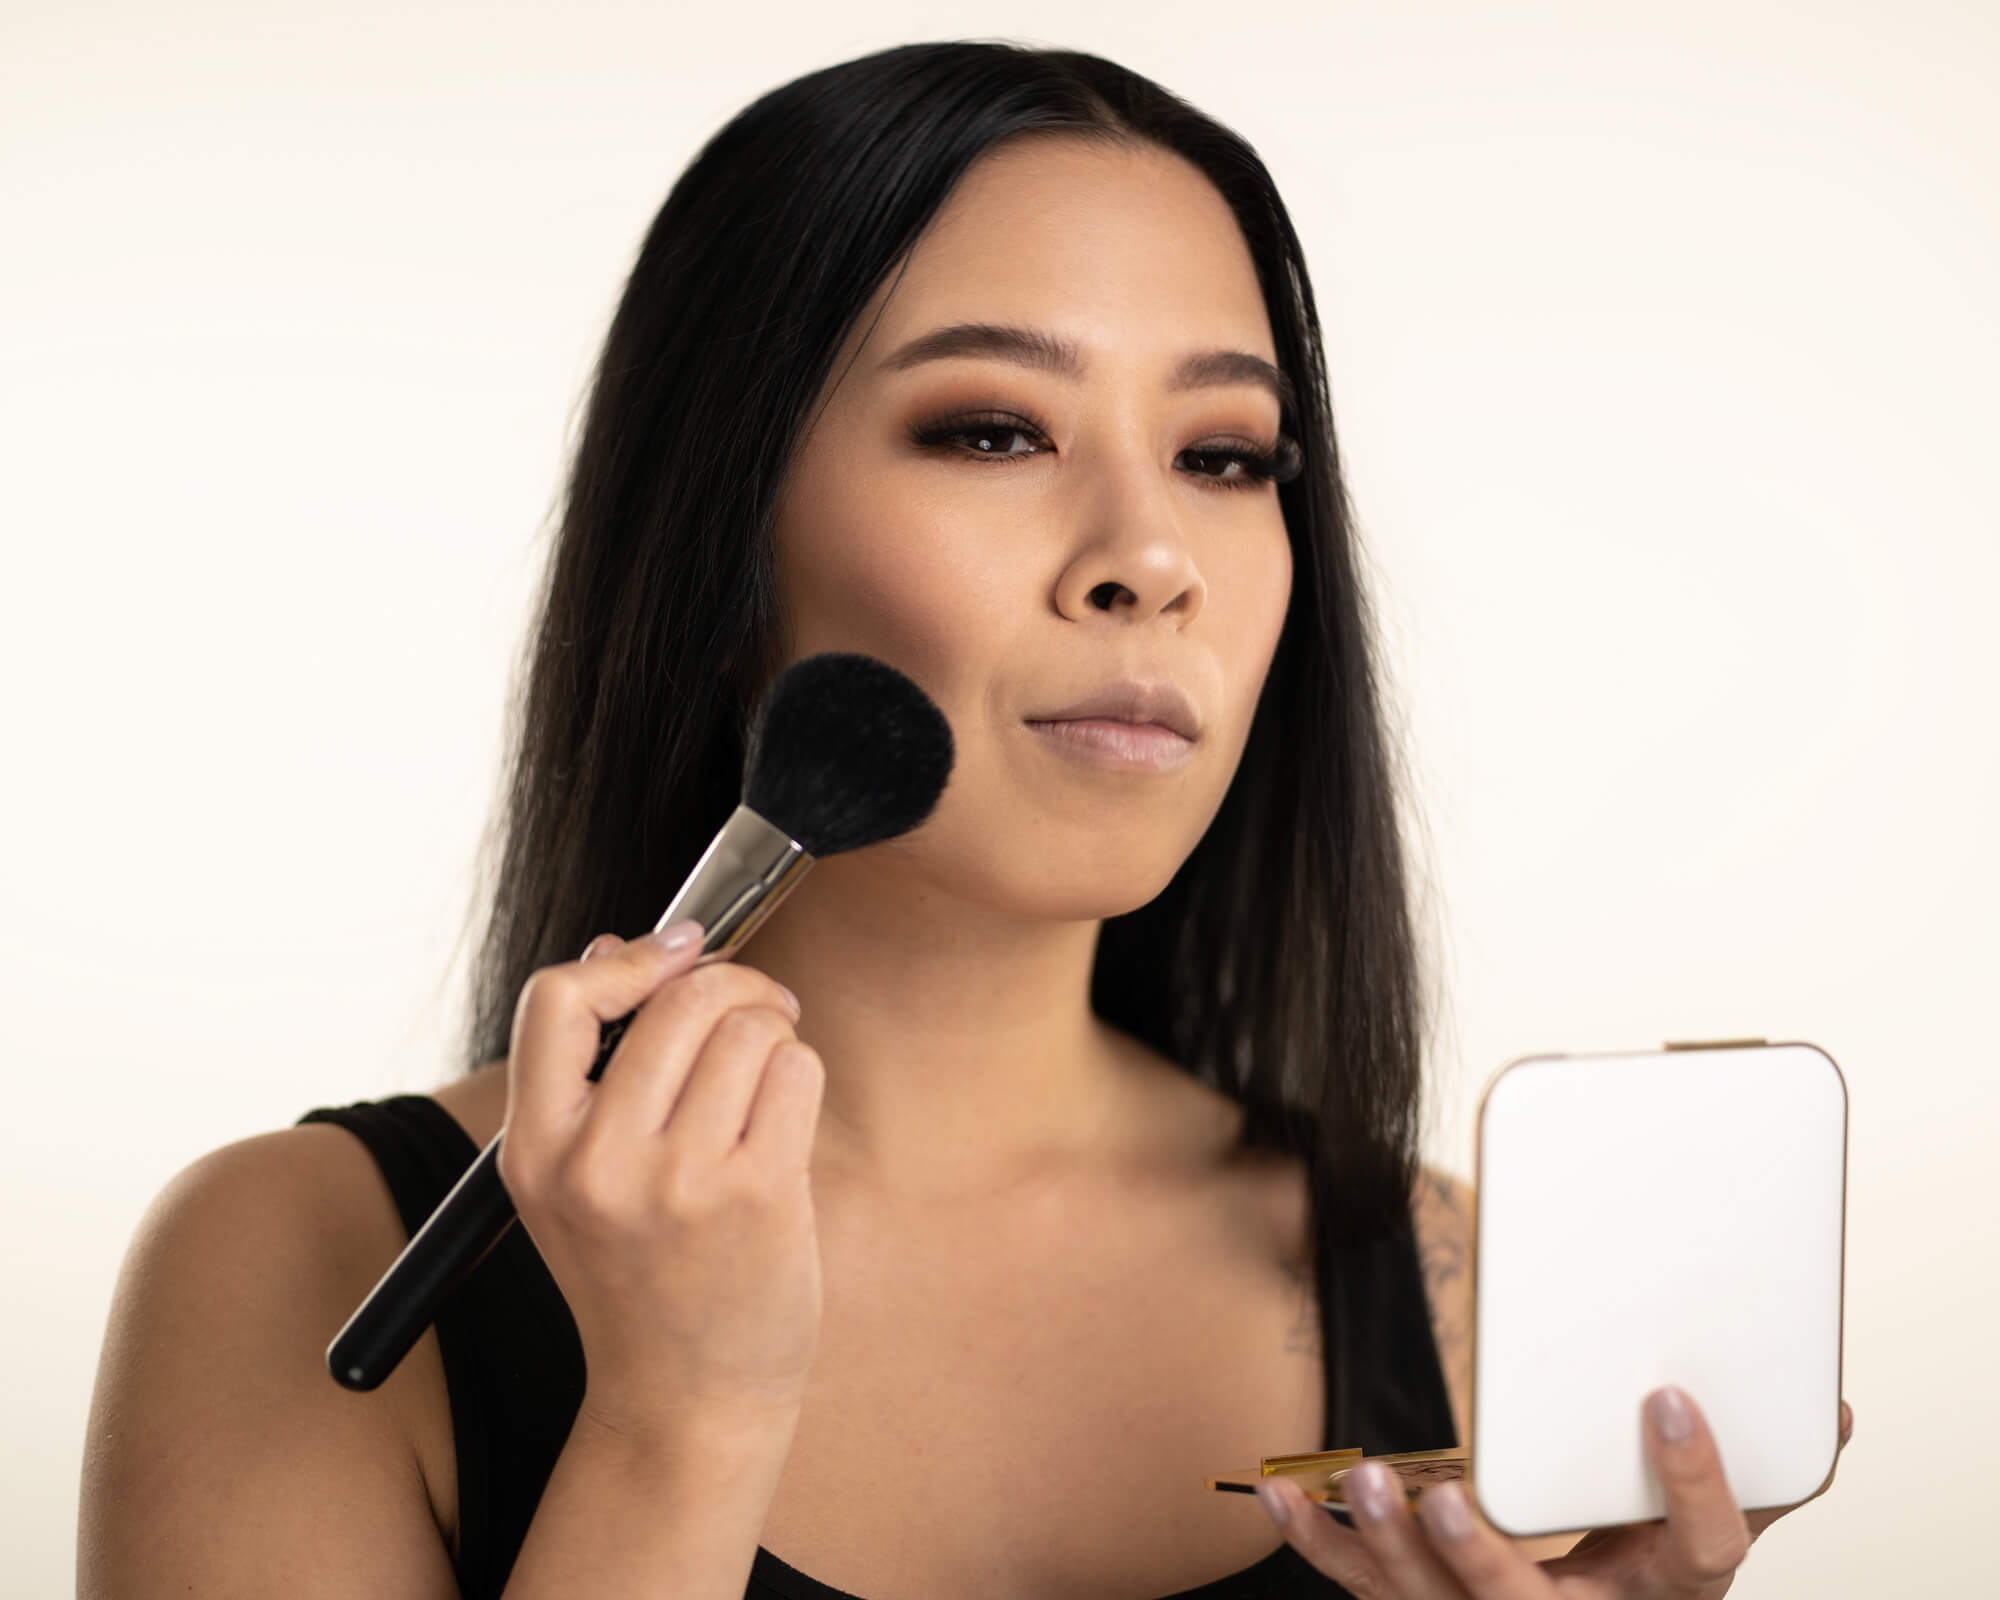
Time to Practice
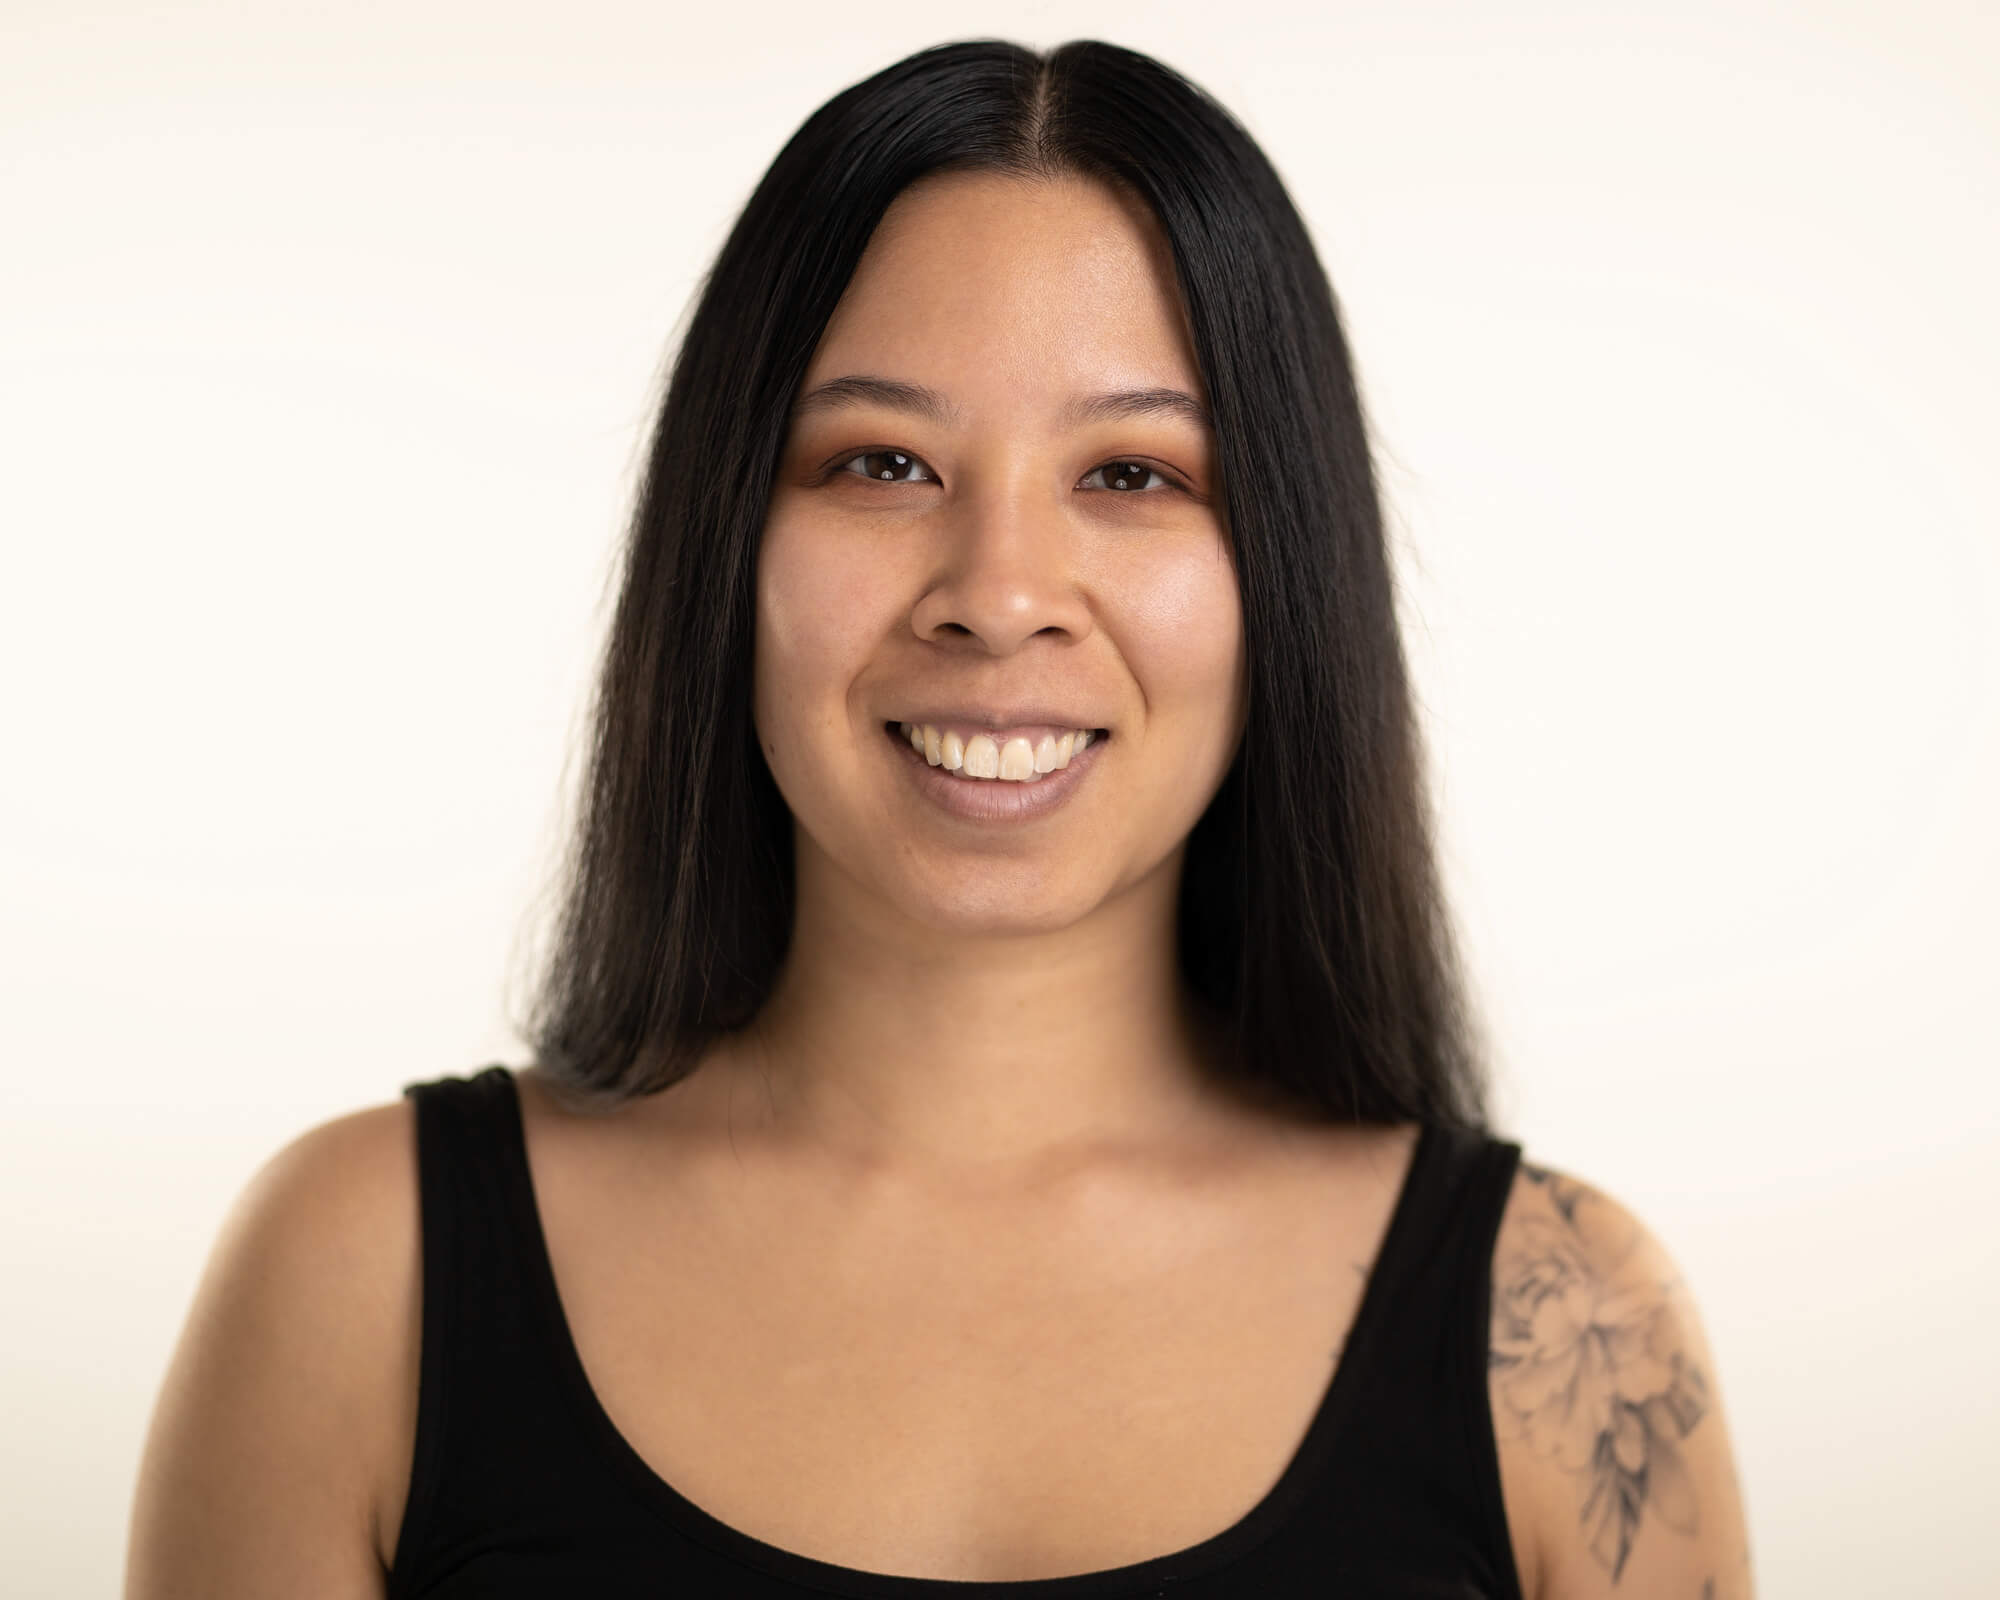
Applying makeup on yourself doesn’t always have to feel like a chore. Always remember why you felt inspired to create this beauty look on you. It reminds people that you know your self worth and want to express how beautiful you are inside-out.
Using these 7 key steps and the tips within will help build a lifelong understanding of very useful makeup skills that you can customize for whatever looks you need.